
Nikon COOLPIX S610c Front Casing Replacement
45分钟
中等
动态照片拍摄
步骤精简
简介
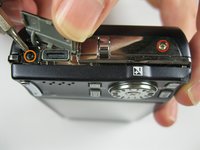
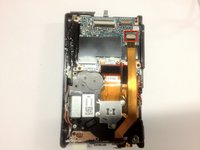
转到步骤 1If your front casing has come loose or needs to be replaced, follow this guid to remove your current front casing from the camera.


即将完成!
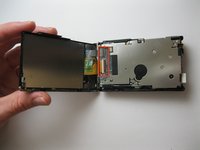
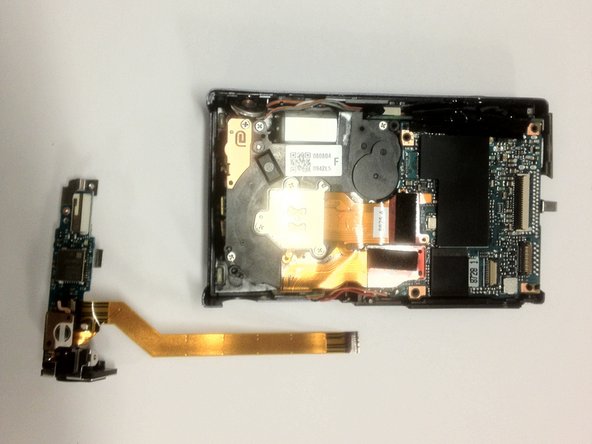
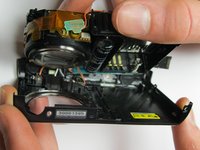
To reassemble your device, follow these instructions in reverse order.
结论
To reassemble your device, follow these instructions in reverse order.
团队

Cal Poly, Team 9-5, Regan Winter 2012 Cal Poly, Team 9-5, Regan Winter 2012 的会员
CPSU-REGAN-W12S9G5
5 名成员
创作了12篇指南