
Nexus 5 Motherboard Replacement
简介
转到步骤 1Use this guide to replace the motherboard in your Nexus 5.


-
-
Insert a SIM card eject tool or a paper clip into the hole next to the SIM card slot, which is located just under the power button. Do not force the paper clip if it is too thick; instead use the head of a sewing needle.
-
Push the tool into the hole until you see the card pop out.
-
-
-
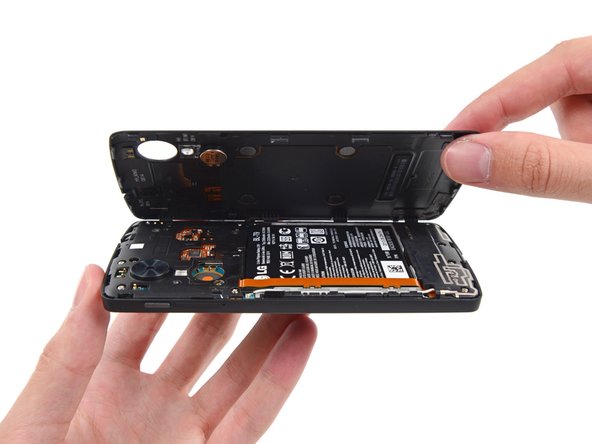
Use a plastic opening tool to free the clips on the top and each side of the back cover.
-
-
-
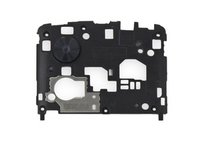
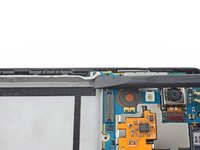
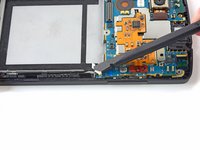
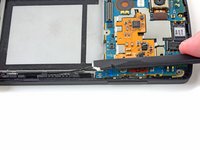
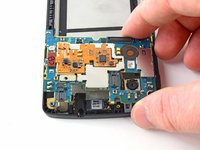
Remove the six 4.0 mm Phillips #00 screws that secure the midframe to the phone.
-
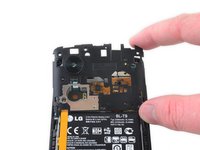
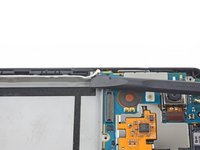
To replace the LCD screen and digitizer, remove the additional four 4.0mm daughterboard cover screws with the same screwdriver. You may have to pierce through clear adhesive material to remove them.
-
-
-
在这个步骤中使用的工具:Spudger$2.99
-
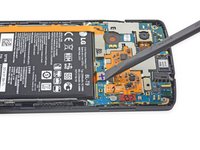
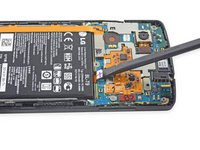
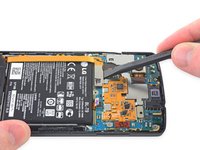
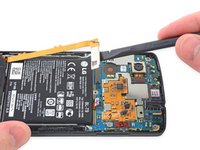
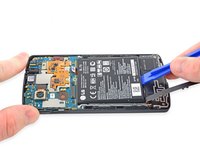
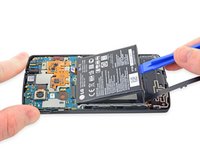
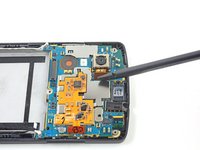
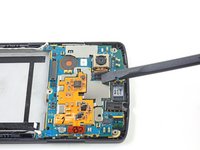
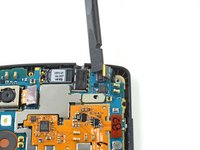
Use the flat end of a nylon spudger to disconnect the battery connector.
-


To reassemble your device, follow these instructions in reverse order.
To reassemble your device, follow these instructions in reverse order.
31等其他人完成本指南。
团队

Cal Poly, Team 7-23, Regan Spring 2014 Cal Poly, Team 7-23, Regan Spring 2014 的会员
CPSU-REGAN-S14S7G23
4 名成员
创作了19篇指南
12指南评论
is the motherboard from the 32gb nexus 5, compatible for the nexus 5 16gb lcd??
It should be, yes. I've chopped and changed loads of Nexus 5 phone around and haven't had a problem.
Thanks for the repy. My Nexus 5 has some bootoop problems and when i go to the boot options, (the hold power and volume down), it says Lock State - LOCKED. so im thinking of replacing the motherboard. or is there a way to fix my problem? Thanks for the reply. I appreciate it.
I just used this guide to quickly get at the motherboard to replace a faulty power button. It's tedious but not impossible with a very clean soldering iron tip, solder wick, and lots of flux. The replacement button and covers from iFixit were an exact match (I checked under a microscope).