简介
本指南将使你能够移除 Microsoft Surface Book 的屏幕。
如果玻璃破裂,用包装胶带将整个屏幕粘在一起,使玻璃保持为一个整体。你可以通过扬声器格栅开口作为切入点,并利用LCD背板来获得更大的强度支持(因为已经裂开的玻璃会很容易破碎)。
你所需要的
-
-
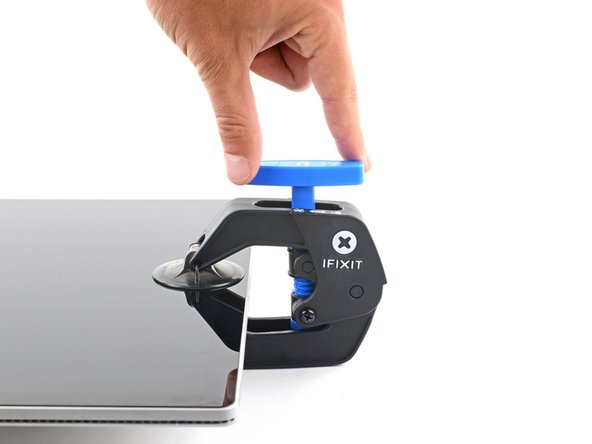
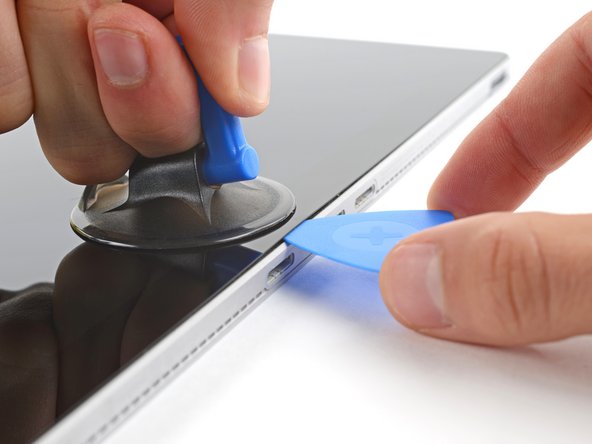
将蓝色把手向后扳,解锁反向钳臂.
-
将Surface Book下面垫高,这样留出足够空间让上下吸盘吸住
-
吸盘放置在底部边缘中间位置,正反面各一个吸盘吸住
-
紧握,握稳反向钳,紧紧按下上吸盘以施加吸力.
-
-
-
这个步骤还没有翻译 帮忙翻译一下
-
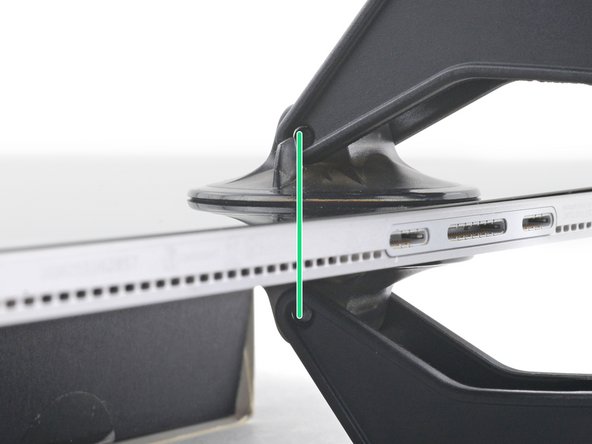
Wait one minute to give the adhesive a chance to release and present an opening gap.
-
If your screen isn't getting hot enough, you can use a hair dryer to heat along the bottom edge.
-
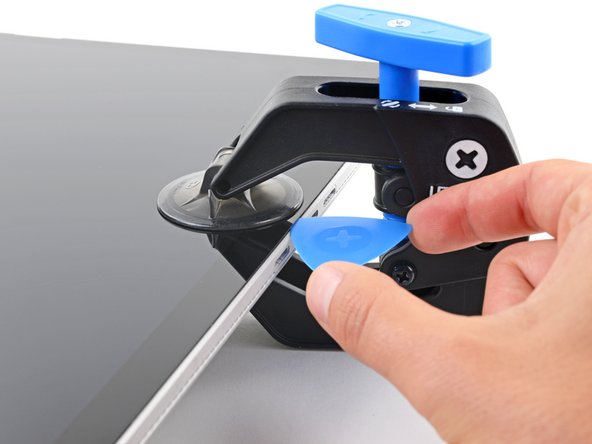
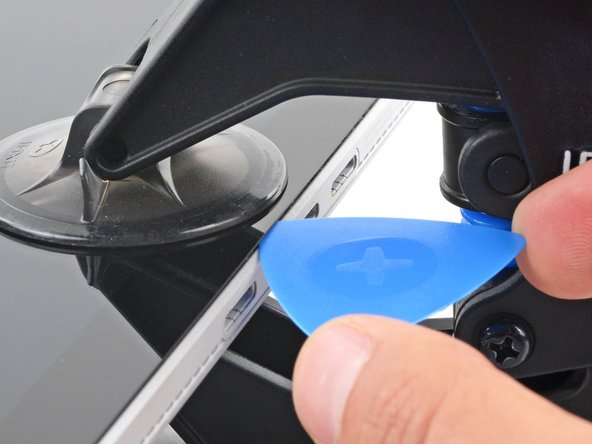
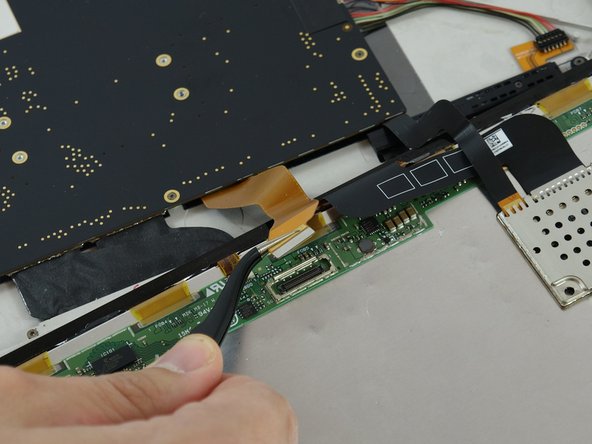
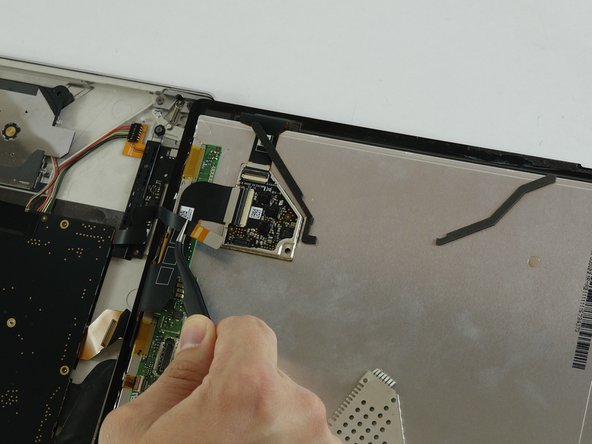
Insert an opening pick under the screen when the Anti-Clamp creates a large enough gap.
-
Skip the next step.
-


将您的新更换零件与原零件进行比较,您可能需要在安装新屏幕前替换原来的部件或是清除部件上的粘合剂(框胶)。
要重新组装设备,请按相反顺序执行上述步骤
将您的电子垃圾送到 R2 或e-Stewards认证的回收商.
维修遇到问题?查看我们的[链接|https://www.ifixit.com/Answers/Device/Mi...|问答社区] 来获取帮助.
将您的新更换零件与原零件进行比较,您可能需要在安装新屏幕前替换原来的部件或是清除部件上的粘合剂(框胶)。
要重新组装设备,请按相反顺序执行上述步骤
将您的电子垃圾送到 R2 或e-Stewards认证的回收商.
维修遇到问题?查看我们的[链接|https://www.ifixit.com/Answers/Device/Mi...|问答社区] 来获取帮助.
25等其他人完成本指南。


团队

USF Tampa, Team 1-6, Sullivan Spring 2017 USF Tampa, Team 1-6, Sullivan Spring 2017 的会员
USFT-SULLIVAN-S17S1G6
3 名成员
创作了14篇指南
31条评论
It is very unlikely you will get this screen off without breaking it. Luckily, my customer only wanted the SSD out of the device so he didn't care if I damaged it. This screen is crazy fragile and the glue is very very strong. Do not do this job thinking you will likely not break the screen, unless you have done it before.
The only way to remove it without breaking it is to use good scotch tape and completely cover the screen with a minimum 4 layers of tape. This will keep the screen intact - but you still have to be very careful.
That’s definitely not the only way. I just did it with a guitar pick and heat pad. After doing a ton of Surface Pro 3’s, I think this one is actually pretty easy in comparison.
austin -
I needed 3 hours for this, Did this the first time. There is everything glued. and real hard to not break the screen.
Can you put the screen back on after removing it?