当前版本的文档还未经巡查,您可以查看最新的已查核版本。
你所需要的
-
-
将固定在顶盖和背盖的螺丝卸除:
-
两个 2.3mm的P5五角螺丝
-
八个3.0mm的P5五角螺丝
-
-
-
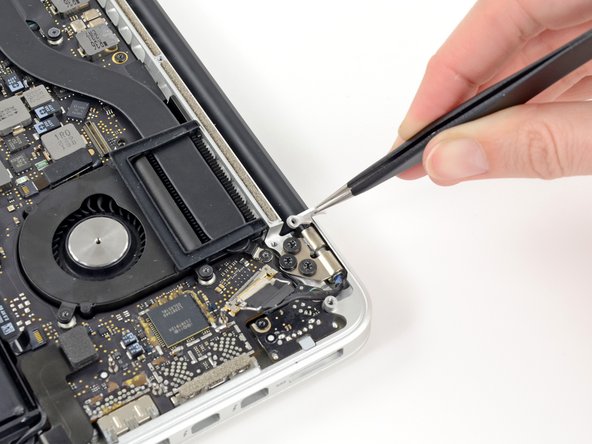
这个步骤还没有翻译 帮忙翻译一下
-
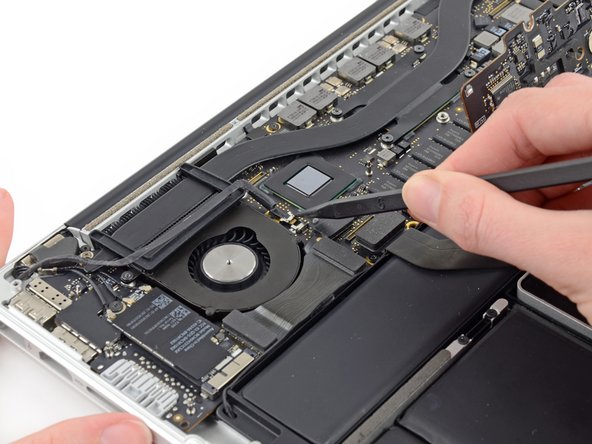
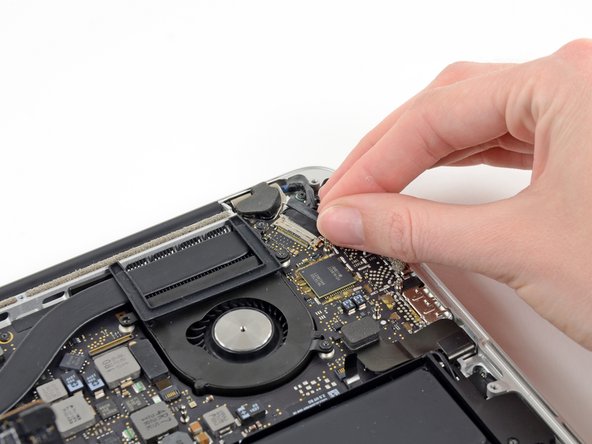
Use the flat end of a spudger to pry and disconnect the three antenna cable connectors from the AirPort board.
-
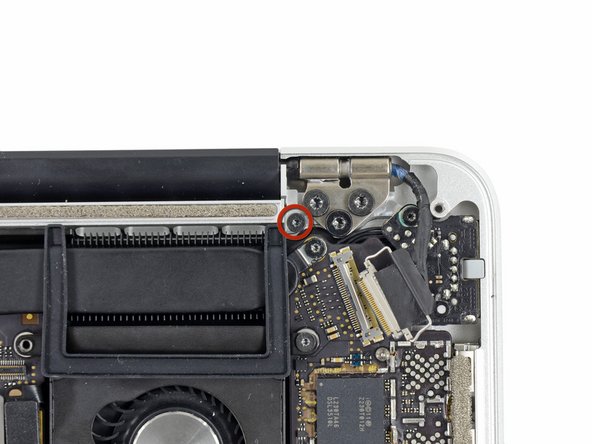
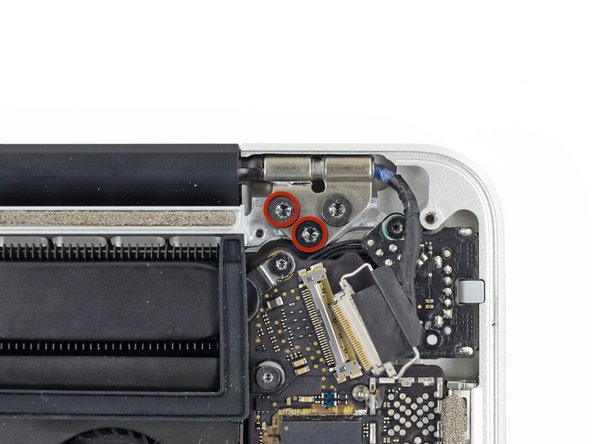
The three cables are coded with black sleeves of different lengths. During reassembly:
-
Connect the long-sleeved cable to the socket closest to the ports.
-
The short-sleeved cable connects next to the screw.
-
The remaining cable has no sleeve, and connects in the last empty socket, next to the fan.
-


57等其他人完成本指南。

9条评论
The screen arrived 1 day ahead of schedule. The "A" level screen was in perfect condition. I replaced the display in about 1 hour using the above instructions, powered up and everything worked perfectly.
My screen was wobbling, after removing the display, and tightening the screws on the display (after removing the black case at the bottom of the display, if you slide it to the right you can pull the black case of the display) the issue was fixed.
Excellent guide, walked through the steps and in reverse without any problems except removal of the bottom case. The P5 pentalobe has been such a headache. I ended up using a drill to grind down the heads (which was scary and probably incorrect) after stripping them. Now I'm looking for a way to extract the shafts. However, rest of the process once in was a dream.
Excellent guide, helped me to fix my wobbling screen.