
MacBook Air 13" Mid 2013 Display Assembly Replacement

简介
转到步骤 1Use this guide to replace the display assembly.


-
在这个步骤中使用的工具:P5 Pentalobe Screwdriver Retina MacBook Pro and Air$5.99
-
Use a P5 Pentalobe driver to remove ten screws securing the lower case, of the following lengths:
-
Two 9 mm screws
-
Eight 2.6 mm screws
-
-
-
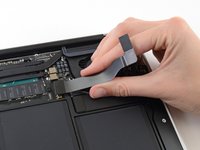
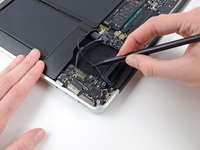
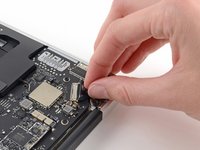
Grab the clear plastic pull tab attached to the battery connector and pull it parallel to the board toward the front edge of the Air.
-
-
-
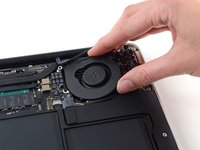
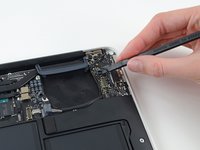
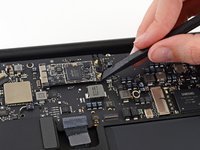
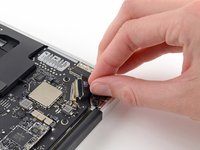
Use the flat end of a spudger to pry the I/O board cable connector up out of its socket on the I/O board.
-
-
-
-
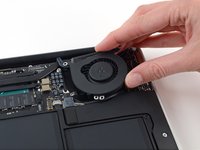
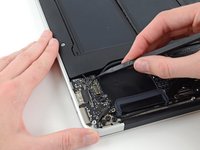
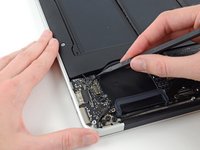
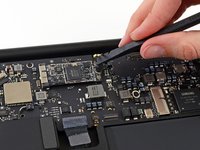
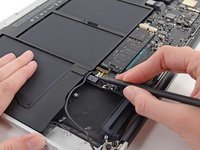
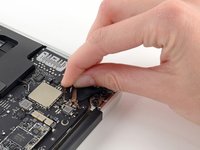
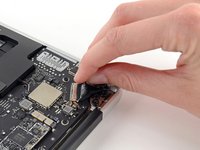
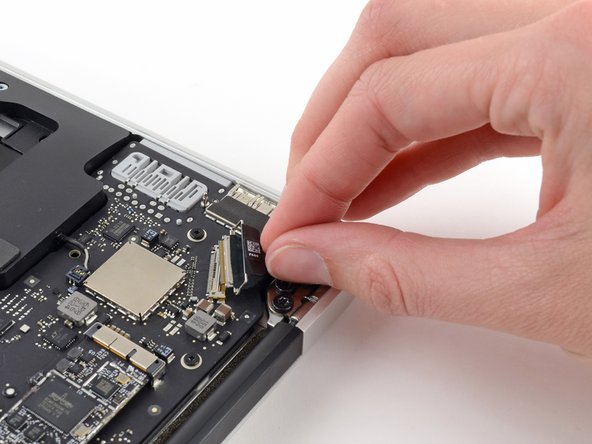
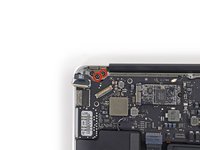
Disconnect the I/O board by pulling its power cable away from its socket on the logic board.
-
-
-
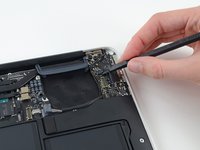
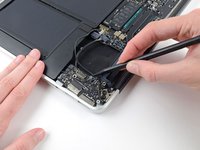
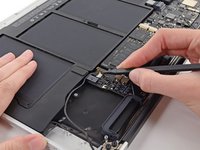
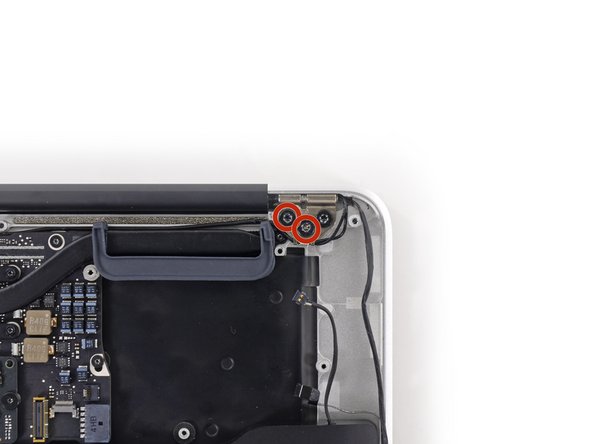
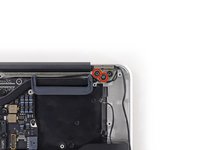
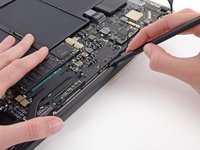
Use the flat end of a spudger to pry each of the antenna connectors up from their sockets on the AirPort/Bluetooth card.
-


To reassemble your device, follow these instructions in reverse order.
To reassemble your device, follow these instructions in reverse order.
78等其他人完成本指南。

17指南评论
Just a reminder that you DO NOT want to touch the battery with your hands or a screw driver you can compromise the integrity of the battery and possibly cause a thermal event. Always use proper battery cover kit.
When reassembling the device, keep in mind that the holes in the hinges are relatively big compared to the T8 screws, so there will be a certain play. Check if display and body are in line when the MacBook is closed, then tighten the screws.
When I noticed this (also similar issue when installing the trackpad), I thought "what an inferior engineering for such an expensive product".