
Mac mini Late 2014 Drive Tray Replacement

简介
转到步骤 1Use this guide to strip and replace the drive tray and IR sensor in your Mac mini Late 2014.
This guide was made with a Fusion Drive Mac mini, and may have more connectors and components than your model. Don't be alarmed if you're missing a hard drive or SSD connector!


-
-
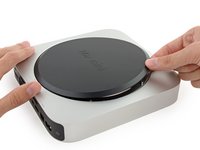
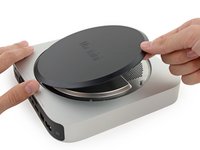
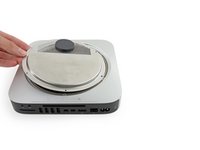
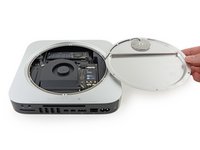
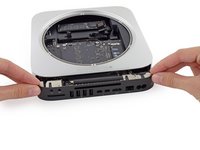
The bottom cover is clipped onto three screw posts.
-
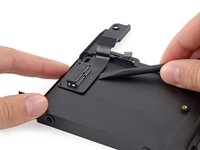
Pry near, but not right on the screw posts.
-
-
-
Remove the following TR6 screws from the antenna plate:
-
Three 4.1 mm screws
-
Three 1.9 mm screws
-
-
-
Remove the two 12 mm T6 screws from the fan.
-
Loosen the 27 mm T6 captive screw–it will get removed with the fan assembly.
-
-
-
在这个步骤中使用的工具:Mac mini Logic Board Removal Tool$4.99
-
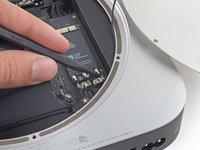
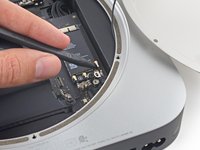
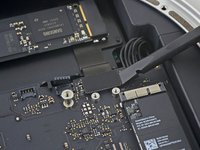
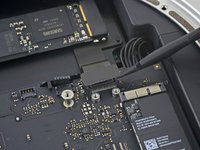
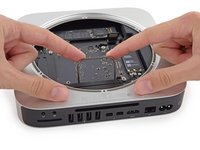
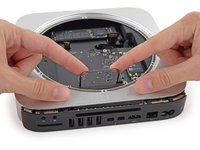
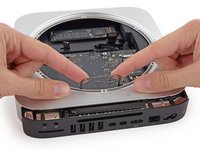
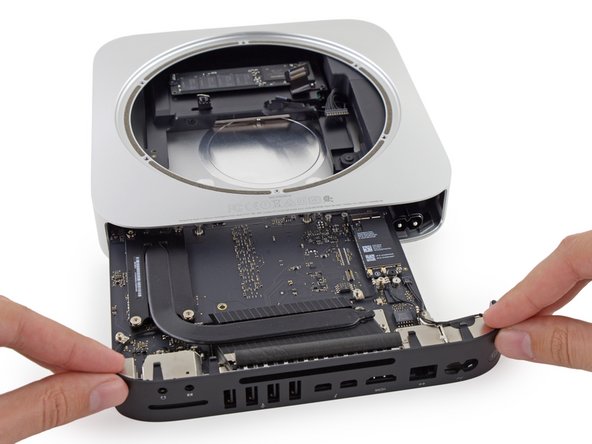
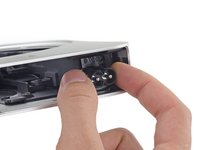
Insert the Mac mini Logic Board Removal Tool into the two holes highlighted in red. Be sure the rods make contact with the case under the logic board before proceeding.
-
-
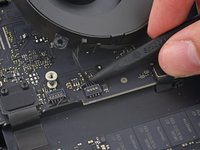
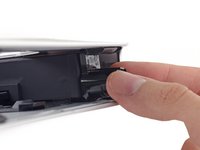
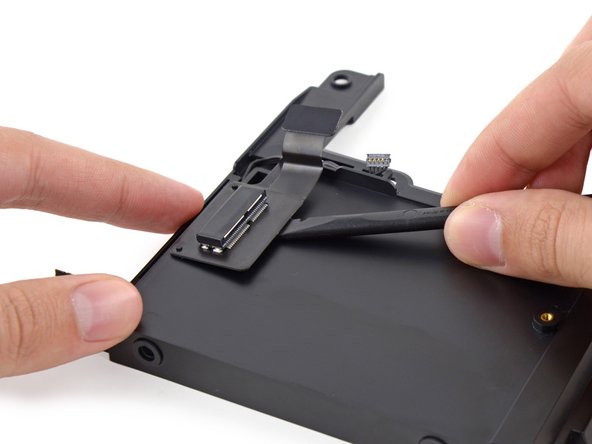
在这个步骤中使用的工具:Tweezers$4.99
-
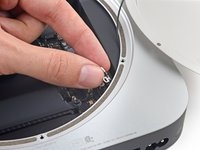
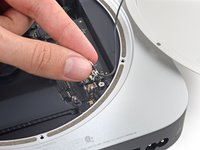
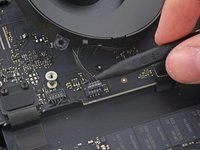
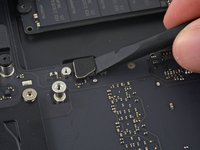
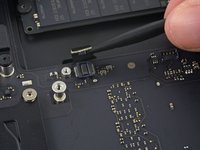
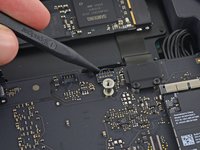
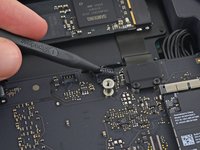
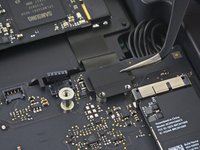
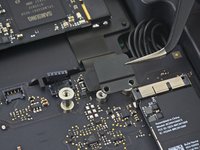
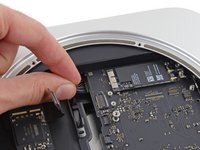
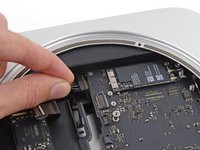
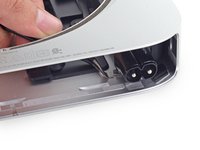
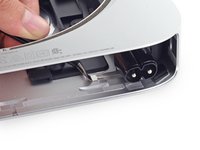
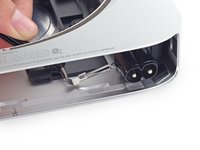
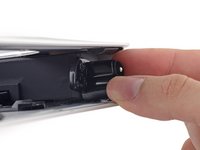
Use tweezers or your fingers to pull the clip away from the AC-in socket, and remove it from the Mac mini.
-
-
-
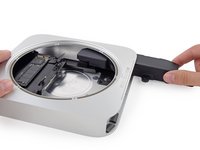
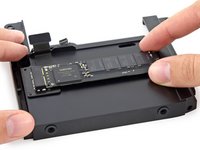
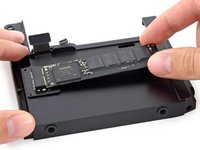
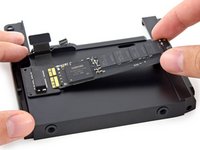
Remove the four (two on each side) 6.5 mm T8 screws securing the hard drive to the drive tray.
-


To reassemble your device, follow these instructions in reverse order.
To reassemble your device, follow these instructions in reverse order.
12等其他人完成本指南。

