跳转到主内容
加入维修社区 - 创建账户

MSI MS-1782 GPU Replacement

你所需要的

    1. MSI MS-1782 GPU Replacement, Back Cover: 步骤 1 中的图像 1,1
      • Remove five 6.6 mm screws from the edges of the bottom cover using a JIS #1 screwdriver.

      • Remove one 5.6 mm screw from the center of the bottom cover using a JIS #1 screwdriver.

      询问修复机器人

      添加评论

    2. MSI MS-1782 GPU Replacement: 步骤 2 中的图像 1,3 MSI MS-1782 GPU Replacement: 步骤 2 中的图像 2,3 MSI MS-1782 GPU Replacement: 步骤 2 中的图像 3,3
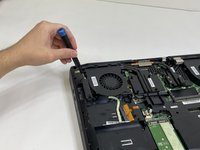
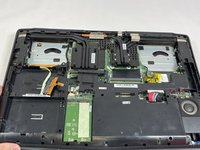
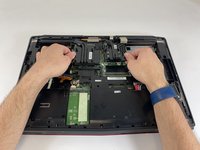
      • Use an iFixit opening pick to unclip the bottom cover.

      • It is ok to run the picks along the edges since there is nothing connected to the bottom cover. It is easier to start from the sides and then work your way forward.

      • After unclipping the bottom case, pull from the back of the laptop upwards using the lip of the bottom case as a handle.

      询问修复机器人

      添加评论

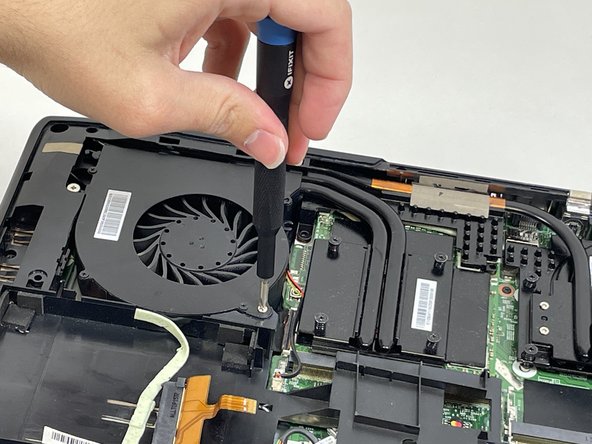
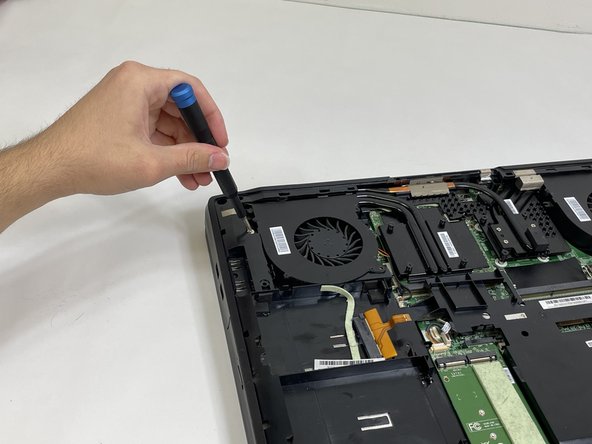
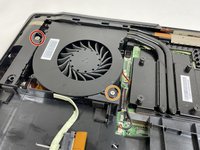
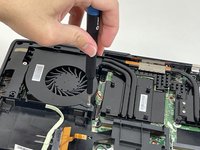
    1. MSI MS-1782 GPU Replacement, Cooling Assembly: 步骤 3 中的图像 1,3 MSI MS-1782 GPU Replacement, Cooling Assembly: 步骤 3 中的图像 2,3 MSI MS-1782 GPU Replacement, Cooling Assembly: 步骤 3 中的图像 3,3
      • Loosen the captive screw on the left side of the left fan using a JIS #2 screwdriver.

      • Remove the 5.1 mm screw on the right side of the left fan using a JIS #2 screwdriver.

      询问修复机器人

      添加评论

    2. MSI MS-1782 GPU Replacement: 步骤 4 中的图像 1,3 MSI MS-1782 GPU Replacement: 步骤 4 中的图像 2,3 MSI MS-1782 GPU Replacement: 步骤 4 中的图像 3,3
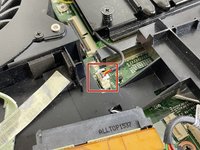
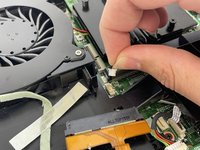
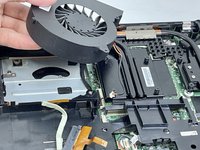
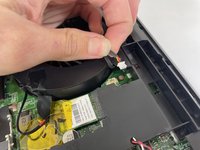
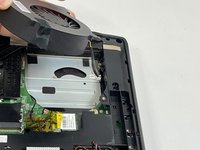
      • Gently detach the fan connector.

      • Remove the fan by lifting it out of its housing.

      • Be sure to handle the wire delicately; if not it will break.

      询问修复机器人

      添加评论

    3. MSI MS-1782 GPU Replacement: 步骤 5 中的图像 1,3 MSI MS-1782 GPU Replacement: 步骤 5 中的图像 2,3 MSI MS-1782 GPU Replacement: 步骤 5 中的图像 3,3
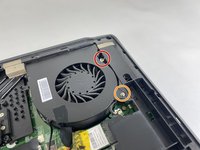
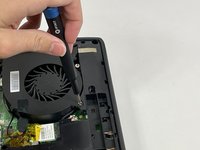
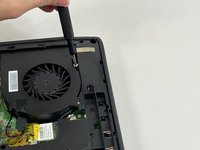
      • Loosen the captive screw on the top of the right fan using a JIS #2 screwdriver.

      • Remove the 3.6 mm screw on the bottom of the right fan using a JIS #2 screwdriver.

      询问修复机器人

      添加评论

    4. MSI MS-1782 GPU Replacement: 步骤 6 中的图像 1,3 MSI MS-1782 GPU Replacement: 步骤 6 中的图像 2,3 MSI MS-1782 GPU Replacement: 步骤 6 中的图像 3,3
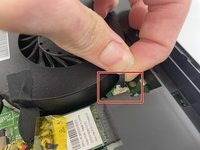
      • Gently detach the fan connector.

      • Remove the fan by lifting it out of its housing.

      • Be sure to handle the wire delicately; if not it will break.

      询问修复机器人

      添加评论

    5. MSI MS-1782 GPU Replacement: 步骤 7 中的图像 1,3 MSI MS-1782 GPU Replacement: 步骤 7 中的图像 2,3 MSI MS-1782 GPU Replacement: 步骤 7 中的图像 3,3
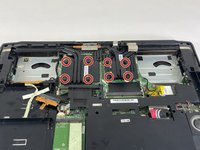
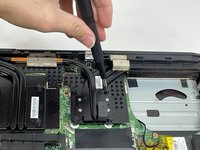
      • Loosen the eight captive screws holding the heat sink in place using a JIS #2 screwdriver.

      • Be sure to follow the numbers that are next to the screws on the heatsink. This evenly removes pressure on the components when removing the heatsink.

      询问修复机器人

      添加评论

    6. MSI MS-1782 GPU Replacement: 步骤 8 中的图像 1,3 MSI MS-1782 GPU Replacement: 步骤 8 中的图像 2,3 MSI MS-1782 GPU Replacement: 步骤 8 中的图像 3,3
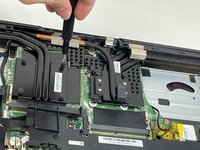
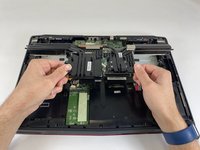
      • Gently lift the heat sink and then pull forwards towards you.

      询问修复机器人

      添加评论

    1. MSI MS-1782 GPU Replacement, GPU: 步骤 9 中的图像 1,3 MSI MS-1782 GPU Replacement, GPU: 步骤 9 中的图像 2,3 MSI MS-1782 GPU Replacement, GPU: 步骤 9 中的图像 3,3
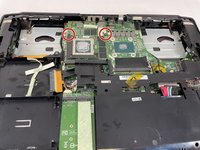
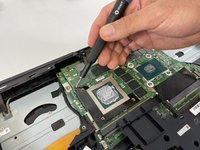
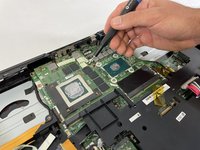
      • Remove the two 5.0 mm screws holding the GPU by using a JIS #1 screwdriver.

      询问修复机器人

      添加评论

    2. MSI MS-1782 GPU Replacement: 步骤 10 中的图像 1,3 MSI MS-1782 GPU Replacement: 步骤 10 中的图像 2,3 MSI MS-1782 GPU Replacement: 步骤 10 中的图像 3,3
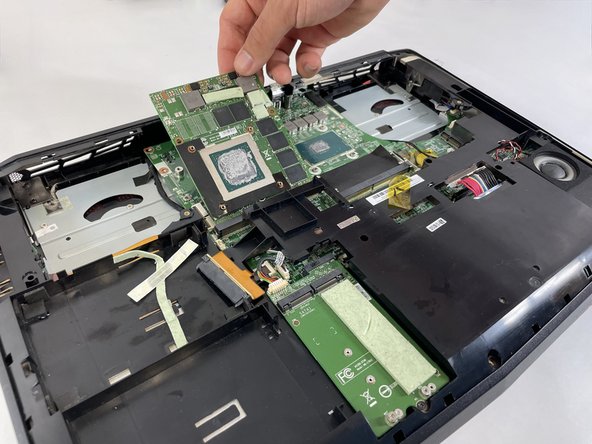
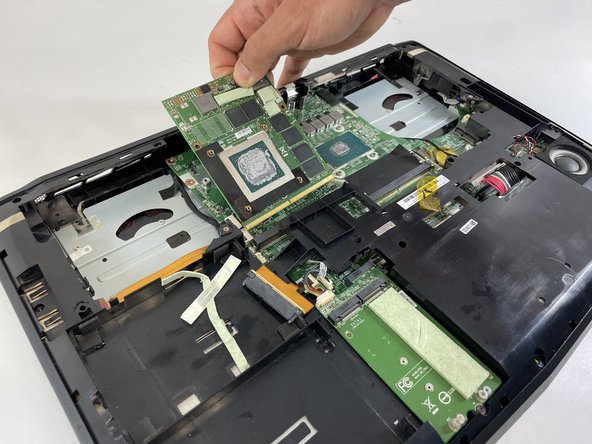
      • Gently lift the GPU and pull to remove it from the laptop.

      询问修复机器人

      添加评论

结论

To reassemble your device, follow these instructions in reverse order.

取消:我没有完成这个指南。

0指南评论

添加评论

浏览统计数据:

过去 24 小时: 1

过去 7 天: 5

过去 30 天: 28

总计 867