
Lenovo ThinkPad Yoga 370 Screen Replacement

简介
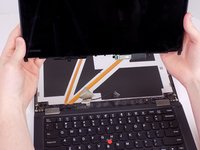
转到步骤 1The screen is a crucial part of a laptop. A screen that is damaged and broken can cause many problems in the display of information. Follow this guide to learn how to replace the screen on a Lenovo Thinkpad Yoga 370.
Before beginning this repair, power off your device and unplug from your power adapter.


-
-
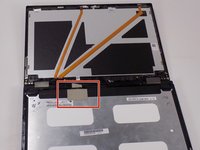
Remove rubber plugs on the lower corners of the screen
-
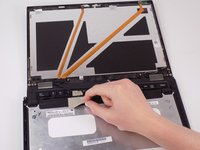
Unscrew screws under the rubber plugs
-
-


To reassemble your device, follow these instructions in reverse order.
To reassemble your device, follow these instructions in reverse order.
另外一个人完成了本指南。

团队

Embry-Riddle Aeronautical University, Team 2-4, Rauch Spring 2022 Embry-Riddle Aeronautical University, Team 2-4, Rauch Spring 2022 的会员
ERAU-RAUCH-S22S2G4
3 名成员
创作了3篇指南