
Lenovo ThinkPad Yoga 370 Motherboard Replacement

简介
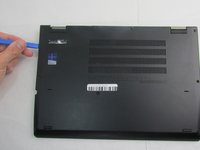
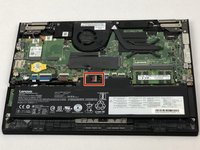
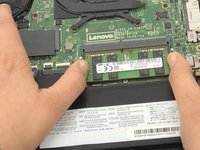
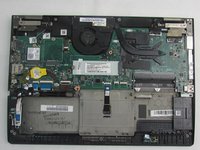
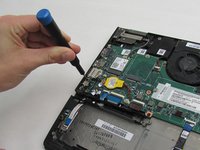
转到步骤 1The motherboard of a device is one of the most important components. The motherboard holds the central processing unit (CPU), memory, and connectors for other vital components in the device. A faulty motherboard will show (and are not limited to) these symptoms: blue screen of death (BSoD), beeping, error codes appearing, no display, etc. For more information on troubleshooting your device, please visit the Lenovo ThinkPad Yoga 370 Troubleshooting page.
For the Lenovo ThinkPad Yoga 370 (Model Number: 20JH002AUS), if your motherboard has gone bad from physical damage or excess heat, this guide will show the steps needed to replace the motherboard.


To reassemble your device, follow these instructions in reverse order.
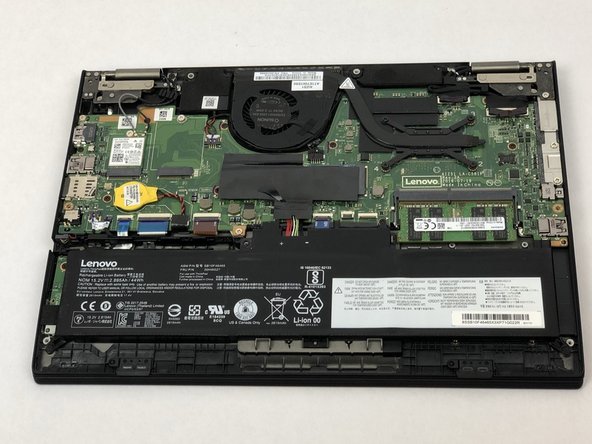
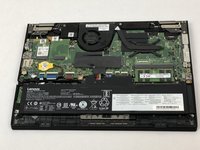
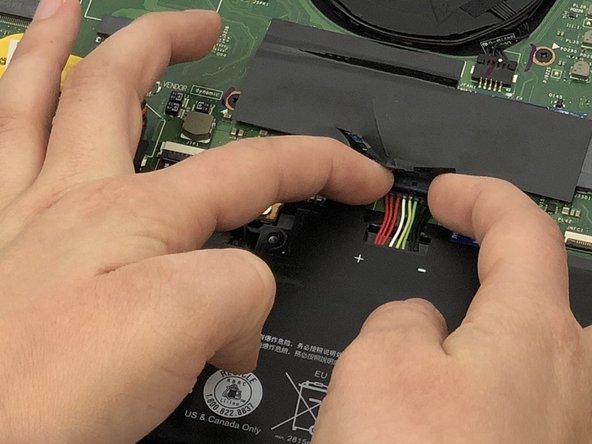
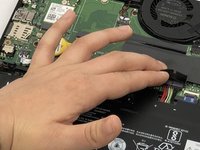
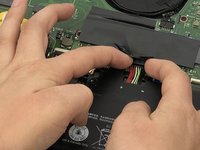
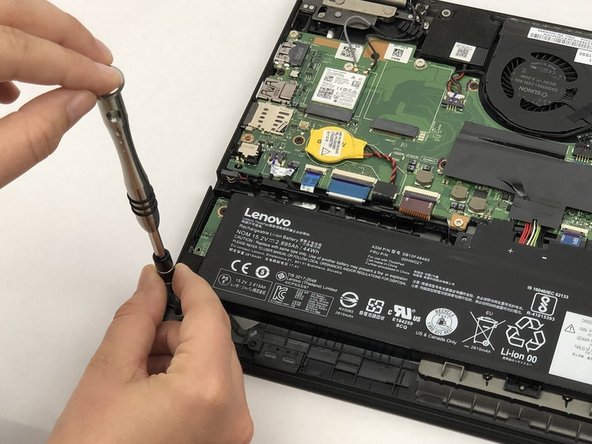
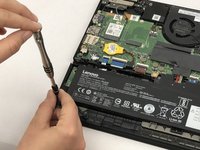
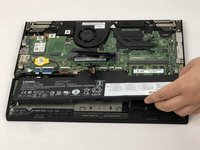
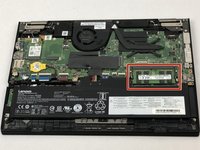
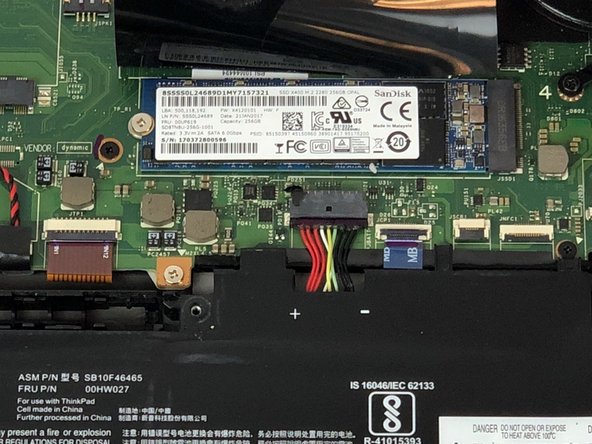
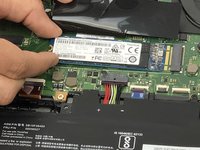
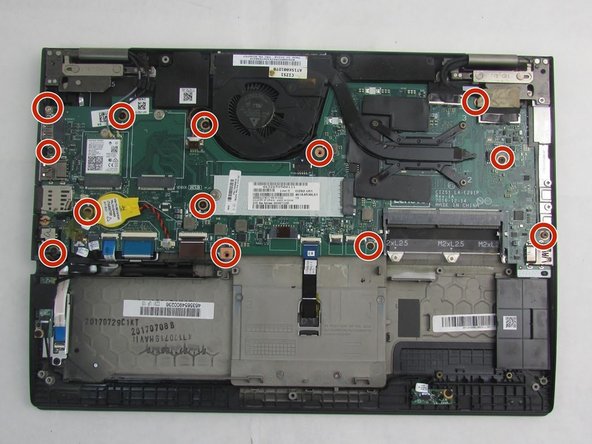
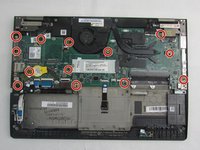
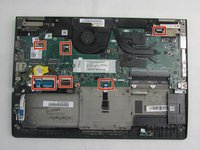
Note: Due to the similarity of the devices, several of the pictures were used from the Lenovo ThinkPad Yoga 260 Battery Replacement Guide to show the specific components that were missing in the Yoga 370.
To reassemble your device, follow these instructions in reverse order.
Note: Due to the similarity of the devices, several of the pictures were used from the Lenovo ThinkPad Yoga 260 Battery Replacement Guide to show the specific components that were missing in the Yoga 370.
另外一个人完成了本指南。

团队

Embry-Riddle Aeronautical University, Team S12-G6, Lamothe Fall 2019 Embry-Riddle Aeronautical University, Team S12-G6, Lamothe Fall 2019 的会员
ERAU-LAMOTHE-F19S12G6
3 名成员
创作了5篇指南
2条评论
in a guide for the Yoga 370, you used pictures from another model?? Because parts aren’t in a 370, but you wanted a picture of them anyway?
From above “Note: Due to the similarity of the devices, several of the pictures were used from the Lenovo ThinkPad Yoga 260 Battery Replacement Guide to show the ****specific components that were missing in the Yoga 370.**** “
(I added the **** to show item in question)
I came here hoping to see what the various connections internally are for. I found pics not related to the device.
Also, the correct procedure to disable the battery is missing.
please help me with Lenovo yoga 370 power ic