
Lenovo IdeaPad U410 Hard Drive Replacement
简介
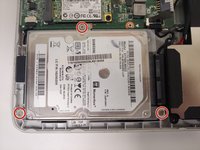
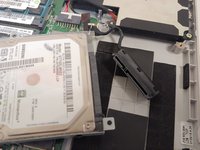
转到步骤 1This hard drive replacement guide will show you how to properly remove the hard drive from your Lenovo IdeaPad. The only tool mandatory for this guide will be a #1 Phillips head screw driver and a metal spudger.


-
-
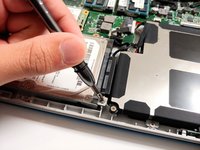
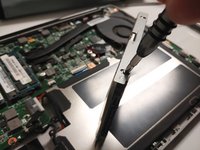
Using the metal spudger, remove all the rubber squares on the bottom of the laptop.
-
-


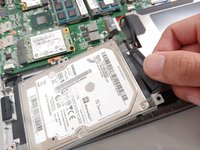


To reassemble your device, follow these instructions in reverse order.
To reassemble your device, follow these instructions in reverse order.
2等其他人完成本指南。
团队

University of North Texas, Team S3-G5, Raign Fall 2018 University of North Texas, Team S3-G5, Raign Fall 2018 的会员
UNT-RAIGN-F18S3G5
4 名成员
创作了6篇指南