跳转到主内容
加入维修社区 - 创建账户

Insignia NS-CLLT01 Button Replacement

你所需要的

    1. Insignia NS-CLLT01 Button Replacement, Insignia NS-CLLT01 Top Casing Removal: 步骤 1 中的图像 1,2 Insignia NS-CLLT01 Button Replacement, Insignia NS-CLLT01 Top Casing Removal: 步骤 1 中的图像 2,2
      • Lift the four adhesive covers on each of the corners on the bottom of the clock using a plastic opening tool or your fingernail.

      询问修复机器人

      添加评论

    2. Insignia NS-CLLT01 Button Replacement: 步骤 2 中的图像 1,3 Insignia NS-CLLT01 Button Replacement: 步骤 2 中的图像 2,3 Insignia NS-CLLT01 Button Replacement: 步骤 2 中的图像 3,3
      • On the bottom of the clock, use your fingernail to push the battery cover to the right.

      • Lift the battery cover up and to the right to reveal the batteries.

      询问修复机器人

      添加评论

    3. Insignia NS-CLLT01 Button Replacement: 步骤 3 中的图像 1,1
      • Remove the two AA batteries by pressing the end opposite of the spring towards that spring and lifting up.

      • Once the batteries are removed, close the cover.

      询问修复机器人

      添加评论

    4. Insignia NS-CLLT01 Button Replacement: 步骤 4 中的图像 1,1
      • Use a long Phillips #2 screwdriver to unscrew all six 10mm Phillips screws inside the bottom of the clock.

      • Turn over the device to allow the screws to fall out, being careful to catch them so that you do not lose any.

      • The screws may not come out of the bottom of the clock. As long as you have unscrewed them, the clock can still be opened.

      询问修复机器人

      添加评论

    5. Insignia NS-CLLT01 Button Replacement: 步骤 5 中的图像 1,3 Insignia NS-CLLT01 Button Replacement: 步骤 5 中的图像 2,3 Insignia NS-CLLT01 Button Replacement: 步骤 5 中的图像 3,3
      • Turn the clock back over.

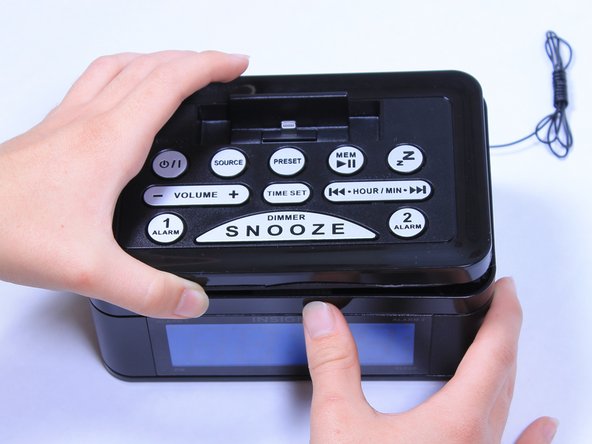
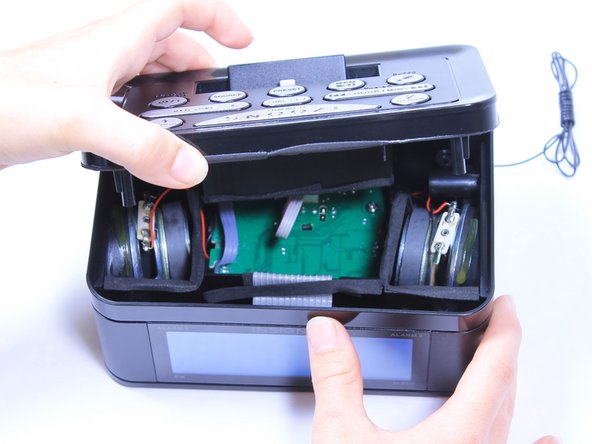
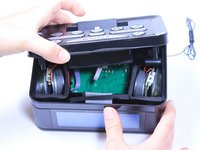
      • Lift the top off of the clock by gripping the back of the iPhone dock and pulling straight up.

      询问修复机器人

      添加评论

    1. Insignia NS-CLLT01 Button Replacement, Button: 步骤 6 中的图像 1,1
      • Using the Phillips #2 screwdriver, unscrew the seven 6mm Phillips screws on the circuit board that is attached to the top of the case.

      询问修复机器人

      添加评论

    2. Insignia NS-CLLT01 Button Replacement: 步骤 7 中的图像 1,1
      • Lift the circuit board from the device.

      询问修复机器人

      添加评论

    3. Insignia NS-CLLT01 Button Replacement: 步骤 8 中的图像 1,2 Insignia NS-CLLT01 Button Replacement: 步骤 8 中的图像 2,2
      在这个步骤中使用的工具:
      Tweezers
      $4.99
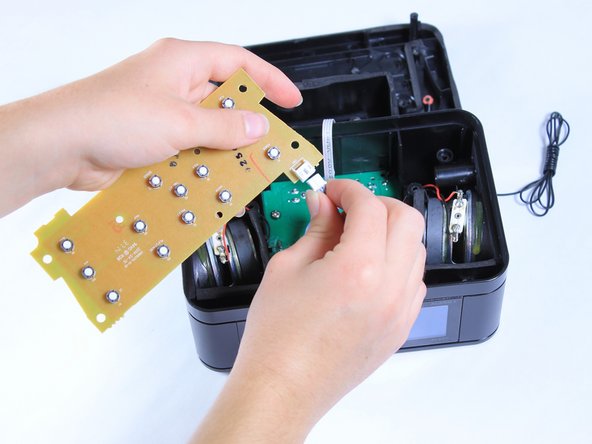
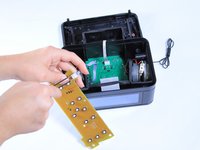
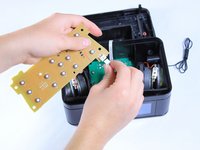
      • Detach the circuit board from the rest of the clock by gripping the sides of the white ribbon cable connector on the left-hand side of the board and pulling it straight off. You may need to use tweezers to grip the connector.

      询问修复机器人

      添加评论

    4. Insignia NS-CLLT01 Button Replacement: 步骤 9 中的图像 1,3 Insignia NS-CLLT01 Button Replacement: 步骤 9 中的图像 2,3 Insignia NS-CLLT01 Button Replacement: 步骤 9 中的图像 3,3
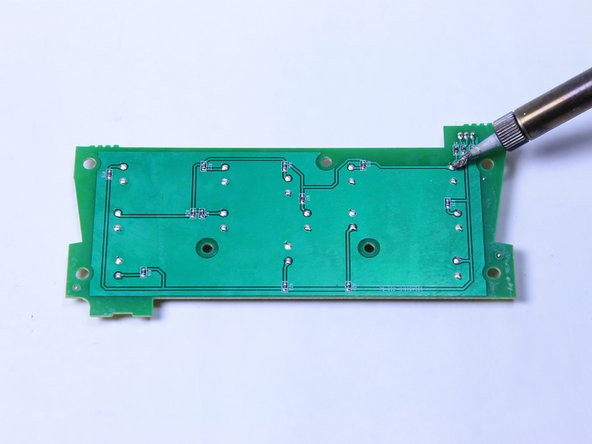
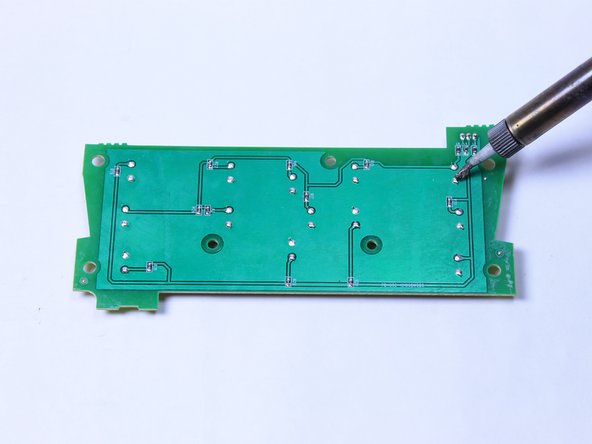
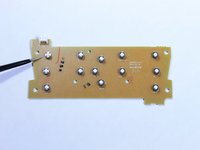
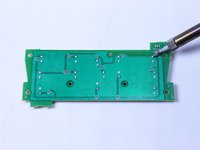
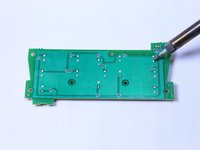
      • Use this soldering guide to remove and replace any buttons that were not working.

      • The buttons will be labeled on the top of the circuit board, and you will be working with the corresponding connections on the back.

      询问修复机器人

      添加评论

结论

To reassemble your device, follow these instructions in reverse order.

取消:我没有完成这个指南。

团队

Baylor, Team 6-9, Williams Fall 2015 Baylor, Team 6-9, Williams Fall 2015 的会员

BU-WILLIAMS-F15S6G9

3 名成员

创作了12篇指南

0指南评论

添加评论

浏览统计数据:

过去 24 小时: 0

过去 7 天: 7

过去 30 天: 33

总计 672