简介
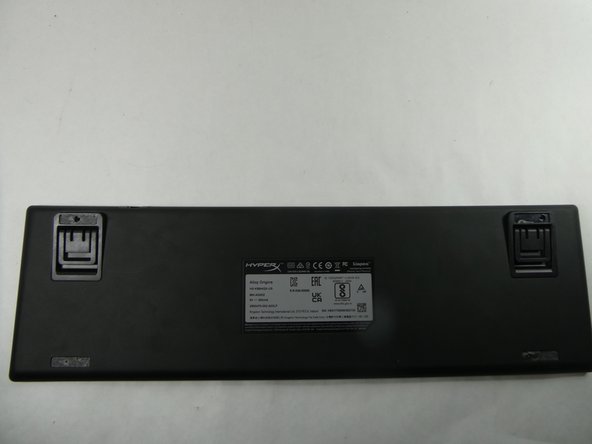
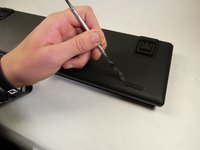
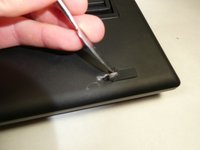
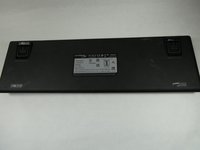
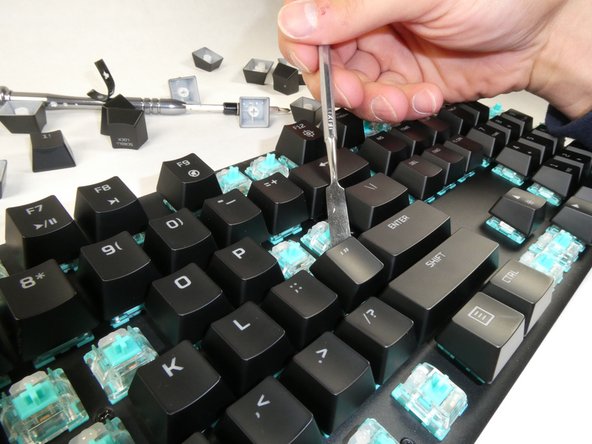
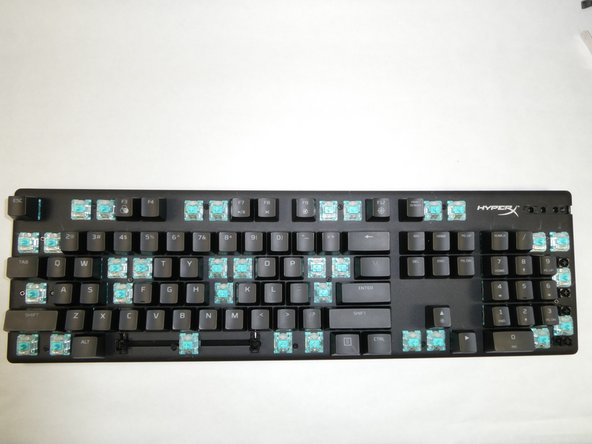
This guide will show how to remove the backplate from your HyperX Alloy Origins mechanical keyboard (serial number HX-KB6RDX and its variants).
The HyperX Alloy Origins mechanical keyboard, like many other keyboards, requires backplate removal before accessing many of its other internal components. Be sure to visit the troubleshooting page first before determining that a part needs to be replaced! Otherwise, this guide will help you in what is often the first step in repairing your HyperX Alloy Origins keyboard.
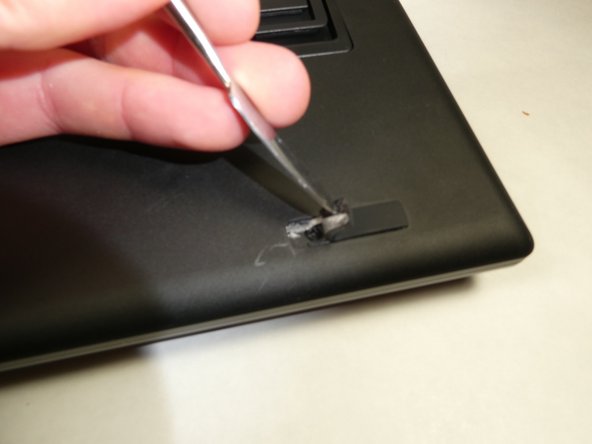
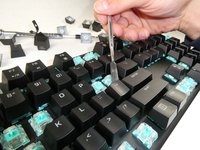
Before removing the backplate, make sure the keyboard is disconnected from your device and that the LED’s are not on. Avoid using excessive force during disassembly to prevent damaging any of the keyboard’s components. Work on a solid, hard surface, and ground yourself occasionally during disassembly to mitigate electrostatic discharge from your hands, which could damage internal keyboard components.
你所需要的
-
-
-
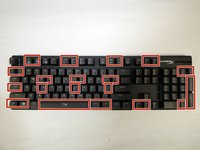
Locate the toggle indicator tab on the top right corner of the keyboard.
 询问修复机器人
-
-
-






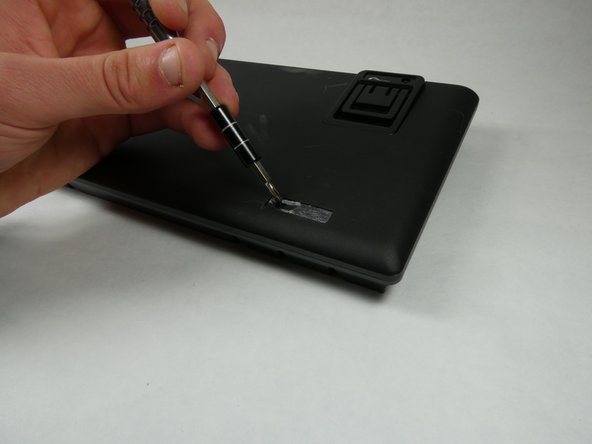

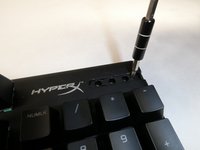
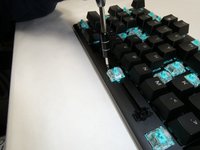

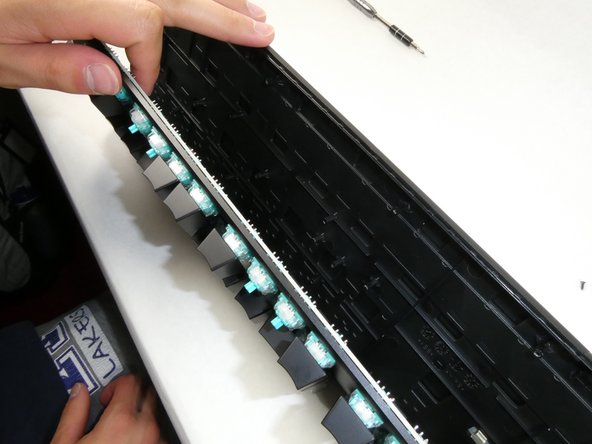

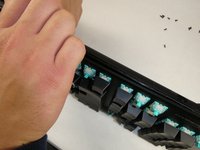
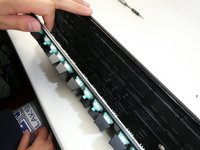
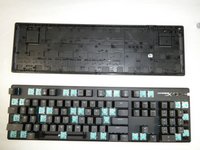
To reassemble your device, follow these instructions in reverse order.
另外一个人完成了本指南。

团队

UMass Dartmouth, Team 5-2, Sinclaire Fall 2022 UMass Dartmouth, Team 5-2, Sinclaire Fall 2022 的会员
UMASSD-SINCLAIRE-F22S5G2
5 名成员
创作了15篇指南
1指南评论
my plate was scratched due to being separated using a metal screw driver, do you have any recommended paints to go over the scratched areas with?
