跳转到主内容
加入维修社区 - 创建账户

Haiboxing 18859 Motor Replacement

你所需要的

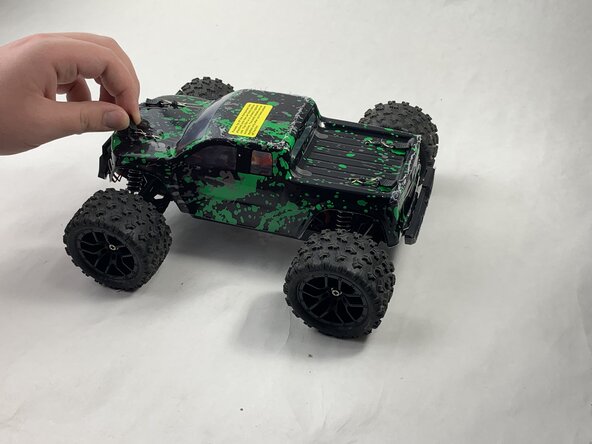
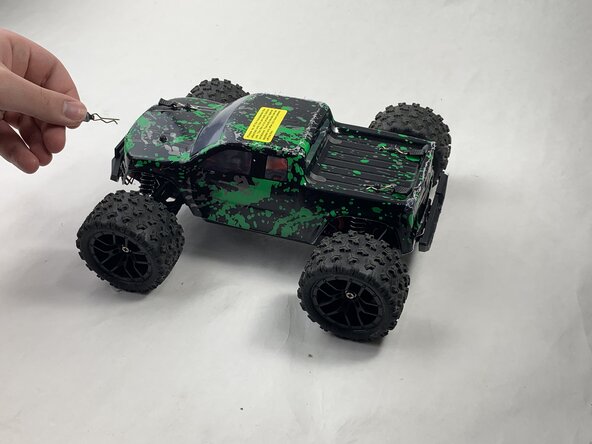
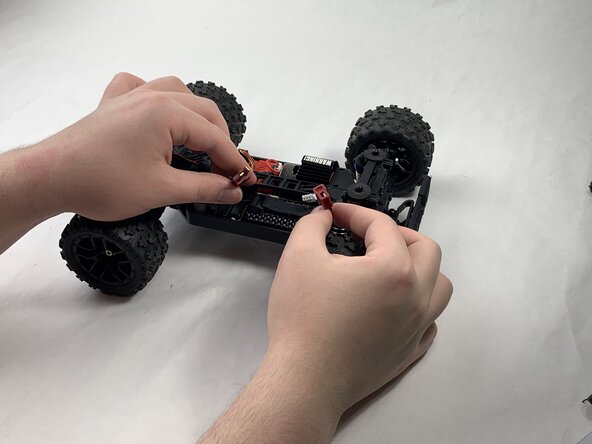
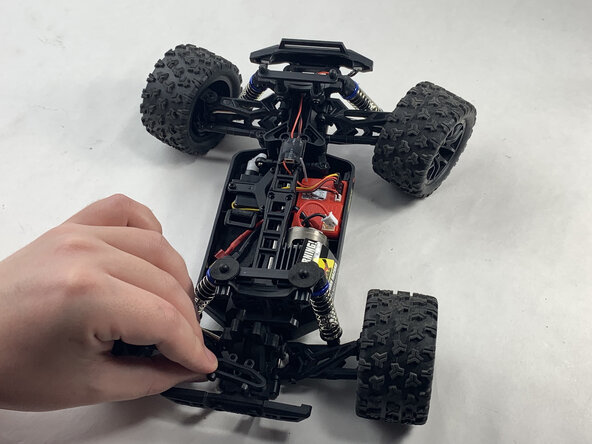
    1. Haiboxing 18859 Motor Replacement, Battery: 步骤 1 中的图像 1,3 Haiboxing 18859 Motor Replacement, Battery: 步骤 1 中的图像 2,3 Haiboxing 18859 Motor Replacement, Battery: 步骤 1 中的图像 3,3
      • Remove the 4 clips holding down the hard plastic shell of the RC car. Do this by pinching them with your thumb and index finger and pulling away.

      询问修复机器人

      添加评论

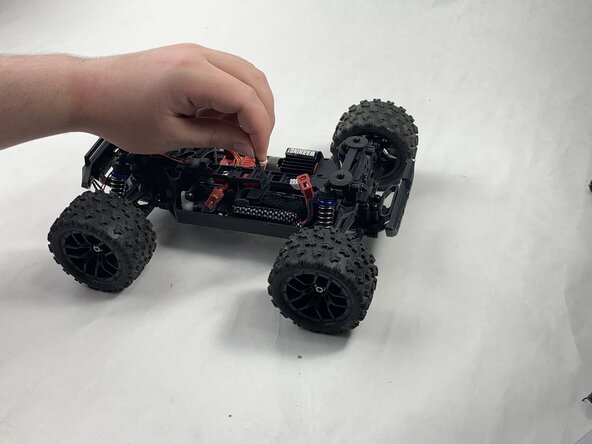
    2. Haiboxing 18859 Motor Replacement: 步骤 2 中的图像 1,1
      • Lift the hard plastic shell off of the RC car.

      询问修复机器人

      添加评论

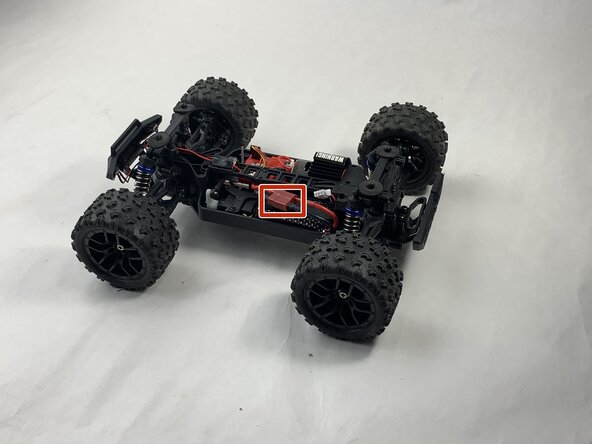
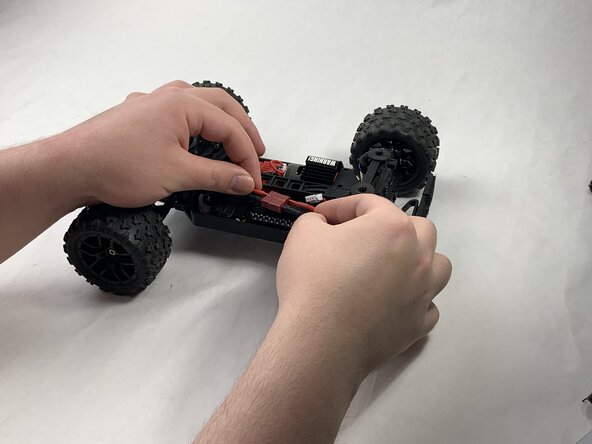
    3. Haiboxing 18859 Motor Replacement: 步骤 3 中的图像 1,3 Haiboxing 18859 Motor Replacement: 步骤 3 中的图像 2,3 Haiboxing 18859 Motor Replacement: 步骤 3 中的图像 3,3
      • Disconnect the Lego-style battery connector by gripping either side and pulling them away from each other, slowly and consistently.

      询问修复机器人

      添加评论

    4. Haiboxing 18859 Motor Replacement: 步骤 4 中的图像 1,3 Haiboxing 18859 Motor Replacement: 步骤 4 中的图像 2,3 Haiboxing 18859 Motor Replacement: 步骤 4 中的图像 3,3
      • Unfasten the Velcro strap that secures the battery.

      询问修复机器人

      添加评论

    5. Haiboxing 18859 Motor Replacement: 步骤 5 中的图像 1,2 Haiboxing 18859 Motor Replacement: 步骤 5 中的图像 2,2
      • Remove the battery.

      询问修复机器人

      添加评论

    1. Haiboxing 18859 Motor Replacement, Motor: 步骤 6 中的图像 1,1
      • Unplug the motor from the receiver.

      询问修复机器人

      添加评论

    2. Haiboxing 18859 Motor Replacement: 步骤 7 中的图像 1,1
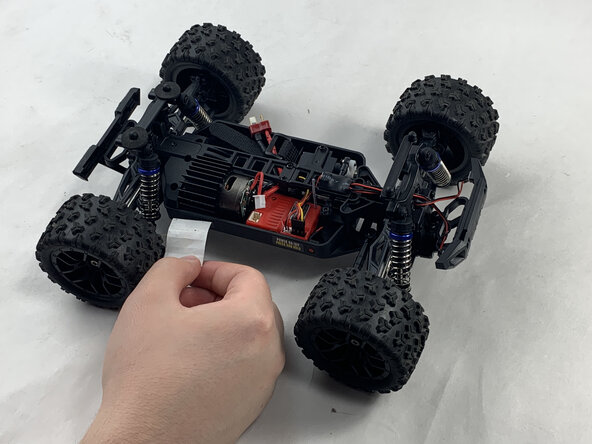
      • Peel back the warning tape covering the motor.

      询问修复机器人

      添加评论

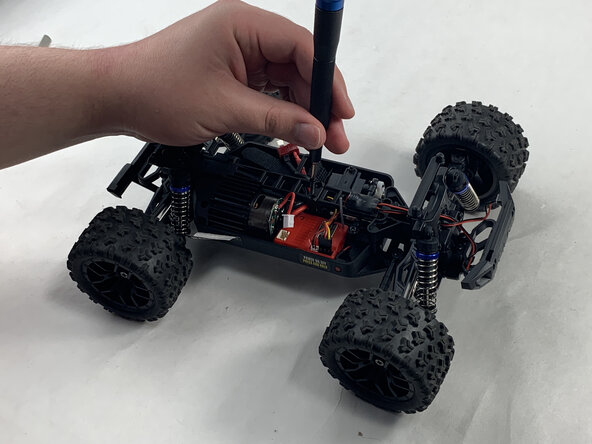
    3. Haiboxing 18859 Motor Replacement: 步骤 8 中的图像 1,3 Haiboxing 18859 Motor Replacement: 步骤 8 中的图像 2,3 Haiboxing 18859 Motor Replacement: 步骤 8 中的图像 3,3
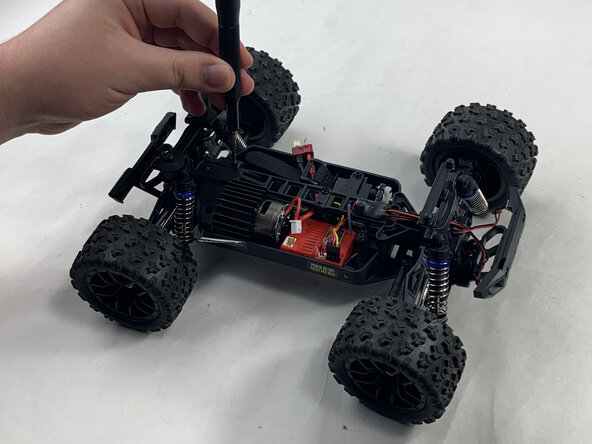
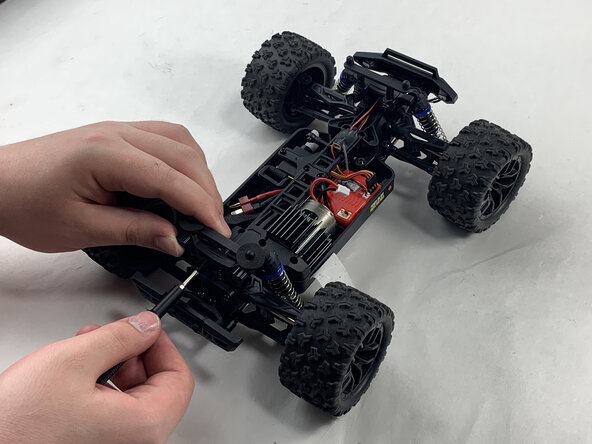
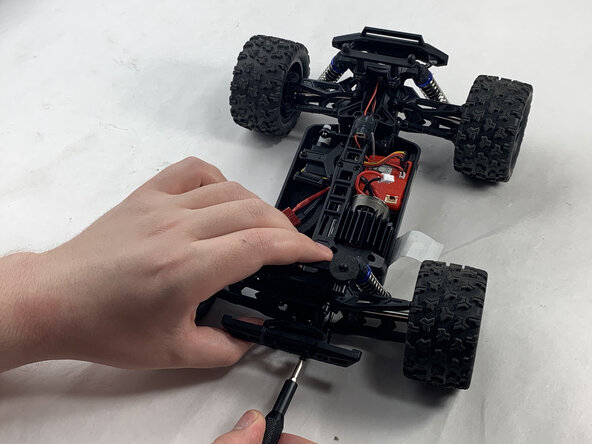
      • Unscrew the 10 mm Phillips #0 screws holding down the motor. This includes the shaft attached down the middle.

      • Place the mounting screws where you won't lose them, such as in a plastic bag or container.

      询问修复机器人

      添加评论

    4. Haiboxing 18859 Motor Replacement: 步骤 9 中的图像 1,3 Haiboxing 18859 Motor Replacement: 步骤 9 中的图像 2,3 Haiboxing 18859 Motor Replacement: 步骤 9 中的图像 3,3
      • Unscrew the 16 mm Phillips #1 screws at the rear of the Haiboxing.

      询问修复机器人

      添加评论

    5. Haiboxing 18859 Motor Replacement: 步骤 10 中的图像 1,2 Haiboxing 18859 Motor Replacement: 步骤 10 中的图像 2,2
      • Remove the upwards facing rear-most 8 mm Phillips #1 screws.

      • Remove the trapezoid-shaped part.

      询问修复机器人

      添加评论

    6. Haiboxing 18859 Motor Replacement: 步骤 11 中的图像 1,1
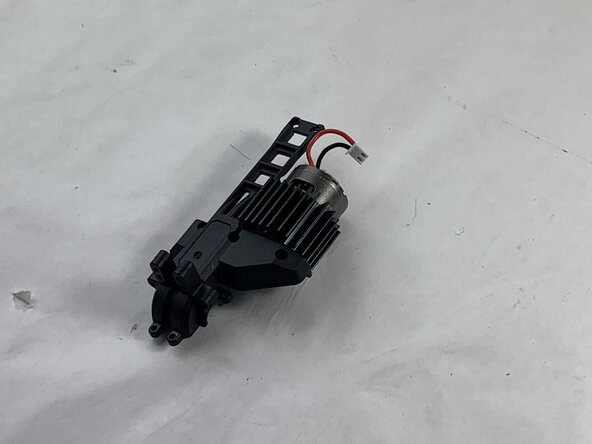
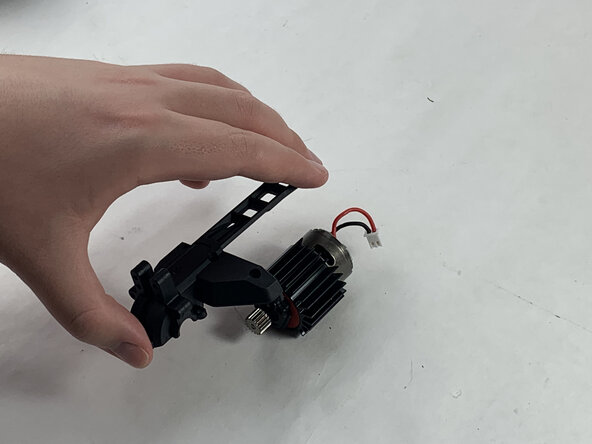
      • Lift out the motor and the shaft it is attached to.

      询问修复机器人

      添加评论

    7. Haiboxing 18859 Motor Replacement: 步骤 12 中的图像 1,1
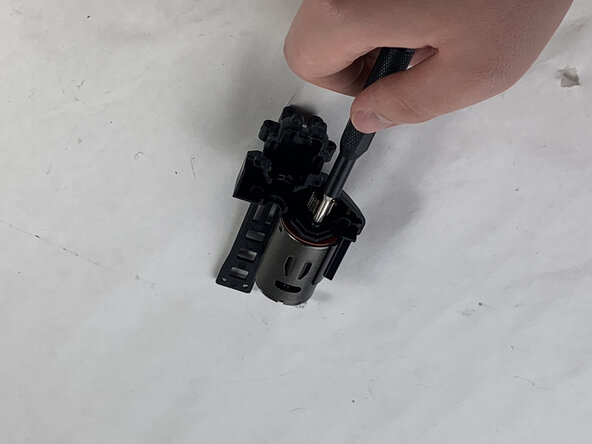
      • Remove the 6 mm Phillips #0 screw holding the motor to the black, plastic shaft.

      询问修复机器人

      添加评论

    8. Haiboxing 18859 Motor Replacement: 步骤 13 中的图像 1,2 Haiboxing 18859 Motor Replacement: 步骤 13 中的图像 2,2
      • Flip over.

      • Detach the shaft from motor.

      询问修复机器人

      添加评论

    9. Haiboxing 18859 Motor Replacement: 步骤 14 中的图像 1,3 Haiboxing 18859 Motor Replacement: 步骤 14 中的图像 2,3 Haiboxing 18859 Motor Replacement: 步骤 14 中的图像 3,3
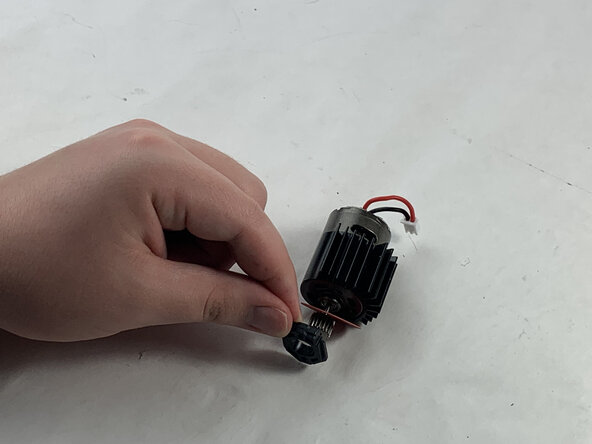
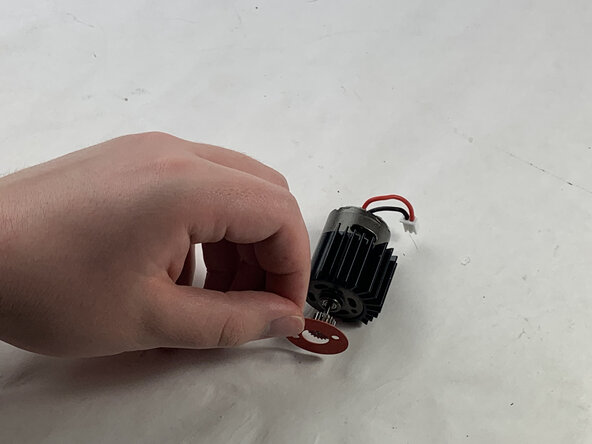
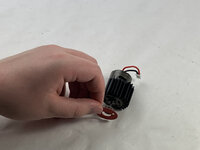
      • Remove the remaining 6 mm Phillips #0 screw holding black, plastic washer in place.

      • Remove the black, plastic washer.

      • Remove the red, paper washer.

      询问修复机器人

      添加评论

结论

To reassemble your device, follow the above steps in reverse order.
Take your e-waste to an R2 or e-Stewards certified recycler.
Repair didn’t go as planned? Try some basic troubleshooting or ask our Answers community for help.

取消:我没有完成这个指南。

Ty.

于03/21/25注册

219 声望

撰写一个指南

团队

UMass Dartmouth, Team 6-3, Botvin Spring 2025 UMass Dartmouth, Team 6-3, Botvin Spring 2025 的会员

UMASSD-BOTVIN-S25S6G3

3 名成员

创作了10篇指南

0指南评论

添加评论

浏览统计数据:

过去 24 小时: 0

过去 7 天: 13

过去 30 天: 57

总计 689