HP Officejet Pro 8625 Printhead Replacement
简介
转到步骤 1The printhead holds the ink cartridges and is responsible for the motions that actually print documents onto paper. If you receive error messages stating that the printhead is missing or failed, use this guide to replace it. You will need a T9 Torx screwdriver for all of the screws in this guide.
-
-
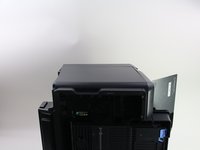
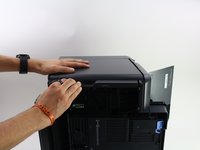
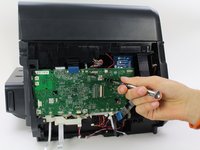
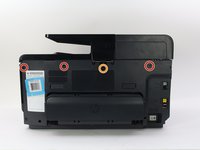
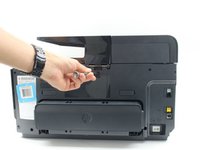
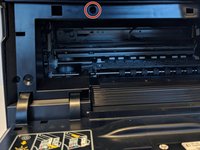
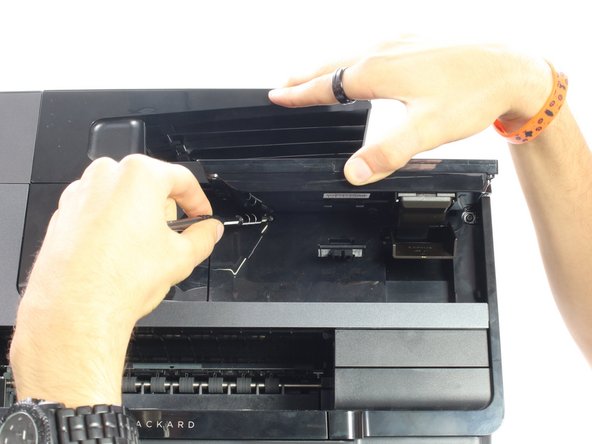
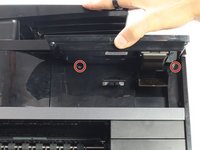
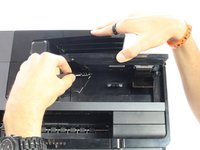
Remove the two 11.6 mm T9 screws from the right side of the back of the printer.
-
-
-
-
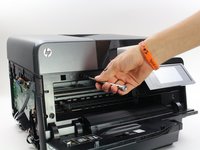
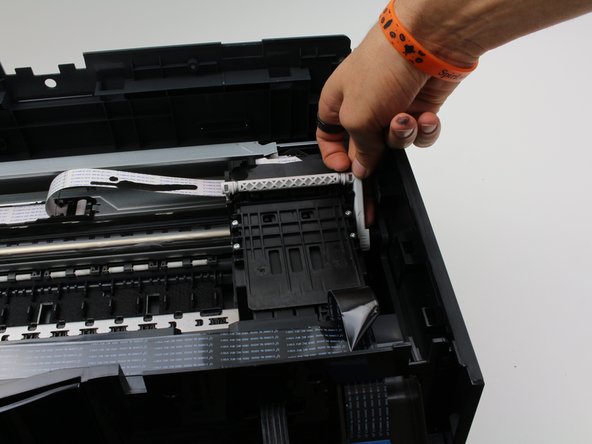
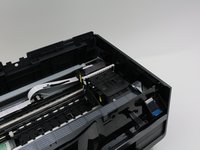
Locate the printhead on the right side of the printer.
-
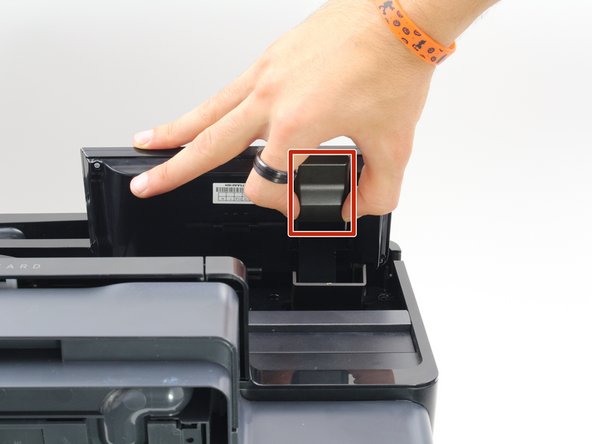
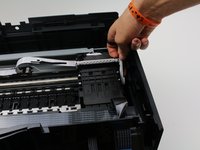
Pull the white tab on the right side of the printhead up, by pushing on the side of the printer a little bit.
-
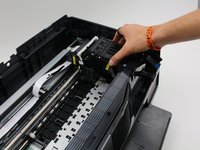
Remove the printhead by lifting it out of the housing.
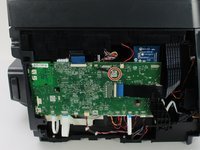
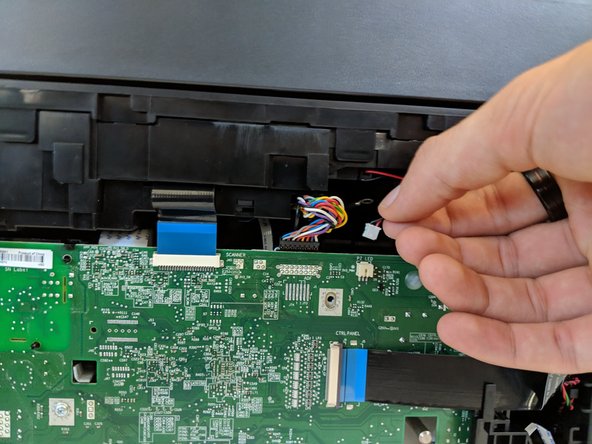
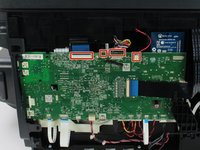
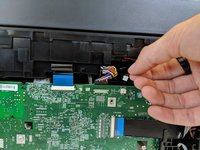
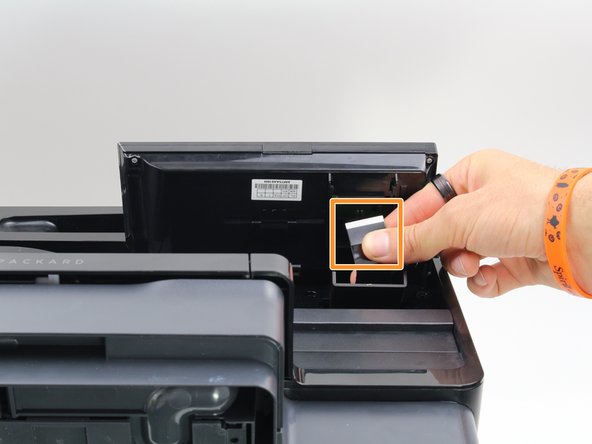
You need to tell HOW to remove connectors - pull up or out etc>
-
To reassemble your device, follow these instructions in reverse order.
To reassemble your device, follow these instructions in reverse order.
7等其他人完成本指南。
8条评论
This printhead is normally user replaceable.
No screwdrivers are required.
This video is for an 8600, but the process is the same.
I used these instructions to repair the guide ribbon for the print head. It had come off after a sheet of high tack labels got jammed in the printer. Just saved myself from having to buy a new printer! Thanks!!!
BWAARONJ, I did exactly what you suggested in my 8625 three times! Now my printer is in pieces and parts, and I cannot get the printhead to release from the right side of the housing. I was very meticulous in making an effort to correct this problem, but, alas, it appears I will have to get a new printer!
All of this is generally unnecessary for an HP OJ AI1 8625. Just open the bay where the cartridges are, the module moves over to give access. You can leave the ink cartridges in or take out, either way. Pull up on the gray/light purple lever (right side of print head mechanism) that releases the printhead (PH), pull out PH and replace. Move cartridges over or install new ones in new PH. Close the bay door. It may go through a process to recognize the new PH. I did an align maneuver and three levels of cleaning to get the new PH "primed" with ink. Now good to go.
Once you pull the ribbon/connector out in step 9 (photo 3), how do you reconnect it when you're done?
Wish I had read Loren Lewis’s comment before getting started. After going through the official steps above, I agree that these steps are not only unnecessary, but it will leave you with an even-more-broken printer. Please learn from my unfortunate situation, and just follow the steps in Loren’s post.
mhake -


