跳转到主内容
加入维修社区 - 创建账户

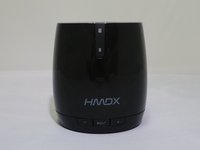
HMDX Chill Charging Port Replacement

你所需要的

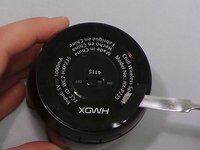
    1. HMDX Chill Charging Port Replacement, Remove Rubber Base: 步骤 1 中的图像 1,3 HMDX Chill Charging Port Replacement, Remove Rubber Base: 步骤 1 中的图像 2,3 HMDX Chill Charging Port Replacement, Remove Rubber Base: 步骤 1 中的图像 3,3
      • Insert a metal spudger under the rubber base.

      • Pry the rubber base off.

      询问修复机器人

      添加评论

    2. HMDX Chill Charging Port Replacement: 步骤 2 中的图像 1,1
      • Use a Phillips #1 screwdriver to remove four 9 mm screws from the base of the device.

      询问修复机器人

      添加评论

    3. HMDX Chill Charging Port Replacement: 步骤 3 中的图像 1,2 HMDX Chill Charging Port Replacement: 步骤 3 中的图像 2,2
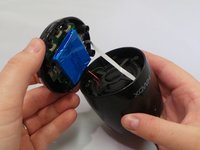
      • Grip the base of the HMDX Chill.

      • Pull the base upwards.

      添加评论

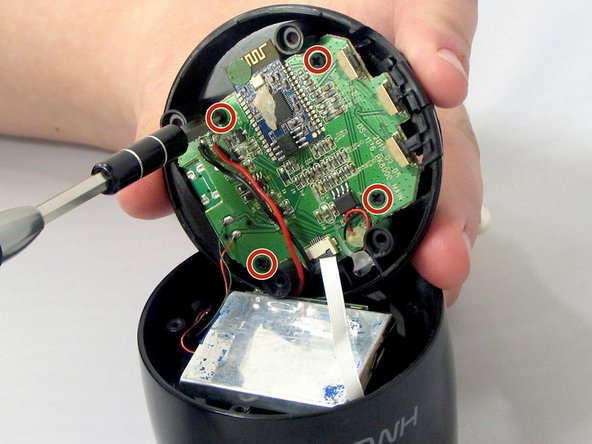
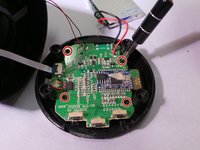
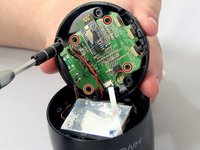
    1. HMDX Chill Charging Port Replacement, Motherboard: 步骤 4 中的图像 1,3 HMDX Chill Charging Port Replacement, Motherboard: 步骤 4 中的图像 2,3 HMDX Chill Charging Port Replacement, Motherboard: 步骤 4 中的图像 3,3
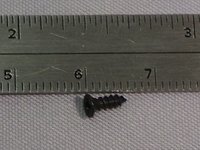
      • Use a Phillips #1 screwdriver to remove the four 6 mm screws that secure the motherboard to the base of the device.

      询问修复机器人

      添加评论

    2. HMDX Chill Charging Port Replacement: 步骤 5 中的图像 1,1
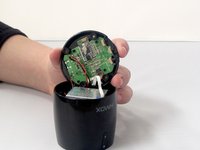
      • Pull the motherboard away from the base gently.

      • Do not pull too hard on the motherboard. It is still attached to the base by wires.

      询问修复机器人

      添加评论

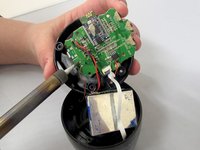
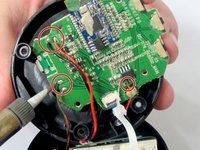
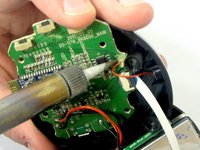
    3. HMDX Chill Charging Port Replacement: 步骤 6 中的图像 1,3 HMDX Chill Charging Port Replacement: 步骤 6 中的图像 2,3 HMDX Chill Charging Port Replacement: 步骤 6 中的图像 3,3
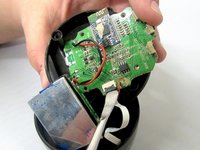
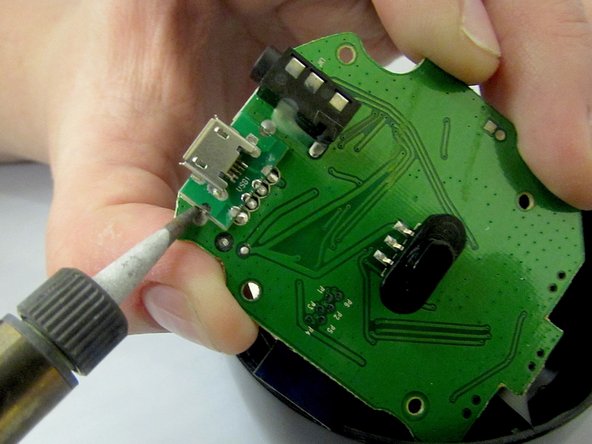
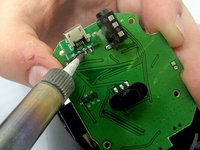
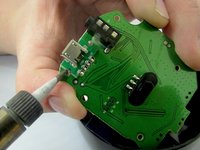
      • Use a soldering iron to desolder the wires connecting the motherboard to the case.

      询问修复机器人

      添加评论

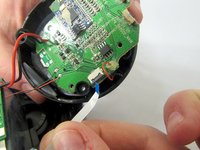
    4. HMDX Chill Charging Port Replacement: 步骤 7 中的图像 1,2 HMDX Chill Charging Port Replacement: 步骤 7 中的图像 2,2
      • Insert the spudger between the case and the wire and move the spudger upwards.

      • This will cause the case to prop open.

      • The wire behind the motherboard will now be visible. Pull this out from behind.

      询问修复机器人

      添加评论

    5. HMDX Chill Charging Port Replacement: 步骤 8 中的图像 1,1
      • Use the soldering iron to desolder the wires connecting the motherboard to the base of the HMDX Chill.

      询问修复机器人

      添加评论

    1. HMDX Chill Charging Port Replacement, Desolder the Charging Port: 步骤 9 中的图像 1,2 HMDX Chill Charging Port Replacement, Desolder the Charging Port: 步骤 9 中的图像 2,2
      • Using a soldering tool, desolder the charging port from the motherboard.

      询问修复机器人

      添加评论

结论

To reassemble your device, follow these instructions in reverse order.

取消:我没有完成这个指南。

团队

EWU-Giguere-S16S1G1 EWU-Giguere-S16S1G1 的会员

Community

4 名成员

创作了14篇指南

1指南评论

I have the charging port removed. Where do I find a replacement??

Aaron Hughes - 回复 分享

添加评论

浏览统计数据:

过去 24 小时: 0

过去 7 天: 4

过去 30 天: 25

总计 769