简介
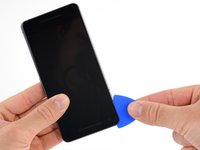
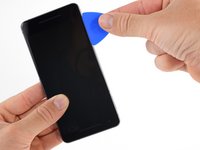
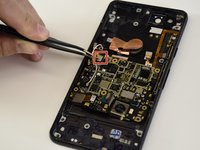
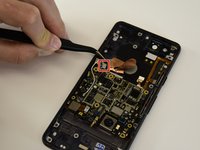
The camera is a component that many consider a necessity for modern phones. This guide will show you how to properly remove the camera module.
你所需要的
-
-
If your display glass is cracked, keep further breakage contained and prevent bodily harm during your repair by taping the glass. This also makes a smooth surface allowing the suction cup to bond.
-
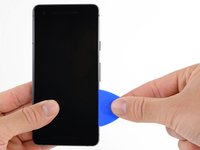
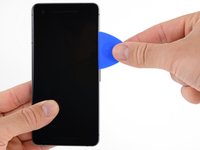
Apply a suction cup as close to the volume button edge of the phone as you can while avoiding the curved edge.
-
-
-
-
Fill a plastic dropper or syringe with high concentration isopropyl alcohol and apply a few drops of alcohol under each corner of the battery. Give the alcohol a minute to weaken the battery adhesive.
-
Alternatively, apply a heated iOpener to the back of the phone over the battery for at least two minutes. Reheat and reapply the iOpener as needed until the battery adhesive is sufficiently weakened.
-
-
-
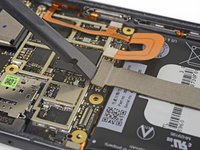
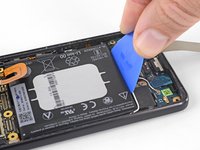
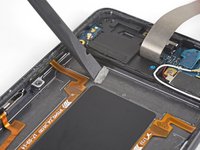
Hold the charging assembly cable out of the way and insert an opening pick along the bottom edge of the battery.
-
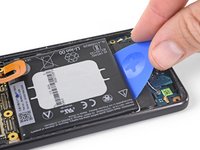
Apply steady, even pressure to slowly lever the battery up and out of the phone.
-
Only pry from the center of the battery to avoid damaging the delicate ribbon cables beneath either side of the battery.
-
If you are having trouble, apply some more alcohol under the battery and try again.
-
-
在这个步骤中使用的工具:Tesa 61395 Tape$5.99
-
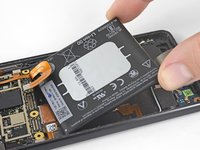
Remove the battery.
-
Use a spudger to scrape away any remaining adhesive from the phone, and clean the glued areas with isopropyl alcohol and a lint-free cloth.
-
Secure the new battery with pre-cut adhesive or double-sided adhesive tape. In order to position it correctly, apply the new adhesive into the phone, not directly onto the battery. The adhesive should not touch any of the cables under the battery.
-
Press the battery firmly into place for 20-30 seconds.
-
-
-
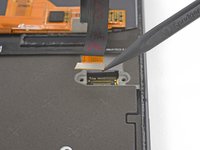
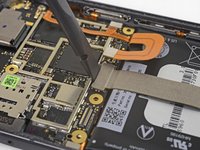
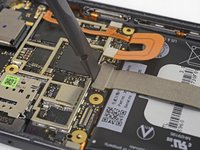
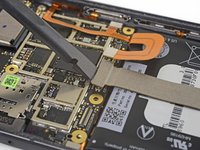
use the flat end of a spudger to disconnect the charging assembly connector from the motherboard.
-
-
-
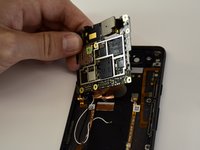
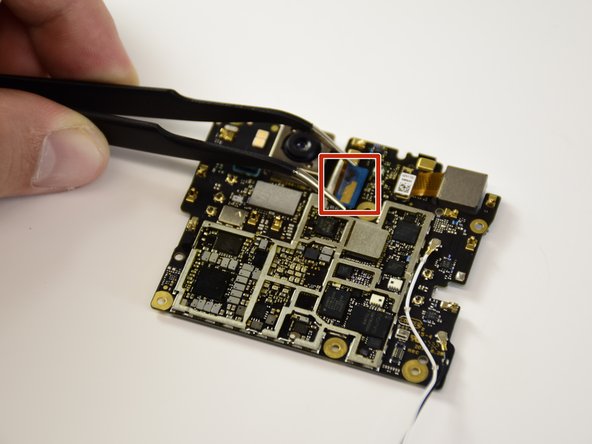
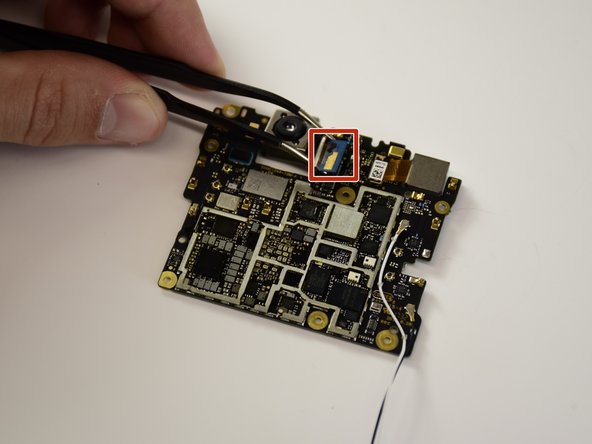
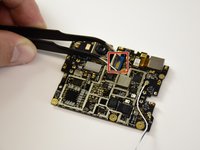
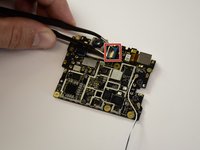
Flip the motherboard over to access the camera lens ribbon connector.
-
Locate the blue camera lens ribbon connector
-
Compare your new replacement part to the original part—you may need to transfer remaining components or remove adhesive backings from the new part before installing.
To reassemble your device, follow the above steps in reverse order.
Take your e-waste to an R2 or e-Stewards certified recycler.
Repair didn’t go as planned? Check out our Answers community for troubleshooting help.
2等其他人完成本指南。
1指南评论
Step 17 it's NOT an SD card tray as the phone doesn't have SD card support…I know you meant Simcard tray.


