跳转到主内容
加入维修社区 - 创建账户

Ematic FunTab 2 Motherboard Replacement

你所需要的

    1. Ematic FunTab 2 Motherboard Replacement, Motherboard: 步骤 1 中的图像 1,1
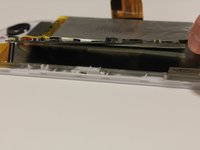
      • Remove back of Ematic FunTab by using the plastic opening tool to pry the back open.

      询问修复机器人

      添加评论

    2. Ematic FunTab 2 Motherboard Replacement: 步骤 2 中的图像 1,3 Ematic FunTab 2 Motherboard Replacement: 步骤 2 中的图像 2,3 Ematic FunTab 2 Motherboard Replacement: 步骤 2 中的图像 3,3
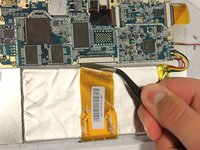
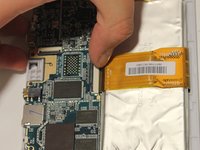
      • Next, you need to remove all connections to the motherboard and the device.

      • Start by first removing the tape from all the connections.

      • Be careful not to remove the camera.

      询问修复机器人

      添加评论

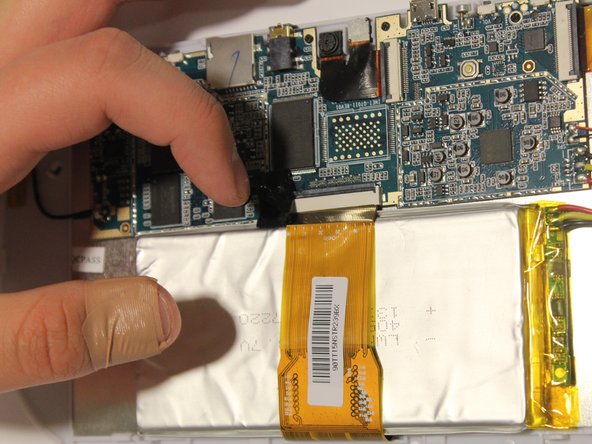
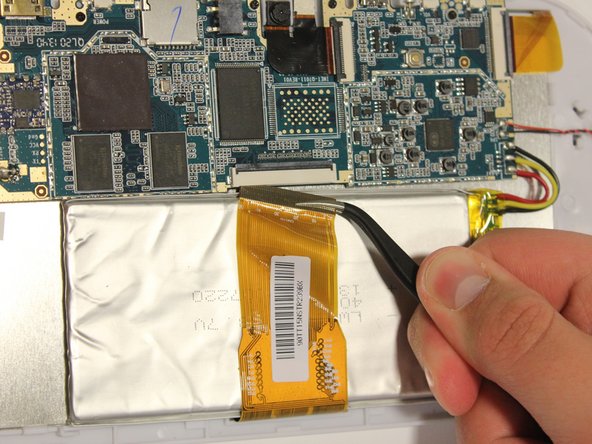
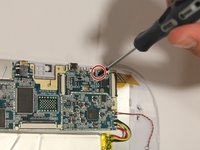
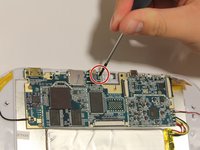
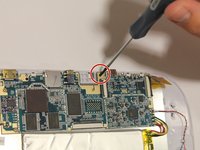
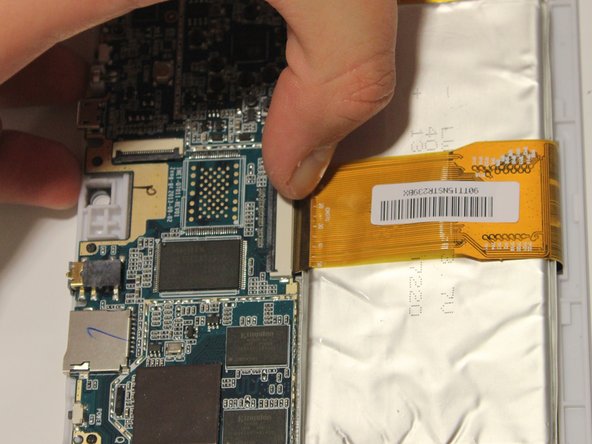
    3. Ematic FunTab 2 Motherboard Replacement: 步骤 3 中的图像 1,3 Ematic FunTab 2 Motherboard Replacement: 步骤 3 中的图像 2,3 Ematic FunTab 2 Motherboard Replacement: 步骤 3 中的图像 3,3
      • Remove LCD connector from the LCD.

      • Be sure to flip up the retaining tabs before pulling the LCD connector out. (It is the black tab on the connection port).

      询问修复机器人

      添加评论

    4. Ematic FunTab 2 Motherboard Replacement: 步骤 4 中的图像 1,1
      在这个步骤中使用的工具:
      Tweezers
      $4.99
      • Remove camera connection from camera with tweezers.

      • Again, be sure to flip up the retaining tab before pulling the connector.

      询问修复机器人

      添加评论

    5. Ematic FunTab 2 Motherboard Replacement: 步骤 5 中的图像 1,1
      • Remove speaker connection from speaker with tweezers.

      • Before pulling the speaker connection make sure the retaining tab is flipped up.

      询问修复机器人

      添加评论

    6. Ematic FunTab 2 Motherboard Replacement: 步骤 6 中的图像 1,3 Ematic FunTab 2 Motherboard Replacement: 步骤 6 中的图像 2,3 Ematic FunTab 2 Motherboard Replacement: 步骤 6 中的图像 3,3
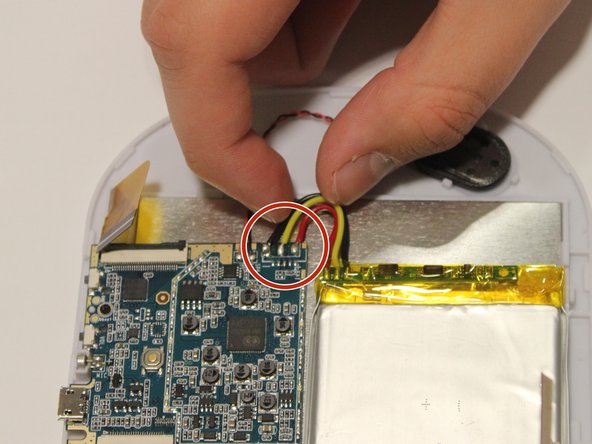
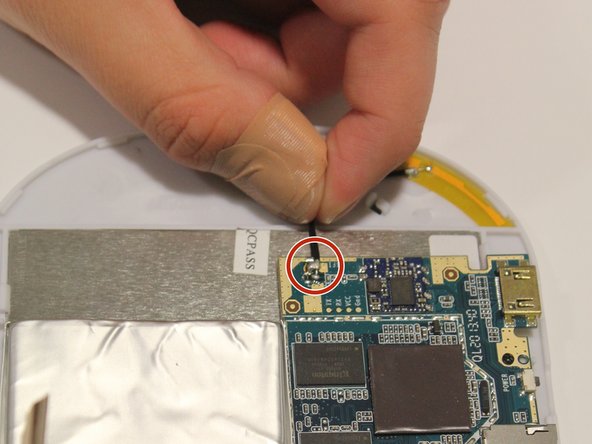
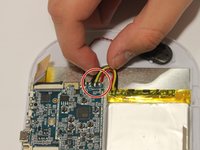
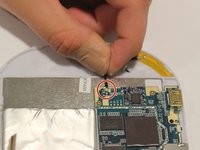
      • Remove wires:

      • Start by removing the black wire on each side.

      • Next, remove the WiFi antenna wire from the motherboard.

      • Finally, remove the yellow, red, and black wires.

      • To put the wires back in their correct locations you will need a soldering iron to solder the wire back in place. You will do this once the motherboard is replaced. Here is a guide on how to solder 如何焊接和拆焊

      询问修复机器人

      添加评论

    7. Ematic FunTab 2 Motherboard Replacement: 步骤 7 中的图像 1,3 Ematic FunTab 2 Motherboard Replacement: 步骤 7 中的图像 2,3 Ematic FunTab 2 Motherboard Replacement: 步骤 7 中的图像 3,3
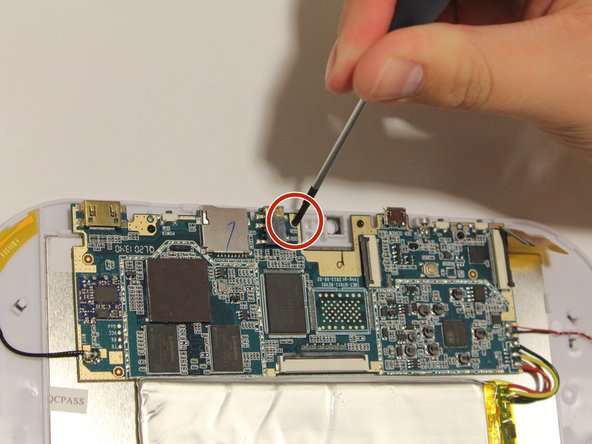
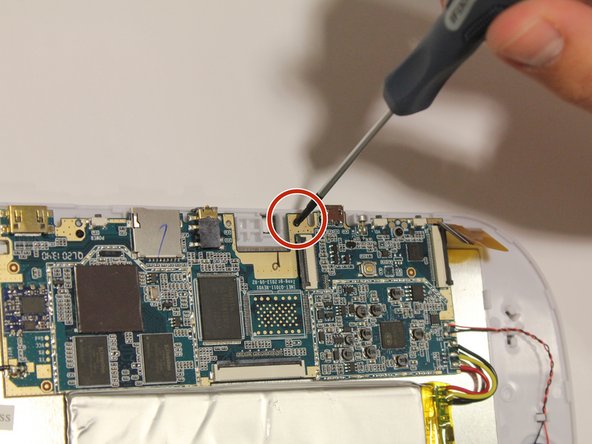
      • Unscrew all four screws on motherboard with the Phillip's head screwdriver.

      • All of the screws are the same size, and should all fit in either corresponding screw location.

      询问修复机器人

      添加评论

    8. Ematic FunTab 2 Motherboard Replacement: 步骤 8 中的图像 1,2 Ematic FunTab 2 Motherboard Replacement: 步骤 8 中的图像 2,2
      • It is now safe to remove and replace the old motherboard with your new motherboard.

      询问修复机器人

      添加评论

结论

To reassemble your device, follow these instructions in reverse order.

取消:我没有完成这个指南。

另外一个人完成了本指南。

0指南评论

添加评论

浏览统计数据:

过去 24 小时: 2

过去 7 天: 8

过去 30 天: 33

总计 1,454