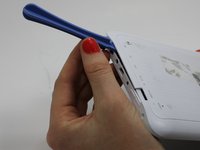
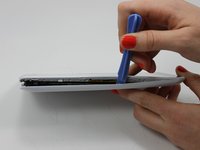
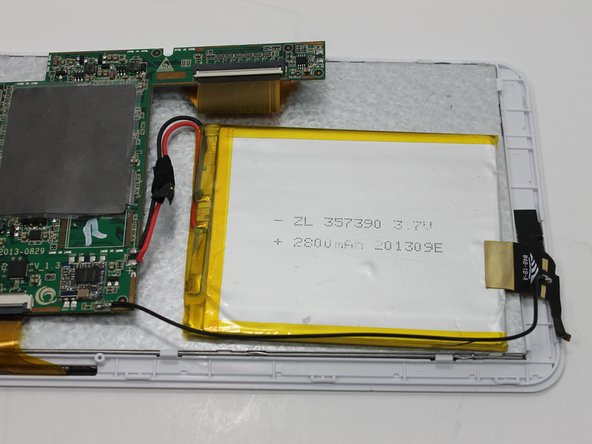
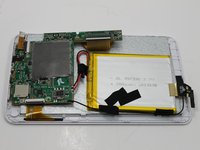
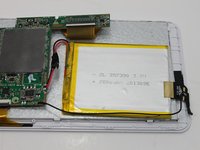
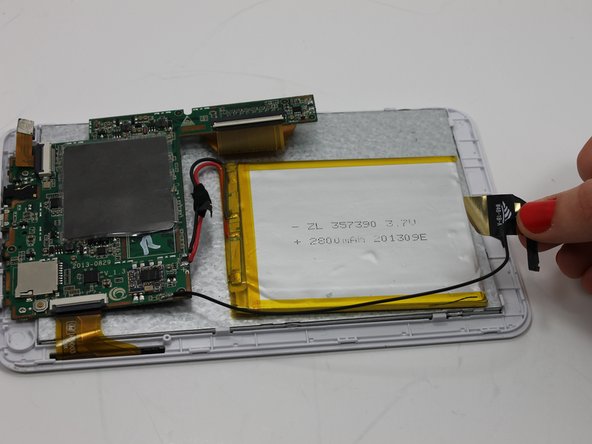
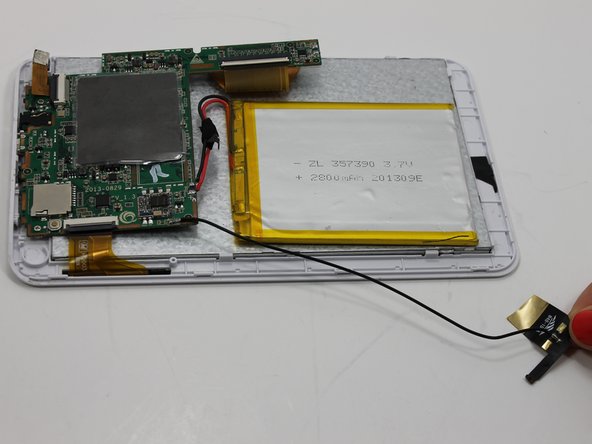
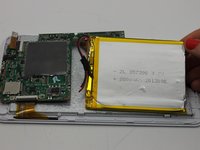
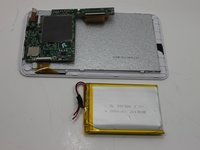
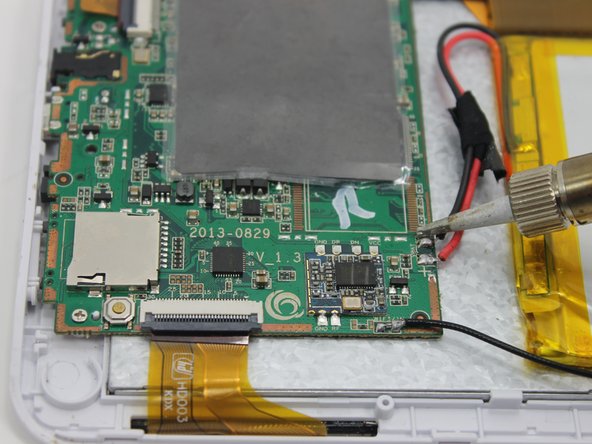
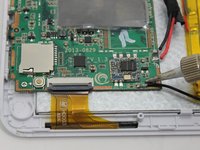
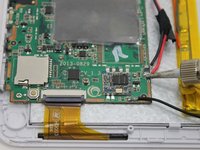
跳转到主内容

Dreamax DMX-ST7A Battery Replacement

你所需要的

  1. Dreamax DMX-ST7A Battery Replacement, Back Cover: 步骤 1 中的图像 1,1
    • Position the tablet so the ports and screws are facing you.

  2. Dreamax DMX-ST7A Battery Replacement: 步骤 2 中的图像 1,1
    • Remove the two 2.5mm screws using the Phillips #00 precision screwdriver.

  3. Dreamax DMX-ST7A Battery Replacement: 步骤 3 中的图像 1,2 Dreamax DMX-ST7A Battery Replacement: 步骤 3 中的图像 2,2
    • Use the plastic opening tool to assist in removing the back cover.

  4. Dreamax DMX-ST7A Battery Replacement: 步骤 4 中的图像 1,1
    • Upon removing the back cover position the tablet as seen in the picture.

  5. Dreamax DMX-ST7A Battery Replacement, Battery: 步骤 5 中的图像 1,2 Dreamax DMX-ST7A Battery Replacement, Battery: 步骤 5 中的图像 2,2
    • Remove any tape that might be holding the wires in place.

  6. Dreamax DMX-ST7A Battery Replacement: 步骤 6 中的图像 1,3 Dreamax DMX-ST7A Battery Replacement: 步骤 6 中的图像 2,3 Dreamax DMX-ST7A Battery Replacement: 步骤 6 中的图像 3,3
    • Remove the black and gold tab connecting the battery to the tablet's frame.

  7. Dreamax DMX-ST7A Battery Replacement: 步骤 7 中的图像 1,1
    • Remove the the one red and two black wires that connect the battery to the motherboard.

  8. Dreamax DMX-ST7A Battery Replacement: 步骤 8 中的图像 1,2 Dreamax DMX-ST7A Battery Replacement: 步骤 8 中的图像 2,2
    • Remove the battery from the tablet.

  9. Dreamax DMX-ST7A Battery Replacement: 步骤 9 中的图像 1,3 Dreamax DMX-ST7A Battery Replacement: 步骤 9 中的图像 2,3 Dreamax DMX-ST7A Battery Replacement: 步骤 9 中的图像 3,3
    • Install the new battery by soldering the three wires to the motherboard. For additional soldering instructions please view this page: 如何焊接和拆焊

结论

To reassemble your device, follow these instructions in reverse order.

Stacey Mattila

于03/18/15注册

543 声望

创作了5篇指南

团队

Michigan Tech, Team 1-4, Lauer Spring 2015 Michigan Tech, Team 1-4, Lauer Spring 2015 的会员

MTU-LAUER-S15S1G4

2 名成员

创作了10篇指南

0条评论

添加评论

浏览统计数据:

过去 24 小时: 0

过去 7 天: 0

过去 30 天: 9

总计 428