
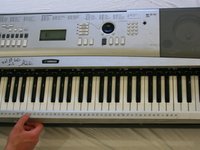
Disassembling Yamaha YPG-225 Faceplate
10分钟
简单
需要更好的图片
简介
转到步骤 1Removing the face plate is necessary for most repairs to this device. Removing the face plate is a relatively simple process, requiring only the removal of several screws.
你所需要的


当你通过这些链接购买商品时,iFixit 会赚取佣金。


即将完成!
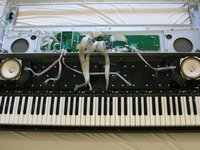
To reassemble your device, follow these instructions in reverse order.
结论
To reassemble your device, follow these instructions in reverse order.
团队

Cal Poly, Team 2-62, Propen Fall 2012 Cal Poly, Team 2-62, Propen Fall 2012 的会员
CPSU-PROPEN-F12S2G62
2 名成员
创作了6篇指南