跳转到主内容
加入维修社区 - 创建账户

Digital2 D2-861G LCD Screen Replacement

你所需要的

    1. Digital2 D2-861G LCD Screen Replacement, Battery: 步骤 1 中的图像 1,1
      • Working on your device while powered on may result in electric shock. Make sure to unplug and power down your device before you begin.

      • Place your device on a soft cloth to avoid scratching the screen.

      • Flip your device over so back panel is facing upwards

      询问修复机器人
      添加评论

    2. Digital2 D2-861G LCD Screen Replacement: 步骤 2 中的图像 1,2 Digital2 D2-861G LCD Screen Replacement: 步骤 2 中的图像 2,2
      • Do not use a lot of force as it can break the clips or the back panel.

      • Insert spudger in the slot below the micro SD card

      • You should hear clips releasing as you pry along the edges.

      • With the spudger tool, run along the edges of the backing undoing 20 plastic clips.

      询问修复机器人

      添加评论

    3. Digital2 D2-861G LCD Screen Replacement: 步骤 3 中的图像 1,3 Digital2 D2-861G LCD Screen Replacement: 步骤 3 中的图像 2,3 Digital2 D2-861G LCD Screen Replacement: 步骤 3 中的图像 3,3
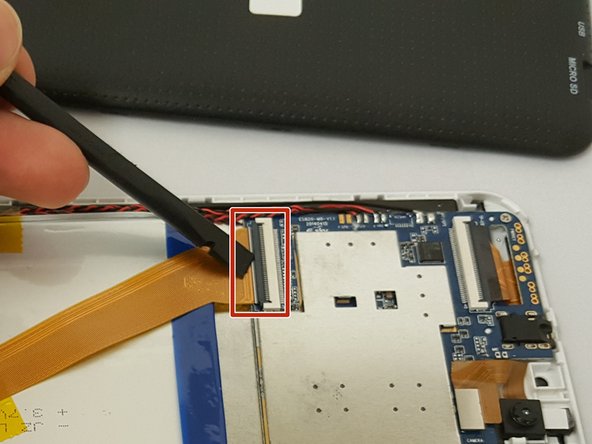
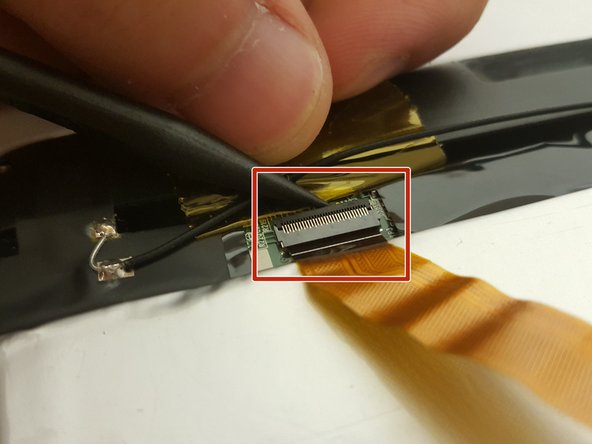
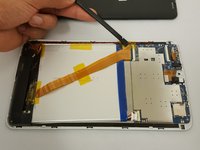
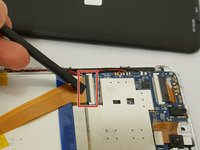
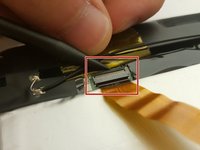
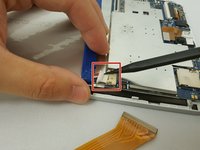
      • Look at the images to locate the black tabs.

      • Carefully remove the tape to avoid damaging the device.

      • Remove ALL the yellow tape securing the gold colored ZIF (Zero insertion force) connector and the battery. Discard or save the tape if you would like.

      • To unclip the connector. Go under the black tab with a spudger or finger nail and simply lift up.

      询问修复机器人

      添加评论

    4. Digital2 D2-861G LCD Screen Replacement: 步骤 4 中的图像 1,2 Digital2 D2-861G LCD Screen Replacement: 步骤 4 中的图像 2,2
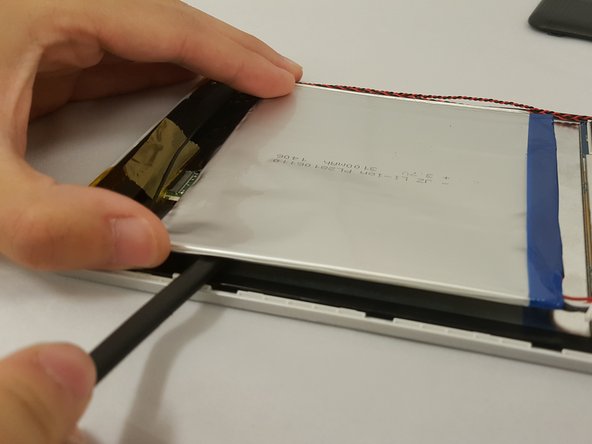
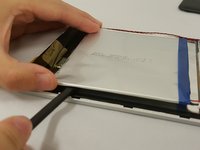
      • Make sure to not bend or puncture the battery when removing it.

      • Locate the bundled cable connector and disconnect it by simply pulling it gently with your hands or using a spudger.

      • Use prying tools to carefully break the adhesive under the battery

      询问修复机器人

      添加评论

    1. Digital2 D2-861G LCD Screen Replacement, LCD Screen: 步骤 5 中的图像 1,2 Digital2 D2-861G LCD Screen Replacement, LCD Screen: 步骤 5 中的图像 2,2
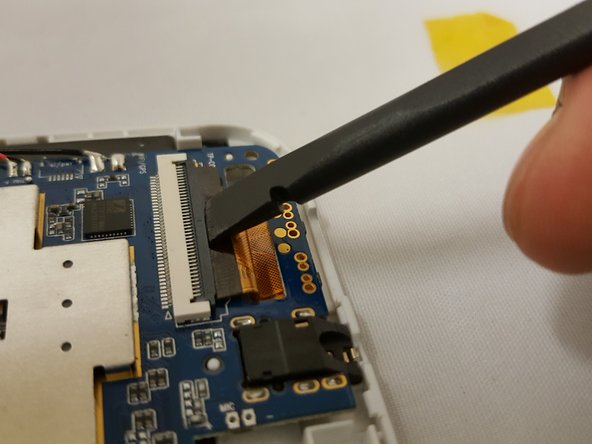
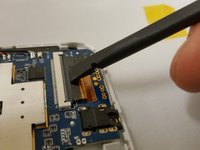
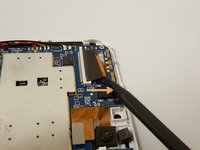
      • Locate the flat-top connector. Go under it with the spudger and simply lift up.

      询问修复机器人

      添加评论

    2. Digital2 D2-861G LCD Screen Replacement: 步骤 6 中的图像 1,2 Digital2 D2-861G LCD Screen Replacement: 步骤 6 中的图像 2,2
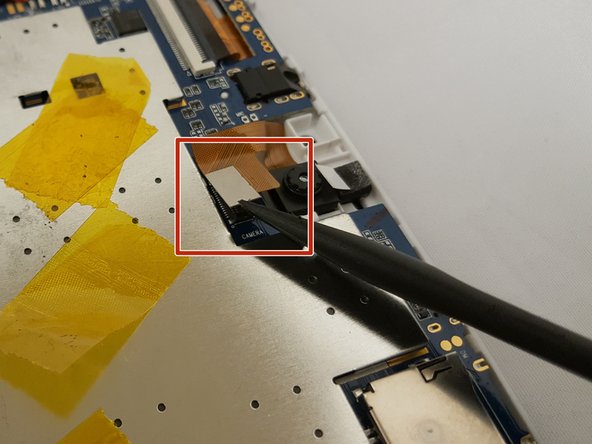
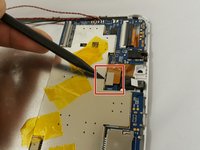
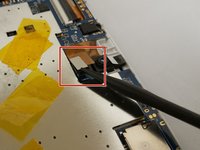
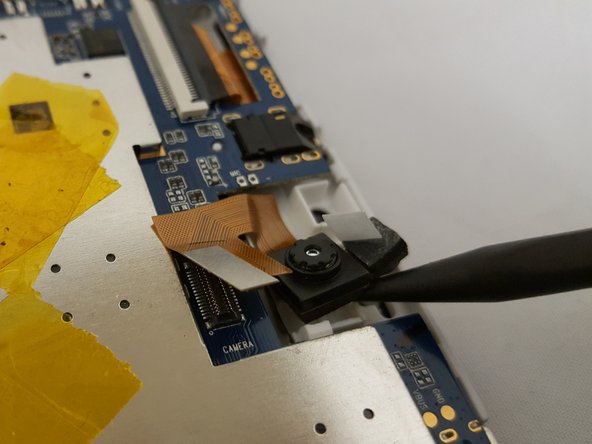
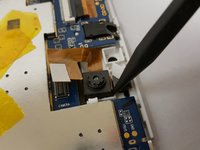
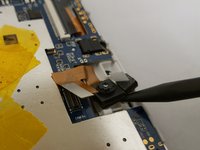
      • To remove the camera, simply use the pointed end of the spudger and insert it in the corner and gently lift.

      询问修复机器人
      添加评论

    3. Digital2 D2-861G LCD Screen Replacement: 步骤 7 中的图像 1,2 Digital2 D2-861G LCD Screen Replacement: 步骤 7 中的图像 2,2
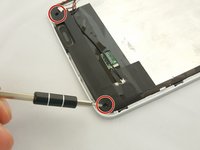
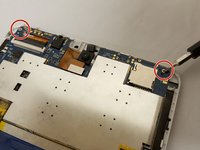
      • Be sure to have a magnetic mat or anything magnetic to hold your screws!

      • Remove two 3.51mm screws located on the bottom corners of the device with your Phillips #00 Screwdriver.

      • Carefully lift the casing and pull back the tape along with the soldered wire.

      • You can remove the soldered wire if you want or leave it connected. Refer to iFixit's guide on how to Solder 如何焊接和拆焊

      询问修复机器人
      添加评论

    4. Digital2 D2-861G LCD Screen Replacement: 步骤 8 中的图像 1,3 Digital2 D2-861G LCD Screen Replacement: 步骤 8 中的图像 2,3 Digital2 D2-861G LCD Screen Replacement: 步骤 8 中的图像 3,3
      • Make sure to have your magnetic board to hold your screws!

      • Remove the two 3.51mm screws that are located on the top corners of the device with the same phillips screwdriver..

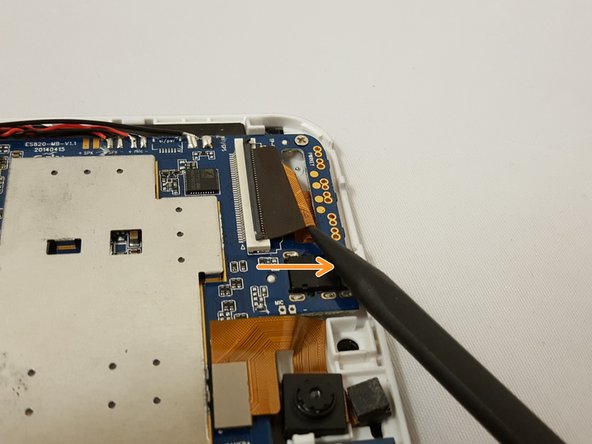
      • Next, unplug the ZIF connector and slide it out with the pointed side of the spudger.

      • To unclip the connector, go under the black tap and simply lift with your finger nail or spudger.

      询问修复机器人
      添加评论

    5. Digital2 D2-861G LCD Screen Replacement: 步骤 9 中的图像 1,1
      • Use little force or else you risk breaking the motherboard.

      • Watch out for the ZIF connector!

      • To remove the motherboard, grab the component on the top left and gently lift. Be careful with the clip holding the motherboard.

      询问修复机器人

      添加评论

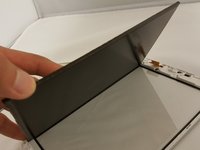
    6. Digital2 D2-861G LCD Screen Replacement: 步骤 10 中的图像 1,3 Digital2 D2-861G LCD Screen Replacement: 步骤 10 中的图像 2,3 Digital2 D2-861G LCD Screen Replacement: 步骤 10 中的图像 3,3
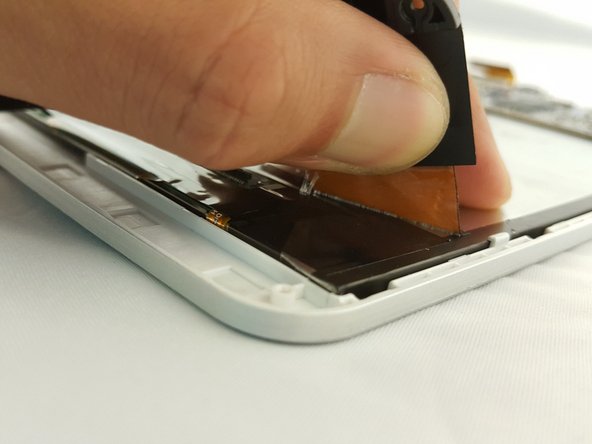
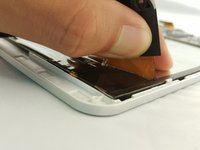
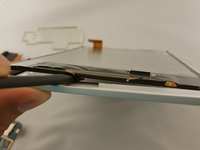
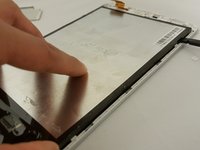
      • Now that every component is removed, use the flat side of the spudger and insert it on the bottom of the screen.

      • Gently move along the edges to lift the screen.

      询问修复机器人

      添加评论

    7. Digital2 D2-861G LCD Screen Replacement: 步骤 11 中的图像 1,1
      • If you have a damaged front case, take the opportunity to replace that as well.

      询问修复机器人

      添加评论

结论

To reassemble your device, follow these instructions in reverse order.

取消:我没有完成这个指南。

0指南评论

添加评论

浏览统计数据:

过去 24 小时: 2

过去 7 天: 10

过去 30 天: 29

总计 829