跳转到主内容
Dell Precision 7560 Fan Replacement

Dell Precision 7560 Fan Replacement

Jack Allred

Jack Allred4 其他贡献者

最后更新于 March 28, 2024

10分钟
中等

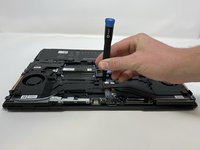
This guide covers how to replace the fans in a Dell Precision 7560 laptop. The fans are responsible for maintaining the laptop's internal temperature. A poorly functioning fan means a poorly functioning laptop, so keeping the fans spick and span, free from dust and grime is a sure way to keep performance high, Caution is required when pulling connecting wires throughout the process.

你所需要的

工具

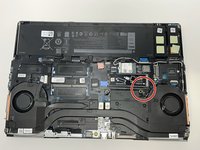
  1. Dell Precision 7560 Fan Replacement, Fan: 步骤 1 中的图像 1,2 Dell Precision 7560 Fan Replacement, Fan: 步骤 1 中的图像 2,2
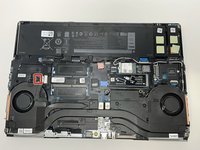
    • The screws holding the fan in place cannot be fully removed.

    • Loosen the eight captive screws that secure the fan assembly.

    • Each screw is numbered in the order that they should be loosened.

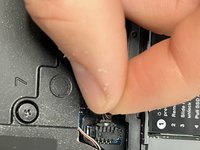
  2. Dell Precision 7560 Fan Replacement: 步骤 2 中的图像 1,2 Dell Precision 7560 Fan Replacement: 步骤 2 中的图像 2,2
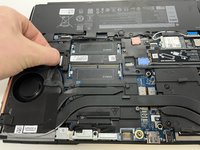
    • Locate connector cable and pull lightly to remove.

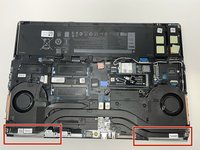
  3. Dell Precision 7560 Fan Replacement: 步骤 3 中的图像 1,2 Dell Precision 7560 Fan Replacement: 步骤 3 中的图像 2,2
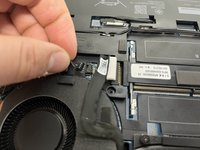
    • Gently pull the first fan connector from the head until it is removed.

    • The thin wire is prone to damage. Exercise extra caution during removal.

  4. Dell Precision 7560 Fan Replacement: 步骤 4 中的图像 1,2 Dell Precision 7560 Fan Replacement: 步骤 4 中的图像 2,2
    • Gently pull the second fan connector from the head until it is removed.

    • The thin wire is prone to damage. Exercise extra caution during removal.

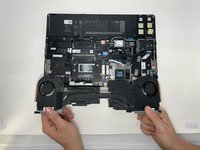
  5. Dell Precision 7560 Fan Replacement: 步骤 5 中的图像 1,2 Dell Precision 7560 Fan Replacement: 步骤 5 中的图像 2,2
    • Lifting from the bottom, carefully remove the laptop's fans.

结论

To reassemble your device, follow these instructions in reverse order.

另外一个人完成了本指南。

Jack Allred

于02/09/23注册

345 声望

创作了2篇指南

团队

0指南评论

添加评论

浏览统计数据:

过去 24 小时: 4

过去 7 天: 19

过去 30 天: 97

总计 1,502