跳转到主内容
加入维修社区 - 创建账户
Dell Inspiron 13-7373 Motherboard Replacement

Dell Inspiron 13-7373 Motherboard Replacement

John Egan

John Egan4 其他贡献者

最后更新于 2021年4月28日

15 - 25 分钟
中等
需要更多图片
缺少的步骤

If your laptop is not booting or functioning properly and all other potential hardware issues have been ruled out (Hard drive, RAM, etc.), then it might be time to replace your computer’s motherboard. The motherboard is the main circuit board of the computer that all other components connect to. This is a step-by-step guide to help replace your Dell Inspiron 13-7373 motherboard. Please note that this process does involve an almost complete disassembly of the computer! Take extra care when performing this repair and ensure that all components and screws/hardware are labeled and stored in a safe place.

你所需要的

工具

查看更多...

  1. Dell Inspiron 13-7373 Motherboard Replacement, Back Cover: 步骤 1 中的图像 1,3 Dell Inspiron 13-7373 Motherboard Replacement, Back Cover: 步骤 1 中的图像 2,3 Dell Inspiron 13-7373 Motherboard Replacement, Back Cover: 步骤 1 中的图像 3,3
    • Before you begin, be sure to turn off your laptop and unplug it from the outlet.

    • Remove the ten 7.5mm Phillips #00 screws from the bottom of the laptop.

    • Use an opening tool to remove the bottom half of the case from the laptop.

  2. Dell Inspiron 13-7373 Motherboard Replacement, Battery: 步骤 2 中的图像 1,1
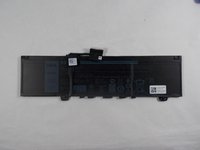
    • Use a Phillips screwdriver to remove the four screws holding the battery in place.

  3. Dell Inspiron 13-7373 Motherboard Replacement: 步骤 3 中的图像 1,2 Dell Inspiron 13-7373 Motherboard Replacement: 步骤 3 中的图像 2,2
    • Pull the plastic tab on the battery cable to disconnect the cable from the battery.

  4. Dell Inspiron 13-7373 Motherboard Replacement: 步骤 4 中的图像 1,2 Dell Inspiron 13-7373 Motherboard Replacement: 步骤 4 中的图像 2,2
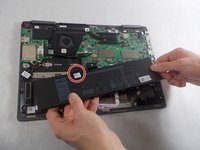
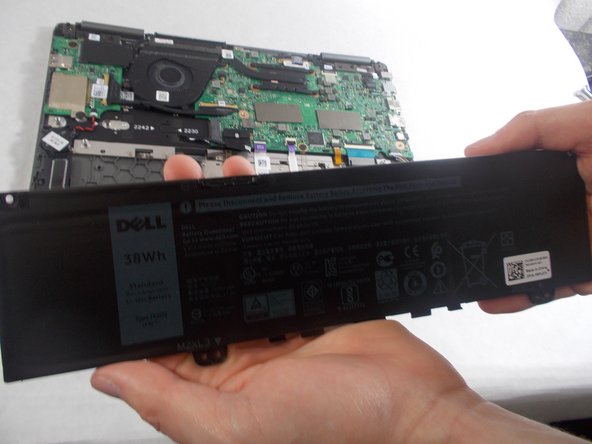
    • Remove the battery from the laptop.

  5. Dell Inspiron 13-7373 Motherboard Replacement, Fan: 步骤 5 中的图像 1,1
    • Remove the two screws holding the cover for the fan.

  6. Dell Inspiron 13-7373 Motherboard Replacement: 步骤 6 中的图像 1,1
    • Unplug the connector holding the fan’s wires.

    • Remove the fan from the laptop.

  7. Dell Inspiron 13-7373 Motherboard Replacement, Network Card: 步骤 7 中的图像 1,1
    • Use the Phillips #00 screwdriver to remove the single screw holding in the network card.

    • Remove the network card from the laptop.

  8. Dell Inspiron 13-7373 Motherboard Replacement, Daughterboard: 步骤 8 中的图像 1,1
    • Use the Phillips #00 screwdriver to remove the two 1mm screws holding in the daughterboard.

    • Remove the metal piece holding in the daughterboard.

    • Disconnect the two cable connectors from the daughterboard.

    • If the cables are stuck, gently wiggle them until they disconnect.

  9. Dell Inspiron 13-7373 Motherboard Replacement: 步骤 9 中的图像 1,1
    • Remove the daughterboard.

  10. Dell Inspiron 13-7373 Motherboard Replacement, Motherboard: 步骤 10 中的图像 1,1
    • Remove the seven 2mm screws securing the motherboard.

  11. Dell Inspiron 13-7373 Motherboard Replacement: 步骤 11 中的图像 1,3 Dell Inspiron 13-7373 Motherboard Replacement: 步骤 11 中的图像 2,3 Dell Inspiron 13-7373 Motherboard Replacement: 步骤 11 中的图像 3,3
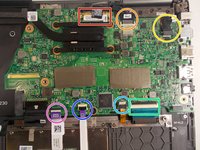
    • Release the IO Board Cable.

    • Release the Touchpad cable.

    • Release the keyboard back-light cable.

    • Release the keyboard cable.

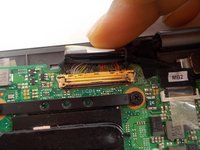
    • Release the eDP cable.

    • Release the dc-in cable.

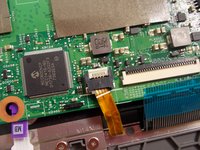
    • Release the cable for the LED charging indicator by gently pulling up on the connector.

  12. Dell Inspiron 13-7373 Motherboard Replacement: 步骤 12 中的图像 1,1
    • Gently lift up on the motherboard to remove it.

结论

To reassemble your device, follow these instructions in reverse order.

另外一个人完成了本指南。

为未来的维修做好准备

全部购物

John Egan

于10/25/19注册

485 声望

创作了3篇指南

团队

UMass Dartmouth, Team S1-G4, O'Connell Fall 2019 UMass Dartmouth, Team S1-G4, O'Connell Fall 2019 的会员

UMASSD-O'CONNELL-F19S1G4

3 名成员

创作了5篇指南

0指南评论

添加评论

浏览统计数据:

过去 24 小时: 0

过去 7 天: 6

过去 30 天: 13

总计 1,489