跳转到主内容
加入维修社区 - 创建账户

DROCON Ninja Camera Replacement

你所需要的

    1. DROCON Ninja Camera Replacement, Battery: 步骤 1 中的图像 1,3 DROCON Ninja Camera Replacement, Battery: 步骤 1 中的图像 2,3 DROCON Ninja Camera Replacement, Battery: 步骤 1 中的图像 3,3
      • Make sure the drone is powered off before beginning the battery replacement.

      • To turn the drone off, press and hold the black button on the top of the drone until all lights are off.

      • Firmly grasp the battery tab between your thumb and index finger.

      • Pull the battery away from the drone's body

      添加评论

    1. DROCON Ninja Camera Replacement, Casing: 步骤 2 中的图像 1,3 DROCON Ninja Camera Replacement, Casing: 步骤 2 中的图像 2,3 DROCON Ninja Camera Replacement, Casing: 步骤 2 中的图像 3,3
      • Using a Phillips #00 Screwdriver remove the eight 4mm screws on the bottom of the drone.

      添加评论

    2. DROCON Ninja Camera Replacement: 步骤 3 中的图像 1,2 DROCON Ninja Camera Replacement: 步骤 3 中的图像 2,2
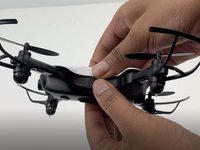
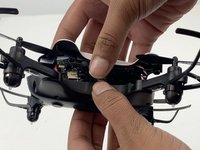
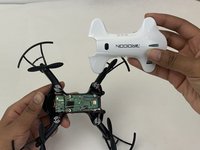
      • Gently pull white casing away from the black bottom casing

      添加评论

    3. DROCON Ninja Camera Replacement: 步骤 4 中的图像 1,3 DROCON Ninja Camera Replacement: 步骤 4 中的图像 2,3 DROCON Ninja Camera Replacement: 步骤 4 中的图像 3,3
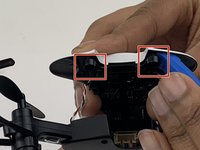
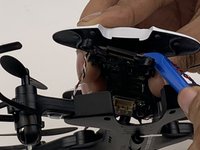
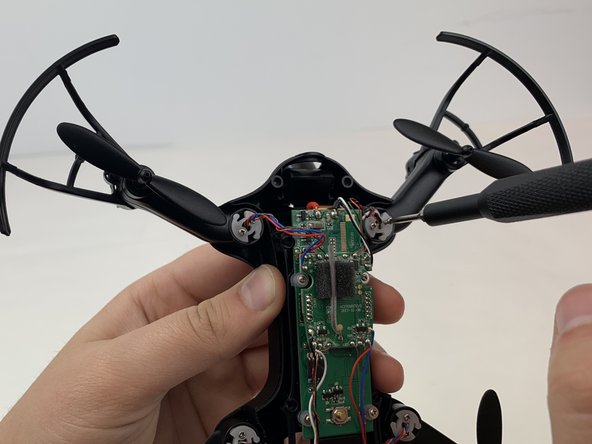
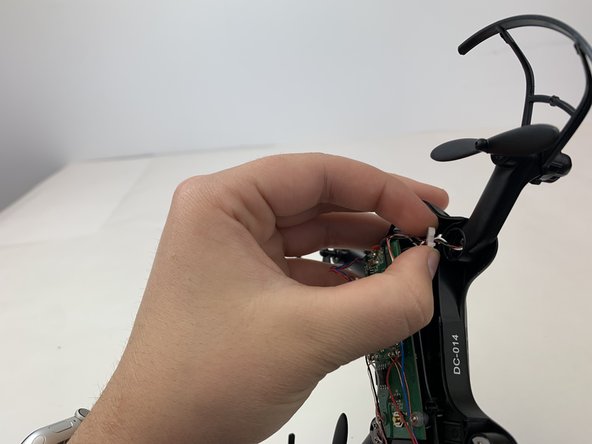
      • Insert the opening tool under one of the black plastic connector slots that connects the circuit-board to the casing.

      • Gently pull the opening tool toward you to disconnect the circuit-board from the plastic casing.

      添加评论

    1. DROCON Ninja Camera Replacement, Camera: 步骤 5 中的图像 1,3 DROCON Ninja Camera Replacement, Camera: 步骤 5 中的图像 2,3 DROCON Ninja Camera Replacement, Camera: 步骤 5 中的图像 3,3
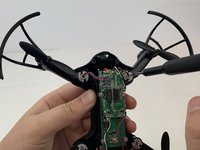
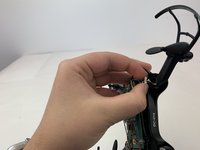
      • Use a Phillips #00 screwdriver to remove the 5mm screws connecting the front two motor arms to the drone's body.

      • Use your fingers to gently pull the white plastic discs out of the motor arms.

      添加评论

    2. DROCON Ninja Camera Replacement: 步骤 6 中的图像 1,2 DROCON Ninja Camera Replacement: 步骤 6 中的图像 2,2
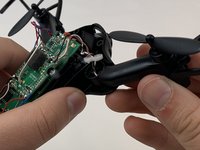
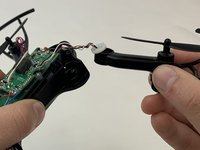
      • Grasp the motor arm and pull up and away from the drone's body.

      • Repeat this step for the other front motor arm.

      添加评论

    3. DROCON Ninja Camera Replacement: 步骤 7 中的图像 1,3 DROCON Ninja Camera Replacement: 步骤 7 中的图像 2,3 DROCON Ninja Camera Replacement: 步骤 7 中的图像 3,3
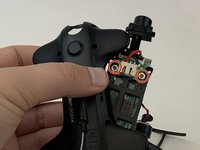
      • Using the Phillips #00 screwdriver, remove the two 3mm screws on the control board.

      添加评论

    4. DROCON Ninja Camera Replacement: 步骤 8 中的图像 1,3 DROCON Ninja Camera Replacement: 步骤 8 中的图像 2,3 DROCON Ninja Camera Replacement: 步骤 8 中的图像 3,3
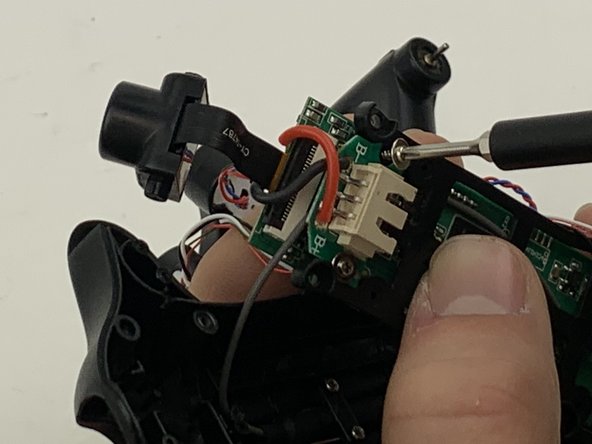
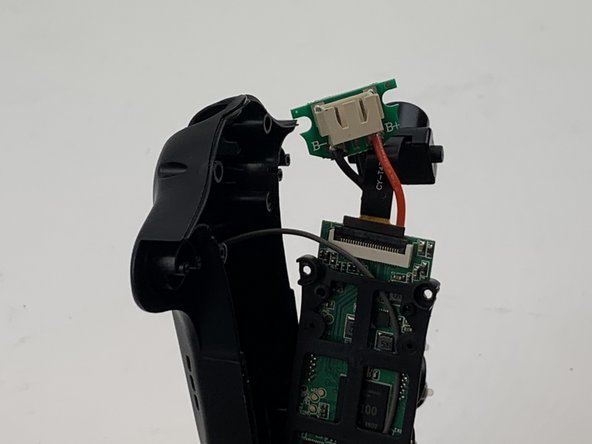
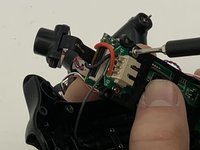
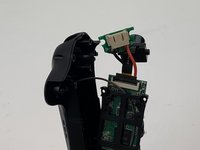
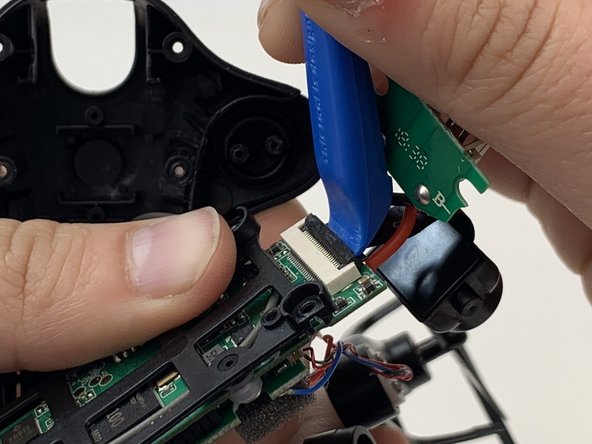
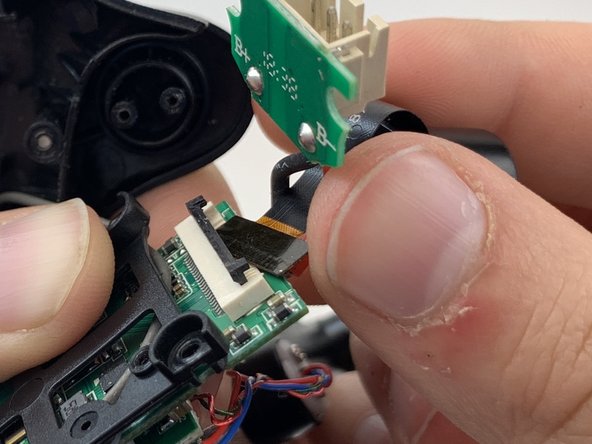
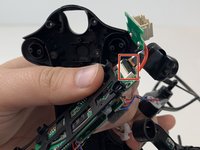
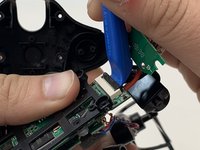
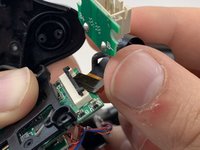
      • Using the opening tool flip up the black plastic clamp that holds the camera wire to the circuit board.

      • Gently pull the camera out from the control board.

      添加评论

结论

To reassemble your device, follow these instructions in reverse order.

取消:我没有完成这个指南。

0指南评论

添加评论

浏览统计数据:

过去 24 小时: 1

过去 7 天: 11

过去 30 天: 33

总计 598