跳转到主内容
加入维修社区 - 创建账户

此翻译由机器生成,尚未经过人工审核。 会说这种语言吗? 查看评论

Behringer Eurolive B212D 电源 PCB 更换

你所需要的

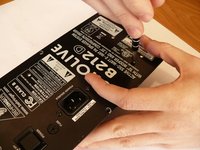
    1. Behringer Eurolive B212D 电源 PCB 更换, 电子设备盒: 步骤 1 中的图像 1,1
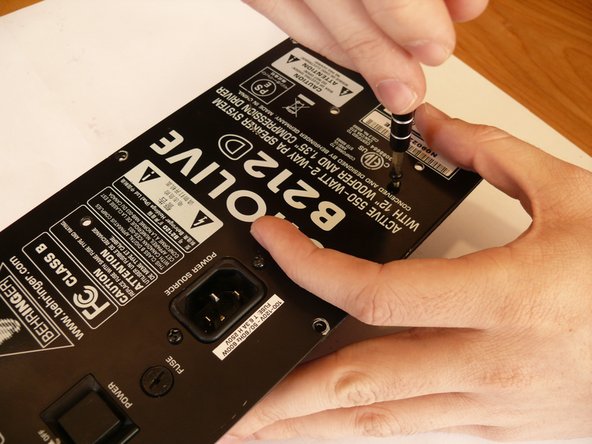
      • 警告:请将你的扬声器从电源插座上拔下。

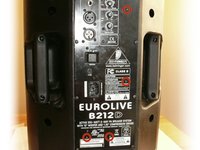
      • 从扬声器背面拆下 8 颗十字螺丝。

      添加评论

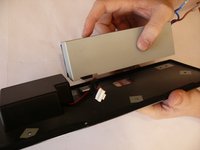
    2. Behringer Eurolive B212D 电源 PCB 更换: 步骤 2 中的图像 1,1
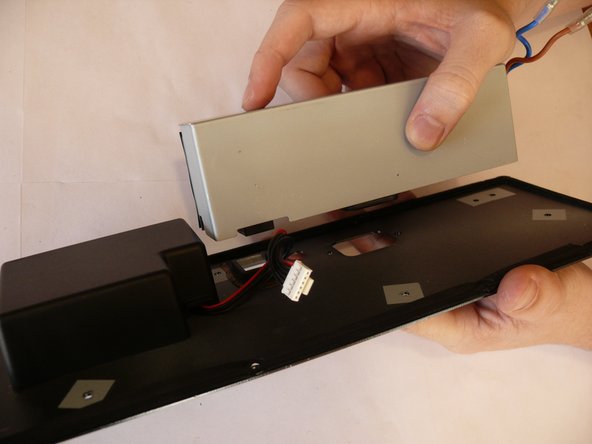
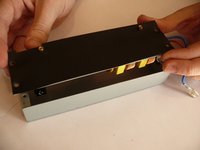
      • 小心地取下后盖,同时将金属电子盒一起提起。

      • 为避免损坏扬声器,请缓慢取下,因为电子盒仍有一根布线连接到扬声器。

      询问修复机器人
      添加评论

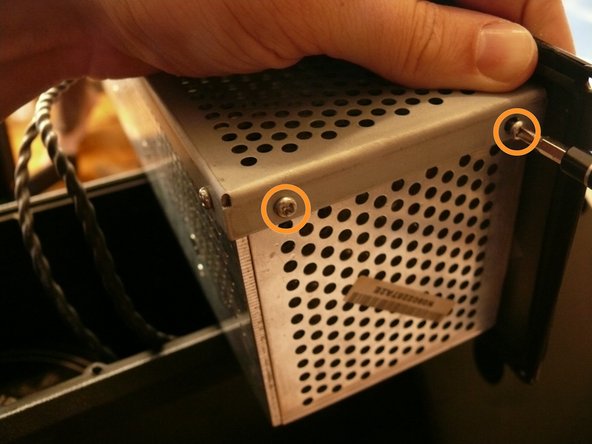
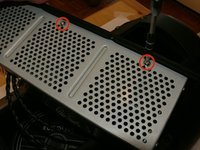
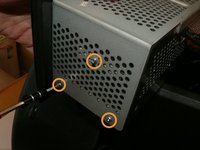
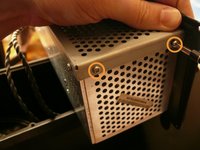
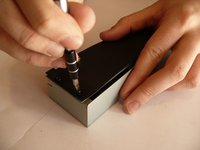
    1. Behringer Eurolive B212D 电源 PCB 更换, 电子盒: 步骤 3 中的图像 1,3 Behringer Eurolive B212D 电源 PCB 更换, 电子盒: 步骤 3 中的图像 2,3 Behringer Eurolive B212D 电源 PCB 更换, 电子盒: 步骤 3 中的图像 3,3
      • 金属电子盒外侧有 两颗银色、6 mm 长的机螺钉,每颗下方配有一个 内径 1/8 英寸的垫圈;请先使用 2 号十字螺丝刀 将其 拧下

      • 金属电子盒外侧剩余 五颗同类型的机螺钉(银色、6 mm 长);请一并将其拧下。

      • 你应该已经拆下了总共 7 颗机螺钉2 个垫圈

      • 之所以要先拆除这两颗带垫圈的螺丝(或在重新组装时最后安装它们),是因为对应的螺丝孔实际上是条形槽。这些槽位设计是为了容纳装配公差;如果拆卸顺序不对,你在拆除其余五颗螺丝时可能会遇到困难,甚至造成损坏。

      询问修复机器人

      添加评论

    2. Behringer Eurolive B212D 电源 PCB 更换: 步骤 4 中的图像 1,1
      • 取下你在上一步中通过拧下 7 颗螺丝所松开的那部分金属外壳。

      询问修复机器人

      添加评论

    3. Behringer Eurolive B212D 电源 PCB 更换: 步骤 5 中的图像 1,3 Behringer Eurolive B212D 电源 PCB 更换: 步骤 5 中的图像 2,3 Behringer Eurolive B212D 电源 PCB 更换: 步骤 5 中的图像 3,3
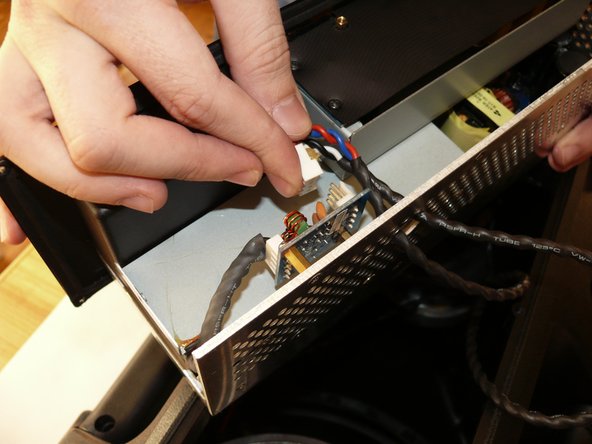
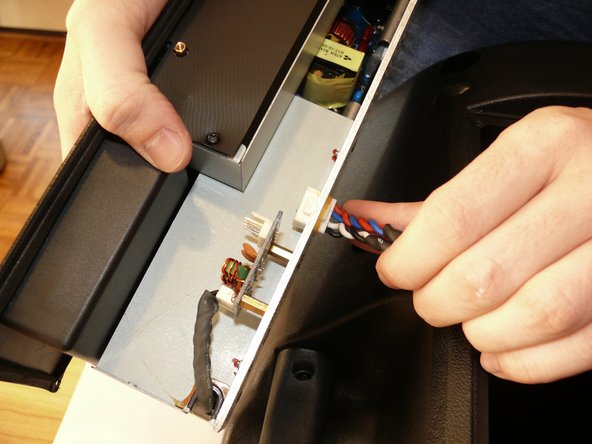
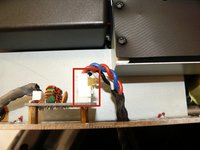
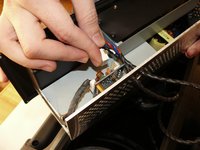
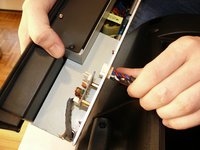
      • 在金属电子元件盒外壳内有一个连接在小型 PCB 上的白色夹子;将其拆下。

      • 此图中的白色夹子已被胶合,这表明制造商可能并不希望终端用户拆除该夹子;但如果不这样做,很难继续进行拆解,因为扬声器的其余部分没有提供足够的表面来执行操作。

      • 将夹子头部从金属电子元件盒外壳的孔中穿出。

      询问修复机器人

      添加评论

    1. Behringer Eurolive B212D 电源 PCB 更换, 电源与控制面板: 步骤 6 中的图像 1,2 Behringer Eurolive B212D 电源 PCB 更换, 电源与控制面板: 步骤 6 中的图像 2,2
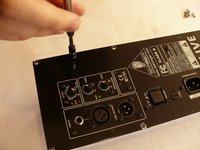
      • 使用 #2 Phillips 螺丝刀 拧下 4 颗 7/32 英寸长的机螺钉

      询问修复机器人

      添加评论

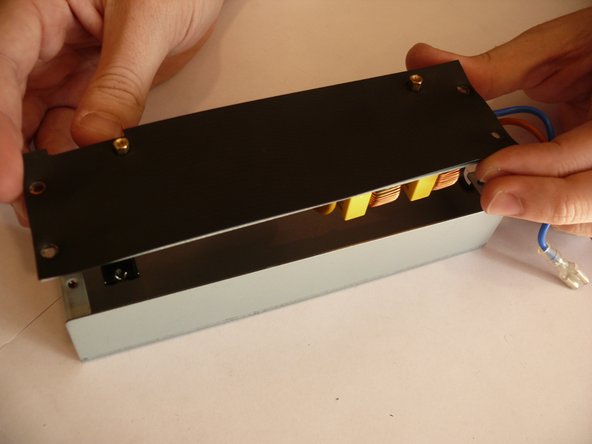
    2. Behringer Eurolive B212D 电源 PCB 更换: 步骤 7 中的图像 1,2 Behringer Eurolive B212D 电源 PCB 更换: 步骤 7 中的图像 2,2
      • 注意:该电路板包含许多电容器,如果触碰到可能会导致严重受伤。如果可能,请使用 电容放电探针 安全地去除电容器中危险的电荷。

      • 转动后面板,以便观察内部;注意已连接的三根电线

      • 拆下这些电线,以便你可以完全取下后面板。

      询问修复机器人

      添加评论

    1. Behringer Eurolive B212D 电源 PCB 更换, 电源 PCB: 步骤 8 中的图像 1,3 Behringer Eurolive B212D 电源 PCB 更换, 电源 PCB: 步骤 8 中的图像 2,3 Behringer Eurolive B212D 电源 PCB 更换, 电源 PCB: 步骤 8 中的图像 3,3
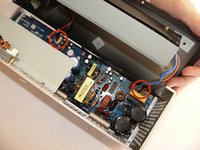
      • 使用 #1 Phillips 螺丝刀 卸下 4 颗标记出的 7/32 英寸长机螺钉

      • 取出装有电源 PCB 的盒子。

      询问修复机器人

      添加评论

    2. Behringer Eurolive B212D 电源 PCB 更换: 步骤 9 中的图像 1,2 Behringer Eurolive B212D 电源 PCB 更换: 步骤 9 中的图像 2,2
      • 还有 4 颗 7/32 英寸长的机螺钉将电源 PCB 固定在其所在的盒子上;用 #1 Phillips 螺丝刀将它们拧下。

      • 取出电源 PCB。

      询问修复机器人

      添加评论

结论

要重新组装设备,请按相反顺序执行这些说明。

取消:我没有完成这个指南。

6等其他人完成本指南。

Troy W. Weber

于03/29/12注册

1,506 声望

创作了6篇指南

14指南评论

This PCB does not convert electricity, and is rarely what fails. AC leaves this board and gets converted to DC at the rectifier bridge, which is part of the main amp PCB. This main amp board is where 99.9% of issues arise...

Gabriel Talamantes - 回复 分享

Do you know where I can find replacement boards for this speaker? It takes about 20 times of cycling the power button for it to finally come on. Can't seem to find parts anywhere. May not be financially smart to replace the board, but if it's not that expensive, I feel it's worth it.

Justin - 回复 分享

Hi. Why dont you fix the board?

riaandd - 回复 分享

Has anyone got a circuit diagram for the power board. Is it a switch mode power supply - the power plug indicates 240V or 110 V AC which would normally indicate it uses a switch mode power supply at the front end

Jonathon - 回复 分享

my fuse holder the plastic broke because there is not enough pressure to hold in the fuse and turns on and off

Jeffrey Martinez - 回复 分享

添加评论

浏览统计数据:

过去 24 小时: 2

过去 7 天: 21

过去 30 天: 98

总计 22,766