
Asus Zenbook UX32VD HD Web Camera Replacement
简介
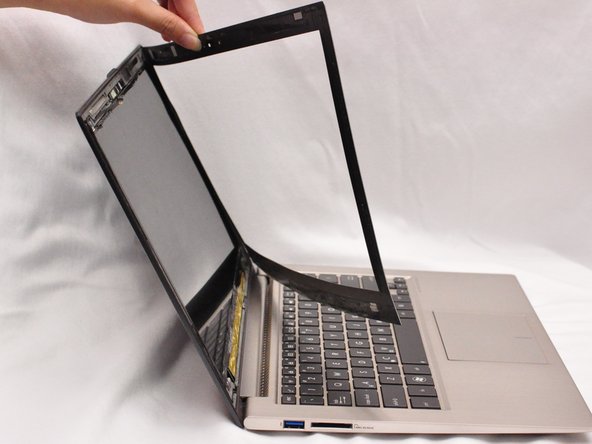
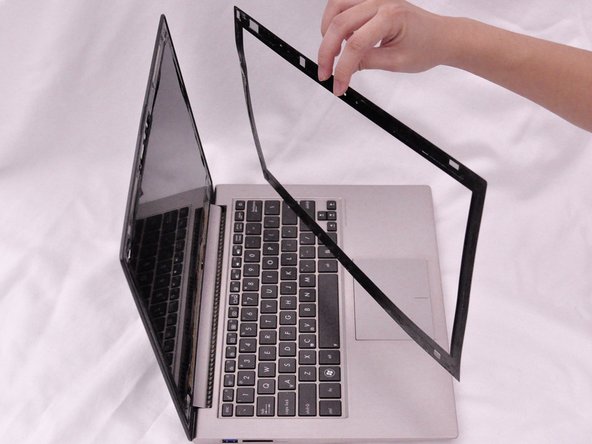
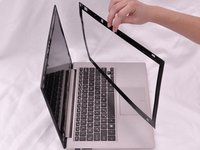
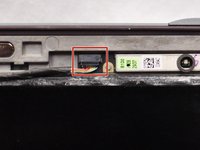
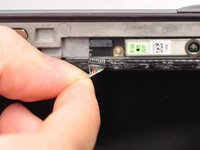
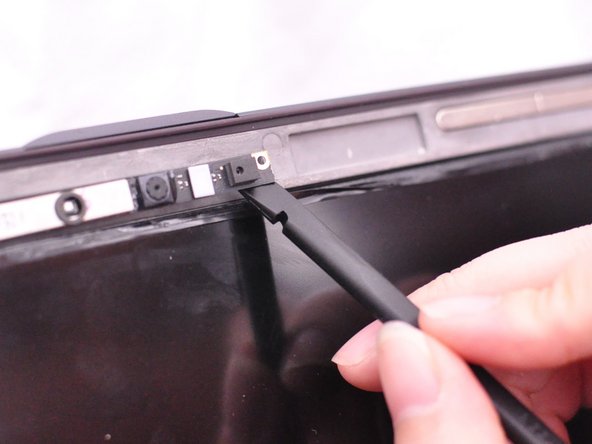
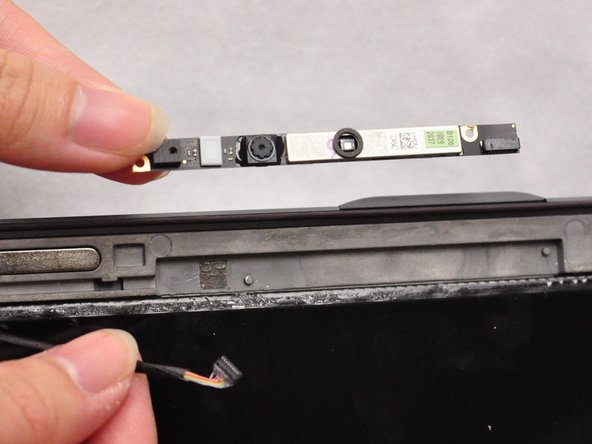
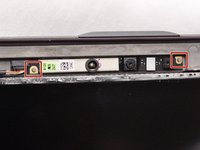
转到步骤 1If the HD web camera is not functioning this guide will teach you how to get behind the screen cover to replace the camera.
Note: Be sure the camera is broken and not just a software issue before you replace it.


To reassemble your device, follow these instructions in reverse order.
To reassemble your device, follow these instructions in reverse order.
团队

CSU Fullerton, Team 2-2, Bruce Fall 2015 CSU Fullerton, Team 2-2, Bruce Fall 2015 的会员
CSUF-BRUCE-F15S2G2
4 名成员
创作了6篇指南
2指南评论
what type/model/code for its replacement camera ? so i cant find it in part store...
Thank you for the demo. It appears to be easy to replace the camera per your instructions. Kind regards. Mehran Gerami