
Asus MeMO Pad 7 ME176C LCD Screen Assembly Replacement
20分钟
中等
简介
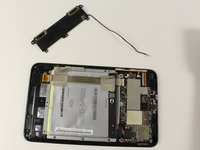
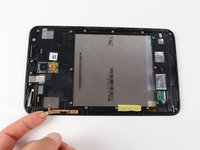
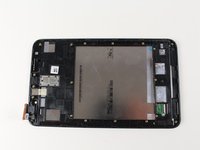
转到步骤 1This guide will take you through the necessary steps to disassemble your Asus MeMO Pad 7 ME176C to replace the screen.


-
-
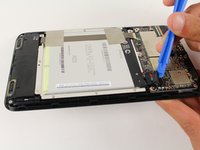
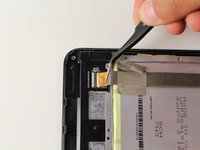
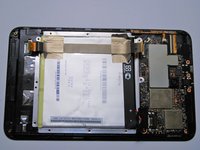
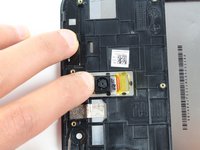
Insert plastic opening tool in between screen and back cover to create initial separation between the two.
-
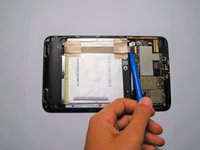
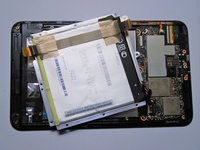
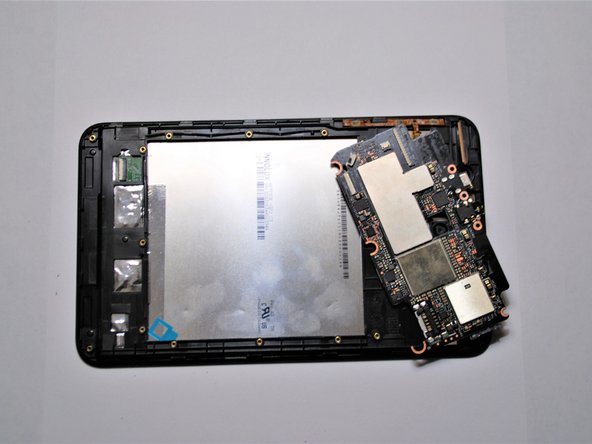
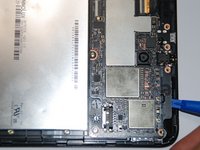
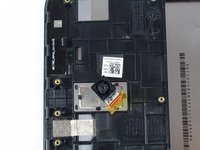
Then run plastic opening tool along end of screen to fully separate back cover from screen.
-
-


即将完成!
To reassemble your device, follow these instructions in reverse order.
结论
To reassemble your device, follow these instructions in reverse order.
团队

Cal Poly, Team S6-G3, Banghart Fall 2017 Cal Poly, Team S6-G3, Banghart Fall 2017 的会员
CPSU-BANGHART-F17S6G3
5 名成员
创作了9篇指南