
Asus Chromebook C300SA-DS02 LED Screen Replacement
简介
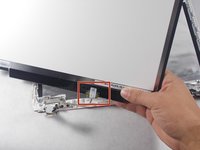
转到步骤 1This guide will walk you through the step by step process of removing the LED screen from the laptop. Screen removal is a multistep process that will require you to keep track of the parts taken out of the laptop. Each screw is accounted for in the steps they are removed.


-
-
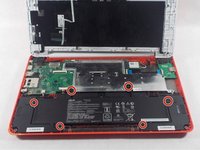
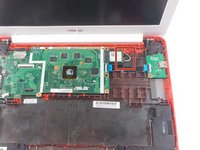
Remove the eight 8.0mm Phillips #0 screws on the bottom of the laptop.
-
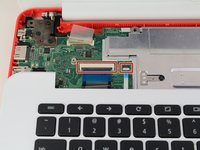
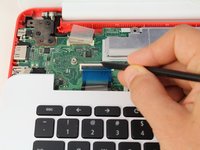
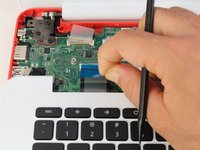
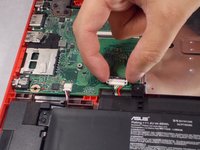
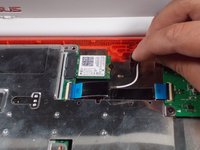
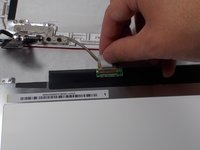
Remove the three 6.0mm Phillips #0 screws.
-


To reassemble your device, follow these instructions in reverse order.
To reassemble your device, follow these instructions in reverse order.
2等其他人完成本指南。
团队

UMass Dartmouth, Team S1-G7, Simcock Fall 2017 UMass Dartmouth, Team S1-G7, Simcock Fall 2017 的会员
UMASSD-SIMCOCK-F17S1G7
3 名成员
创作了9篇指南
1指南评论
I used this honestly I broke the screen and some of the wires in the screen are severed. Now I know for sure where the wires go and how to deconstruct it. Thank you so much!