
Asus Chromebook C300MA-BBCLN12 Display Replacement
简介
转到步骤 1This guide will show you how to open the casing on your Chromebook and replace the LCD display.
你所需要的


-
-
Wedge the tip of the plastic spudger between the outer display casing and the inner display panel liner.
-
Separate the outer display casing from the inner display panel by sliding the plastic spudger around the perimeter of the display.
-
-
-
-
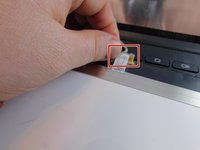
Locate the gold cable connector that attaches the display to the bottom of the display housing.
-
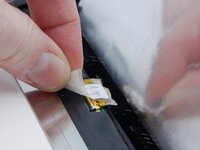
Peel back the protective tape that covers the gold connector.
-
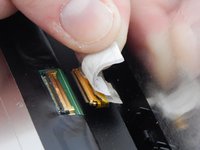
Disconnect the display from the display housing by gripping the sides of the gold display cable connector and pulling away from the bottom of the display.
-


To reassemble your device, follow these instructions in reverse order.
To reassemble your device, follow these instructions in reverse order.
团队

Portland State University, Team S1-G2, Read Fall 2017 Portland State University, Team S1-G2, Read Fall 2017 的会员
PSUN-READ-F17S1G2
4 名成员
创作了10篇指南