简介
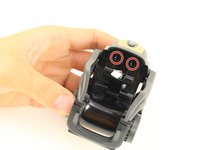
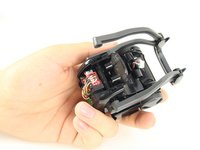
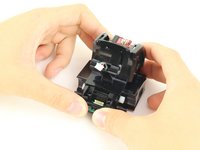
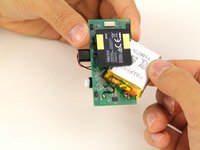
This guide details how to fully remove the battery of the Anki Vector. Due to its location, this procedure requires many steps accessing the battery.
Remember to only embark on this guide if you have followed the Anki Troubleshooting Page and the device is still broken.
You should be using this guide if vector fails to charge, power on, or has an extremely short battery life.
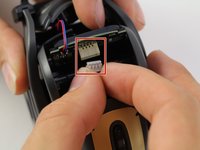
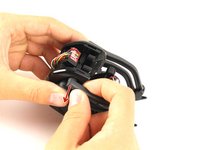
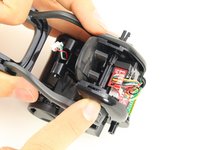
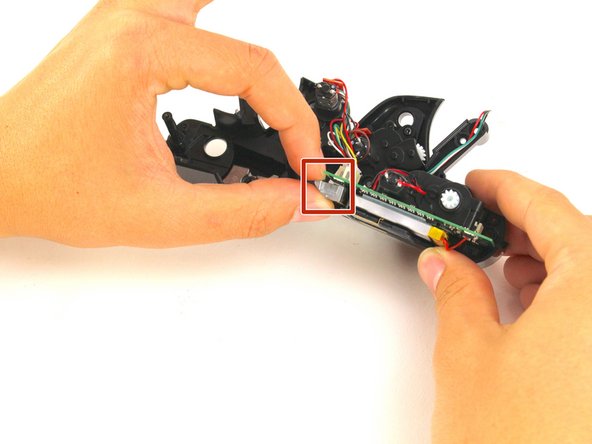
While disassembling Vector, make sure to look out for disconnected cables and other broken parts, as often times these can be fixed without entirely replacing the battery.
你所需要的
-
-
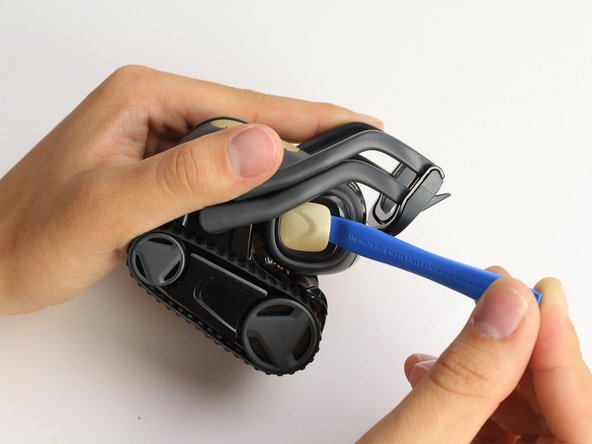
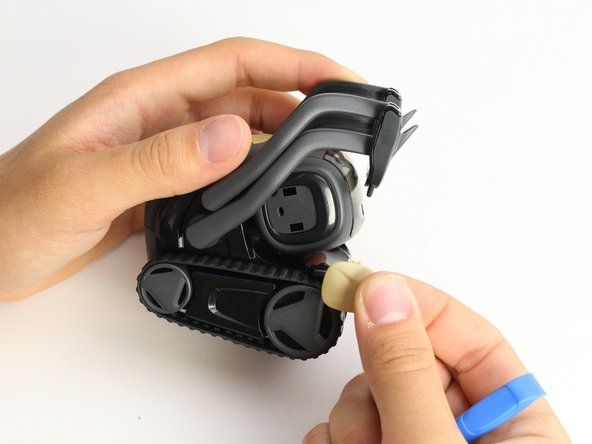
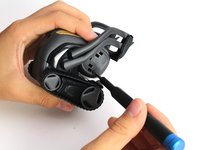
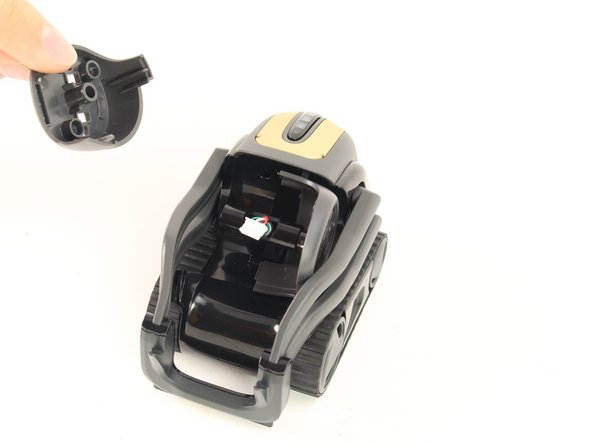
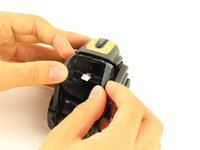
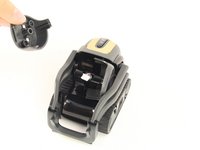
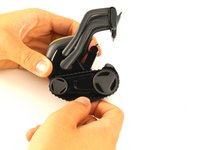
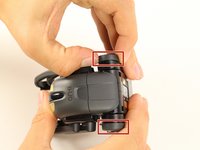
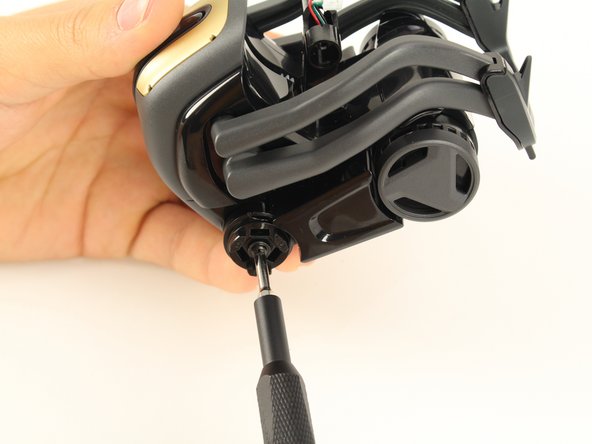
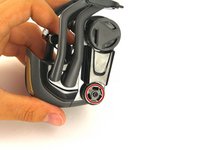
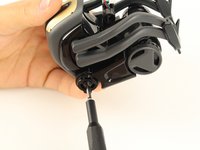
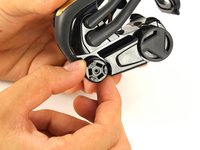
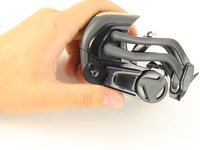
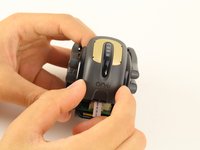
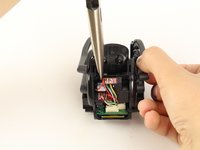
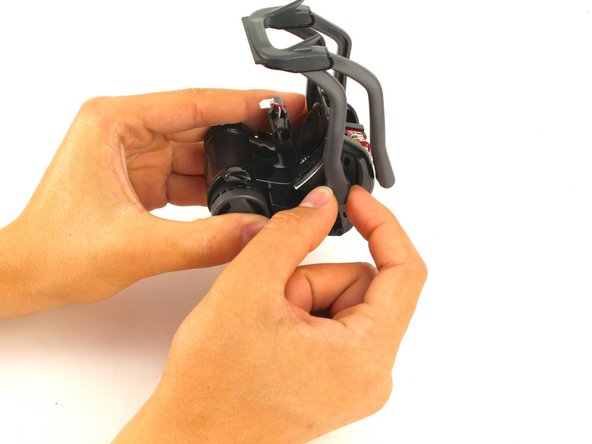
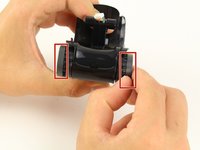
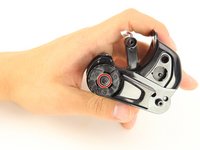
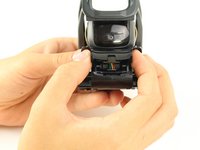
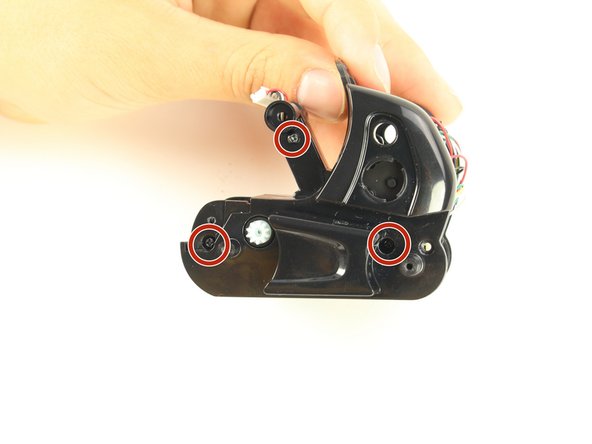
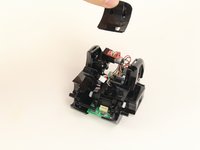
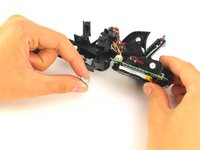
Using the iFixit opening tool, insert the corner under Vector's golden side panel and lightly twist.
-
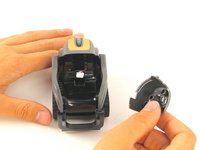
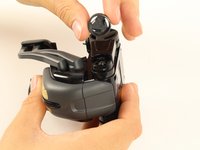
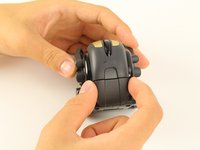
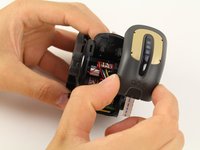
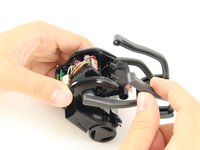
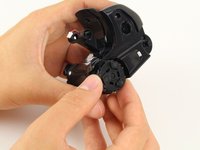
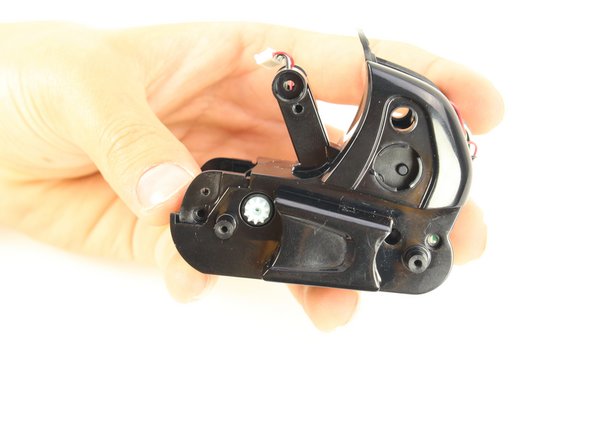
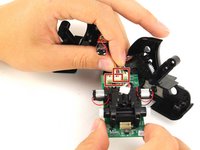
Repeat this step on the other side.
 询问修复机器人
-
-


To reassemble your device, follow these instructions in reverse order.
48等其他人完成本指南。
团队

Cal Poly, Team S2-G6, Maness Spring 2019 Cal Poly, Team S2-G6, Maness Spring 2019 的会员
CPSU-MANESS-S19S2G6
4 名成员
创作了10篇指南
25指南评论
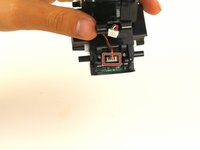
Who manages to do all of this in 7 minutes ? Apparently it is a 3.7V battery, question is what is the max size that fits ? 3.5 x 2.5 x 0.4 cm is reported to fit, 4x3x0.5 might as well.
Any idea where to get one ?
Who manages to do all of this is 7 minutes?
me