
Acer Aspire One ZG5 Hard Drive Replacement
简介
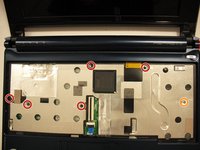
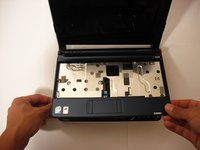
转到步骤 1Use this guide to replace the hard drive in the Acer Aspire One ZG5. After removing the motherboard, the hard drive is easy to replace.
你所需要的
修复工具包
本套装包含完成指南所需的所有零件和工具。


配件


工具


查看更多...
-
-
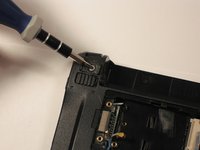
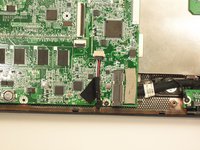
Gently loosen the two Phillips #0 screws in the small panel that covers the wireless card.
-
-
-
-
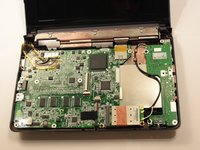
Close the display and turn the ZG5 over so that the battery compartment faces away from you.
-
-
-
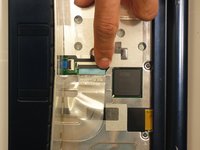
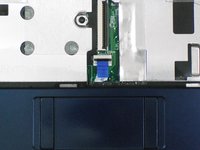
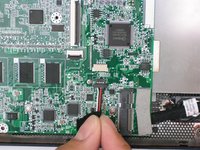
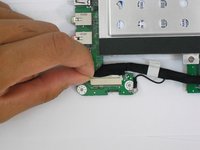
Disconnect the two antenna cables from the right side of the wireless card.
-


To reassemble your device, follow these instructions in reverse order.
To reassemble your device, follow these instructions in reverse order.
110等其他人完成本指南。
团队

Cal Poly, Team 7-49, Amido Fall 2010 Cal Poly, Team 7-49, Amido Fall 2010 的会员
CPSU-AMIDO-F10S7G49
5 名成员
创作了27篇指南
14条评论
Excellent guide. This "student" should be promoted to "instructor" right away. Many thanks.
This guide helped a lot with refurbishing my old ZG5. It now has a case that is not cracked, 1.5 GB memory, and a 240GB SSD. I get to put off Windows 10 for a while longer.
Thanks a lot! i already upgrade memory from 1 to 1.5 on my acer. But i have a question, does the aoa 150 works faster with a ssd disk? i want to try with one of 240 gb. Anyone try it?
Not the easiest upgrade I've ever done (perhaps the most difficult, actually), but I got it done. Removing the keyboard was the trickiest step for me. Be patient. If you can work one of the corner releases, you can put a flat-blade screwdriver under the corner of the keyboard and work on the other releases (starting at the far corner, then the centre).
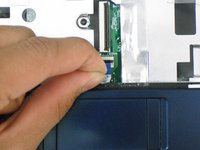
The other tricky problem I had was getting the little ribbon cable for the trackpad properly reconnected after completing the project. (I thought the keyboard cable would be the tricky part, but it turns out to be pretty easy.) Be patient and you'll be fine. You may want to test (with a mouse handy) before you reinsert the keyboard.
Thanks very much for this howto!
I had one of these little beasts that my son gave away about 6 years ago. The person he gave it to returned it to him a month later because it would not turn on. It was a case of the boot sector problem that plagues the ZG5. I performed the repair described on the Acer web site and it has been running fine ever since. After installing Linux Mint (dual boot), it was finally given away again last summer. Now it seems it is coming back to me. This might be the time to upgrade it with an SSD. Thanks for this tutorial. I will probably be making use of it over the next few weeks.
Chuck Pilger - 02/23/2017