跳转到主内容
Acer Aspire One D255E Back Panel Replacement

Acer Aspire One D255E Back Panel Replacement

Brian

Brian 另一个贡献者

最后更新于 September 16, 2019

没有估计
中等
仅作为前提条件
本指南仅用作其他指南的先决条件。不能单独使用。

Though the back panel is not itself a component that is often replaced you will need to remove it in order to get to various components inside the computer. You should read through the entire guide before performing the repair and should have all necessary tools readily available. You should also find a safe location to store the various screws taken out of the computer to ensure that they do not get mixed up or lost.

你所需要的

工具

  • Phillips #0 Screwdriver
    Phillips #0 Screwdriver
  • Spudger
    Spudger
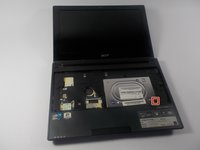
  1. Acer Aspire One D255E Back Panel Replacement, Back Panel: 步骤 1 中的图像 1,2 Acer Aspire One D255E Back Panel Replacement, Back Panel: 步骤 1 中的图像 2,2
    • Unscrew seven 1.2 mm Phillips #1 screws from the back of the device

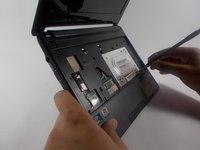
  2. Acer Aspire One D255E Back Panel Replacement: 步骤 2 中的图像 1,2 Acer Aspire One D255E Back Panel Replacement: 步骤 2 中的图像 2,2
    • Unscrew eight more 1.2 mm Phillips #1 screws from the front of the computer.

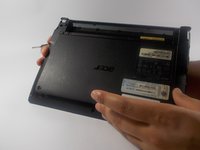
  3. Acer Aspire One D255E Back Panel Replacement: 步骤 3 中的图像 1,3 Acer Aspire One D255E Back Panel Replacement: 步骤 3 中的图像 2,3 Acer Aspire One D255E Back Panel Replacement: 步骤 3 中的图像 3,3
    • Using a spudger carefully push though the hole to dislodge the panel on the back of the device then remove the panel by hand.

    • It is recommended that you use a plastic spudger to reduce the chance of damaging any internal parts.

结论

To reassemble your device, follow these instructions in reverse order.

Brian

于03/19/16注册

1,302 声望

创作了5篇指南

团队

UMass Dartmouth, Team 16-8, Bhusal Spring 2016 UMass Dartmouth, Team 16-8, Bhusal Spring 2016 的会员

UMASSD-BHUSAL-S16S16G8

2 名成员

创作了10篇指南

0条评论

添加评论

浏览统计数据:

过去 24 小时: 0

过去 7 天: 2

过去 30 天: 23

总计 84