
ASUS Chromebook C300MA-DH01 Battery Replacement
10 - 15 分钟
中等
简介
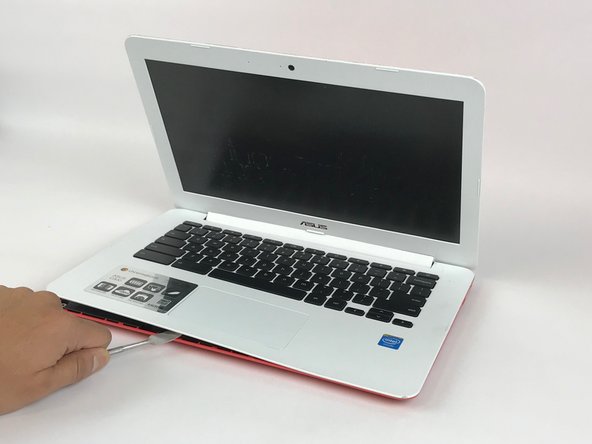
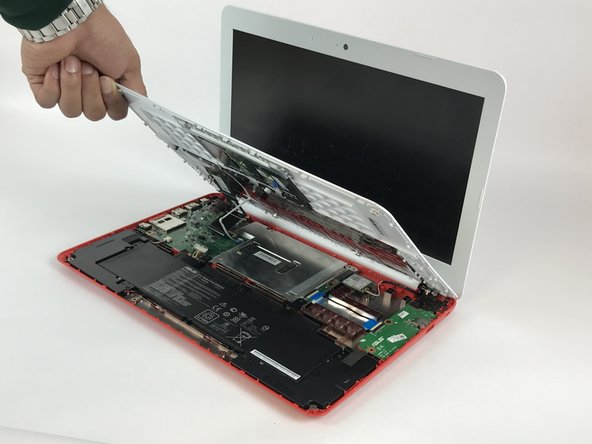
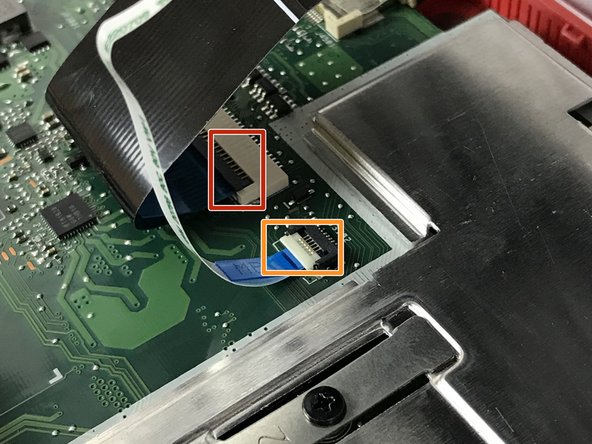
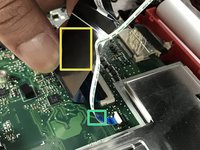
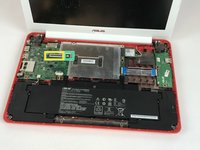
转到步骤 1This guide will help you replace the battery in your device. Before starting, remember to completely disconnect your device from any power sources and ensure your device is turned off. Always use caution when working with electronic components.


即将完成!
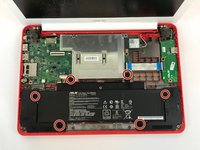
To reassemble your device, follow these instructions in reverse order.
结论
To reassemble your device, follow these instructions in reverse order.
团队

USF Tampa, Team S2-G5, Passmore Fall 2017 USF Tampa, Team S2-G5, Passmore Fall 2017 的会员
USFT-PASSMORE-F17S2G5
3 名成员
创作了10篇指南