简介
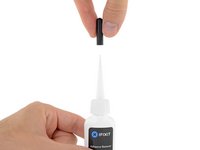
请按照以下说明使用带粘胶去除剂的 iFixit 套装来更换MacBook Pro 中粘合的电池。脱胶剂有助于削弱固定旧电池的胶水,使其更易于取出。
“'iFixit 粘胶清除剂是易燃的。''在通风良好的地方执行此步骤,请勿在明火附近吸烟或工作。
“为了最大程度地减少损坏风险,请在开始此步骤之前打开 MacBook并让电池完全放电。”如果意外刺穿了充电的锂离子电池,可能会导致危险和无法控制的火灾。 如果电池膨胀,请采取额外的预防措施。
'“注意”':用于溶解电池粘合剂的溶剂会损坏某些塑料。请遵循所有说明,并在应用除胶剂时要小心。
你所需要的
-
-
开机,并打开终端。
-
将以下命令复制粘贴到(或完全键入)终端窗口中:
-
sudo nvram AutoBoot=%00
-
按[回车]。如果出现钥匙提示,请输入管理员密码(开机密码)并再次按[回车]。注意:您的回车键也可能标有「⏎」或 return。
-
sudo nvram AutoBoot=%03
-
-
-
-
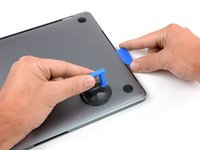
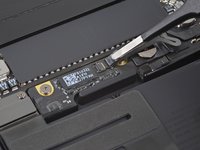
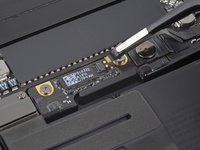
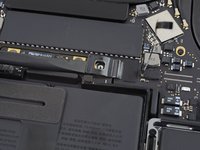
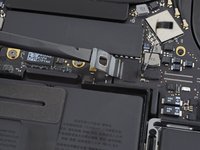
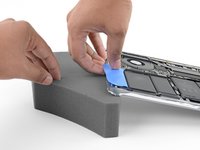
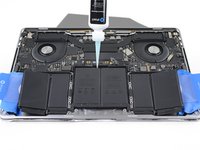
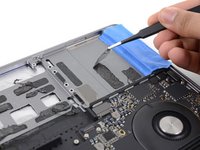
准备一个 iOpener,把它放在触控板排线顶部约一分钟,以软化将触控板带排线固定在电池顶部的粘合剂。
-
如果没有 iOpener,可以用吹风机加热电缆。排线应该是热的,但不能太热,否则会烫手。小心不要让电池过热。
-
-
-
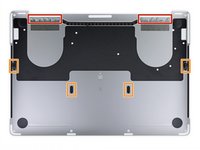
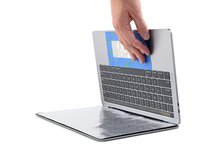
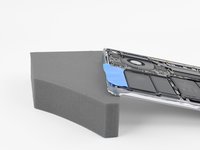
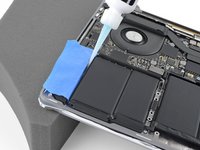
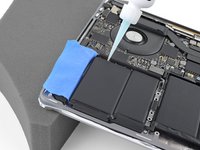
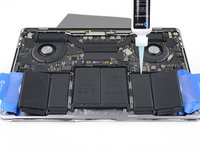
为了保护你的显示器,请在显示器和键盘之间放置一块铝箔,并在工作时将其留在那儿。
-
此外,使用一些胶带和/或箔纸密封触控板下方的区域。你也可以选择在触控板区域的正下方铺一层吸水毛巾,以吸收多余的去粘剂。
-
-
-
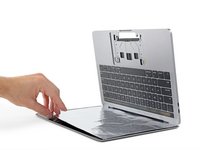
现在,你的MacBook Pro已做好充分准备,现在该做好准备了。
-
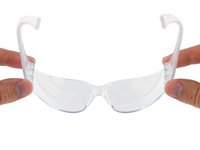
在处理和应用脱胶剂时,请戴上护目镜。(您的套装中包括眼睛保护装置。)
-
不要戴上没有护目镜的隐形眼镜。套装中还包括防护手套。
-
如果你担心可能会引起皮肤刺激,请戴上手套。
-
-
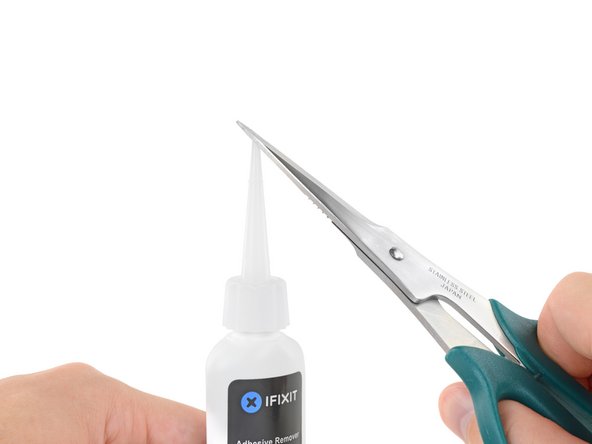
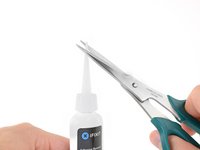
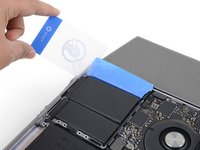
在这个步骤中使用的工具:Plastic Cards$2.99
-
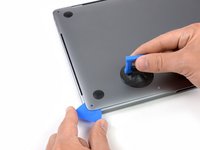
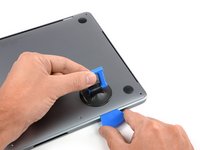
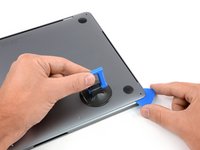
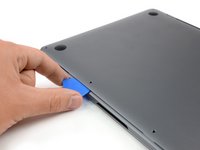
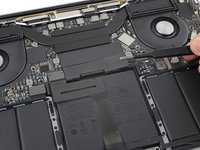
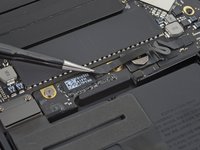
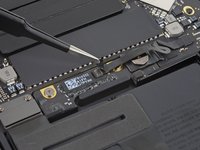
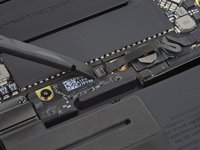
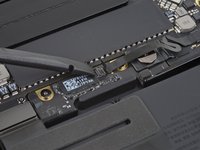
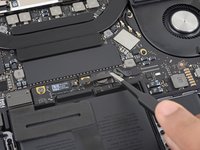
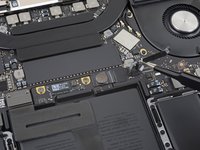
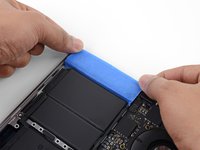
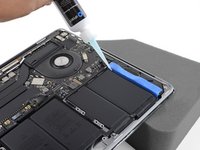
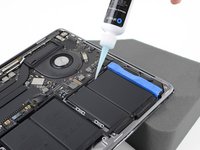
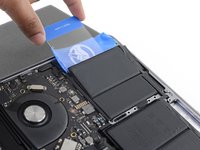
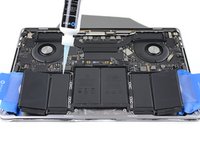
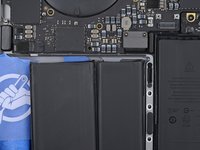
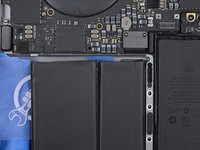
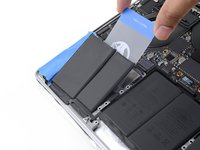
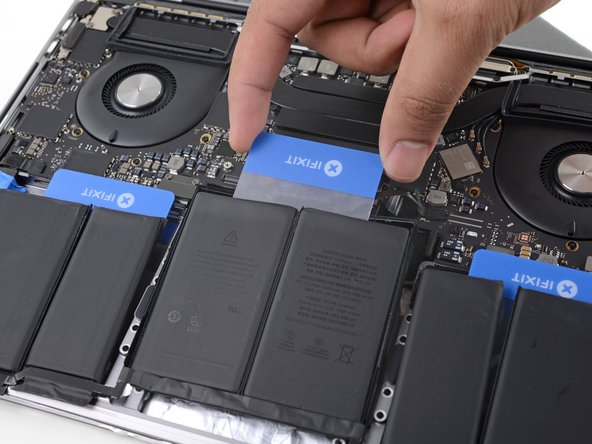
几分钟后,从前边缘开始,将塑料卡的一个角插入最右边的电池下面。
-
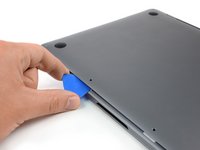
左右摆动存储卡,并将其一直滑到电池下方。
-
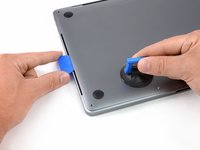
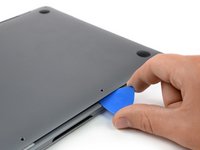
提起以完全分离粘合剂,但请勿尝试卸下电池。
-
将塑料卡暂时留在电池下面,以防止在继续操作时重新粘附。
-
-
-
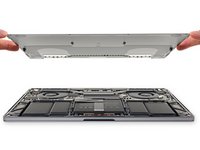
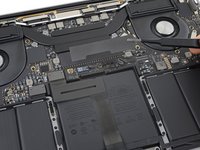
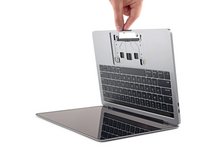
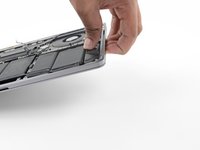
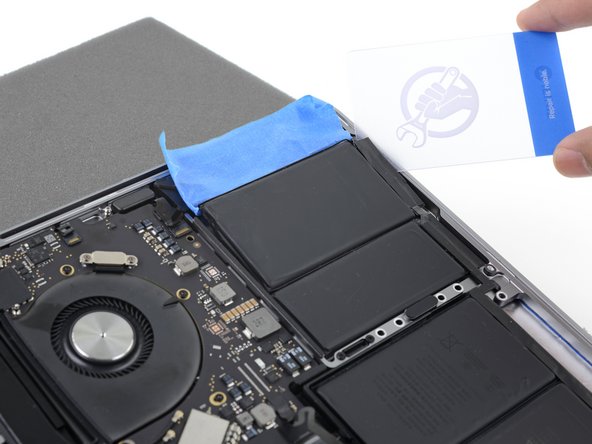
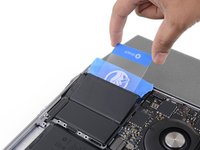
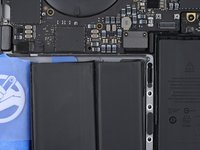
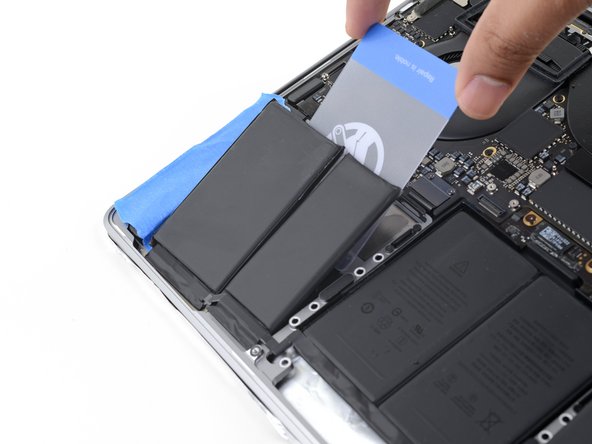
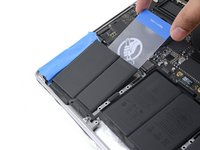
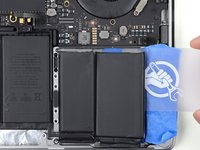
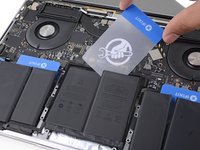
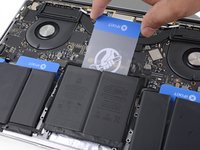
取出电池。
-
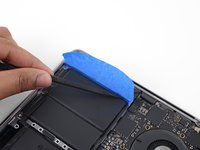
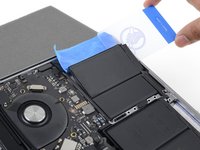
用镊子或戴手套的手指将所有大条胶粘剂剥离。
-
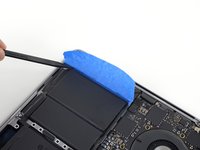
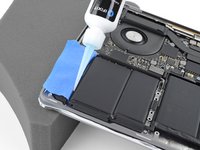
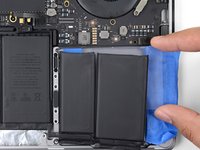
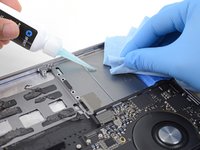
用塑料工具刮掉所有残留的粘合剂块,然后用除胶剂或异丙醇清洁下面的区域。沿一个方向擦拭(不要来回擦拭),直到清洁机箱并准备好装入新电池为止。
-
完成后,小心地从扬声器上取下保护带。
-
-
在这个步骤中使用的工具:Tesa 61395 Tape$12.99
-
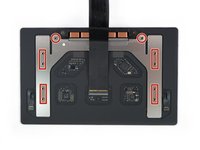
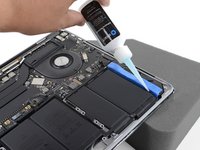
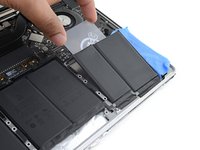
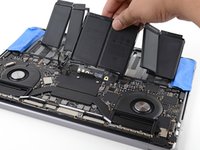
请注意电池数据线,并确保它不会被夹在电池板上。
-
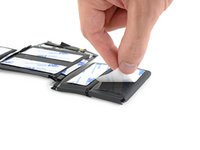
如果你的电池底部预装有胶粘剂,请将其翻转过来并小心地剥离内衬以露出胶粘剂。如果电池没有粘合剂,请使用薄的双面胶带(例如Tesa 61395)将电池固定到位。
-
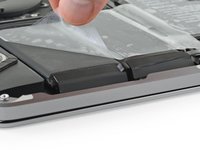
小心放置电池并将其放置到位。
-
牢牢按住每个电池单元格5-10秒钟,以将其固定到底部外壳。
-


41等其他人完成本指南。


15指南评论
Why doesn’t this kit contain a P5 pentalobe screwdriver? It’s literally the first step, and now I have to buy another tool to even get started?
Hi John, which kit did you purchase? We don’t sell a battery replacement kit for this exact model, only the part, so you’d have to make sure you have all the tools listed in the guide before you buy the part and add anything you don’t have to your cart.
If a P5 was supposed to be included in the kit you did purchase, reach out to customer service and they will promptly send one to you.
Great guide… worked for me. Only comment I would make is that finding the Adhesive remover on its own was impossible so I removed the old battery with some patience, floss and the the plastic levering tools. I cleaned off the remaining old sticky stuff and residue with basic sticky stuff remover and it worked just fine :)
Great guide to at least get to unplugging the battery. My daughter’s work computer was black screened and would not arise despite working the power button and changing chargers. I figured it just needed a super hard reset. So, this guide helped me get the back off and the battery unplugged. Put it all back together and - I’m a hero for a minute!
The guide provided great instructions. I had never replaced a battery in a Macbook Pro 2019 before. I was able to do so with this information. All was well for about 10 minutes after the new battery was installed. Laptop booted and I was able to access the internet. I walked away for a few minutes and returned to see a dark gray screen with about one inch columns in the across the display in the background. I hear the chime when the laptop boots and that's it. The instructions were just what I needed. Thank you.