简介
在本指南中,我们将向你展示如何在华为 P10 智能手机中拆除和更换带框架的显示屏组件。
为了保护你的眼睛免受玻璃碎片的伤害并获得更好的抓握力来打开手机,你可能需要在屏幕上粘一些胶带。
重新组装时,如有必要,请涂抹新的粘合剂。在重新组装之前,请检查新零件是否需要从旧手机上转移。
你所需要的
-
-
从手机底部区域开始,在显示屏和机壳之间插入一个塑料撬棒。
-
小心地将显示器的外壳撬出。
-
在撬出底端后,使用撬棒打开两侧的金属卡扣。
Hi! I cannot find a way to insert the plastic opening tool. Any suggestions on how I can create a gap to start. Everything seems quit rigid.
Also, where will I find your reply.
vbr/lars.skoldebring@gmail.com
Hi Lars, you might want to use a suction handle to lift the display and create a small gap to insert the plastic tool. If you don’t have a suction handle you can “build” a handle with tape that you stick onto the display in a shape similar to this —> __∏__ (also you may want to edit your post and remove your email address ;) )
Hi,
I’m stuck at this step for about two hours… There’s nothing I can do to open the case. Tried all kinds of opening tools and a suction handle. There is no gap at all between the display and the body. How can anything be inserted into a gap that practically does not exist? Please help.
Sorry to hear that. You could try and lift the display by using a suction cup and pull to create a small gap for a tool to get in.
-
-
-
向后(手机的底部)斜上上打开手机。
-
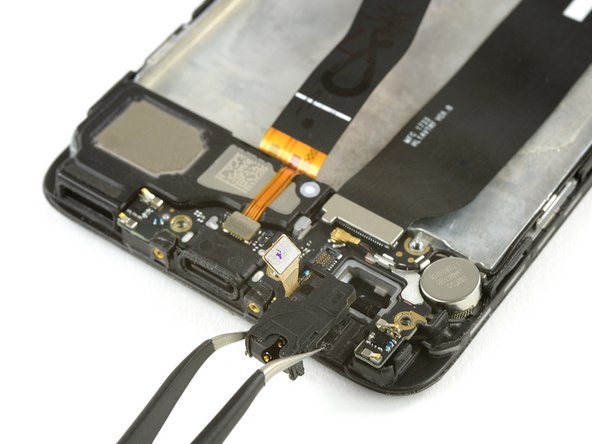
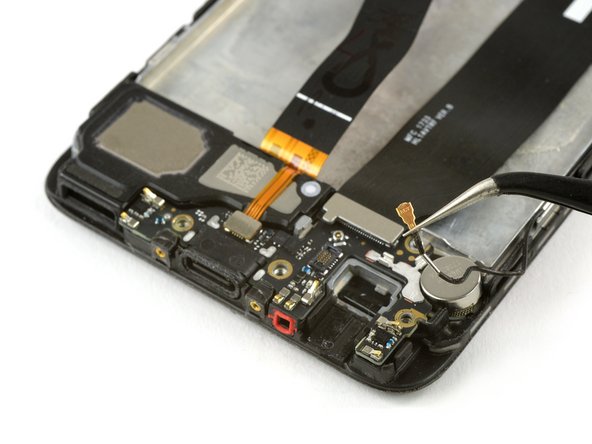
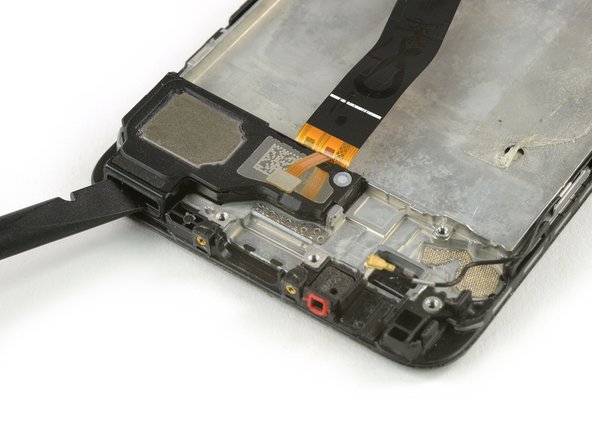
使用撬棒断开电源和音量按键柔性电缆。
Thanks JaL, of course it is.
-
-
-
-
通过一个平(约为20°)的角度拉动电池顶部的小拉条来去除电池后面黏胶。
-
使用iOpener来加热软化剩下的胶水。
It wasn’t easy to find the piece to pull. It was a black label, folded and stuck to the battery
-
-
-
使用主板右上角撬棒的尖端并撬出它,直到你可以获得良好的抓握力。
-
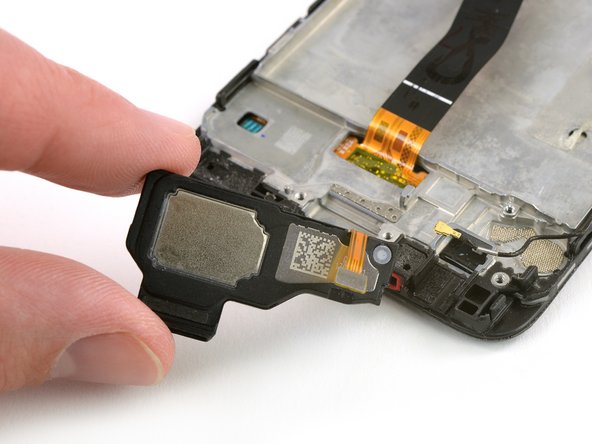
移除主板。
Can I replace the pink thermal pad with thermal paste? Because I can't any online store sell pink thermal paste for phone.
-


请按逆序重组你的设备。如有必要请涂抹新的粘合剂。
请按逆序重组你的设备。如有必要请涂抹新的粘合剂。
25等其他人完成本指南。


5条评论
Are the pink/purple blobs unter the motherboard thermal paste? If so, should I re-apply any when reassembling?
The answer might come to late, as you most likely finished the repair in the last 5 years, but it might still be useful for others:
Yes, the purple blobs under the mainboard are thermal paste.
If the paste is still soft you could potentially reuse it but I would highly recommend to use some new thermal paste.
Gonna upload an easy and faster way to do it whitout removibg the battery or upper boards and cameras, wait for it, my 1st guide.
I didn’t add the tape. I don’t know why the battery comes with it, plus, it is ultra strong, I was all the time afraid to ruin the battery, but fortunatly, everything went well
Das Honor 9 hat an der Unterkante keine Schrauben.
Wie ist das Honor 9 zu öffnen?
Michael Tuschek - 回复
Vielleicht beantwortet diese Anleitung deine Frage ;)
Tobias Isakeit -
Hi, my P10 does not have screws, just two tiny holes. Do I push in here to unfasten? Einar, Norway
Einar Ryvarden - 回复
Hi Einar Ryvarden,
in case you bought a used or refurbished phone, someone might have forgotten to put them back in. Since you have holes at the bottom edge next to the charging port this is likely. You can try to start with step 2 and see if you can lift the phone assembly (don’t forget to remove the SIM tray first). As far as I know there is no version of the regular Huawei P10 with no screws. However you there are none in the P10 lite and in the P10 plus, maybe one of the opening procedures for those phones might help you.
Dominik Schnabelrauch -