简介
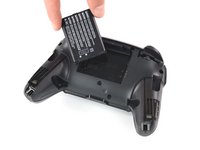
本指南将向您描述如何更换任天堂Switch Pro控制器的主板。完成本指南的操作需要您做好一定的预防措施,因为其中的操作涉及到锂离子电池的拆卸。如果电池发生膨胀,请查阅该资源how to dispose of a swollen battery.
为正确地完成本指南,您必须特别注意地完成本指南中第8、9步,以避免对主板上的排线造成损坏。
此外,您还需要具备焊接的能力。如果您不知道如何焊接,请查阅该资源how to solder.
请小心拆卸控制器的塑料部件以及电路板,避免对控制器零件造成损坏。
你所需要的
-
-
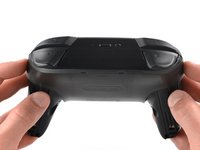
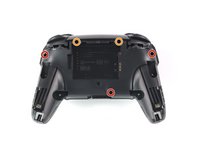
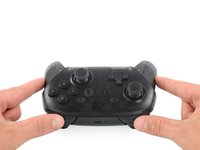
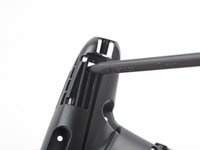
使用菲利普十字螺丝刀拆下图中所示的位于手柄背部的5个5mm的螺丝。
-
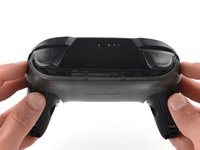
握把上方的两颗螺丝和电池仓下方的一颗螺丝安装的比较前显。这三颗螺丝很容易就卸下来。
-
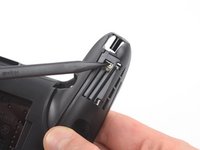
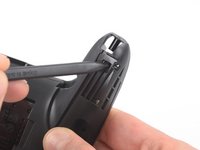
靠近ZR和ZL肩按钮的两个螺钉安装的比较深。使用延长杆或长轴的十字螺丝刀即拆卸这两颗螺丝。
Seconded. the screws are located too deep below the plastic slot, and the bit holding bulge is too wide for the small aperture (similarly with the flexible extension). the bit length is too shallow to reach.
An alternative driver with a much narrower & longer shaft is required, which will likely not come with interchangeable bits.
I would say it is possible to reach the top left screw, just not the top right - there is a gap in the top left that allows you to slightly bend the standard driver outward to turn it while still making adequate contact.
An update: I was actually able to remove the top right one in a really hacky way - inserting the Phillips #0 bit into the #4 hex bit, and then using that in the standard driver. This added just enough length to successfully reach and make full contact with the screw!
Using the #4 hex bit as an extension was the exact "hack" I needed to get rid of the drift finally. Thank you. You're a lifesaver.
Das #4 Hex Bit als Verlängerung für das Kreuzschlitz Bit zu nutzen ist zwar etwas eng, aber es erspart einem wirklich einen zusätzlichen Schraubendreher.
-
-
-
-
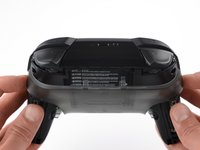
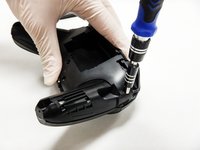
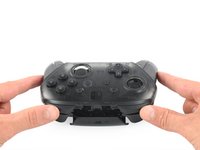
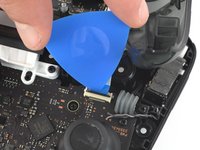
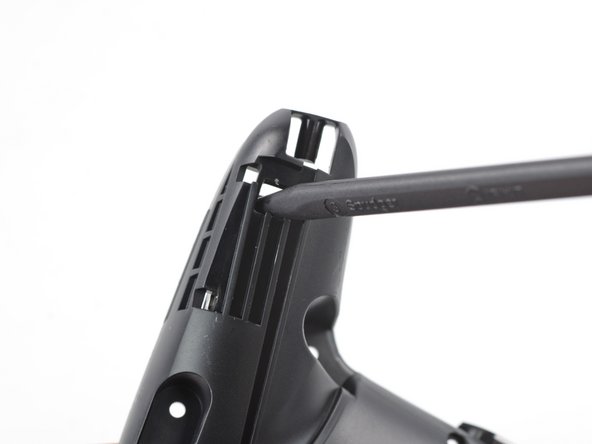
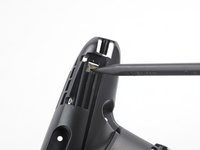
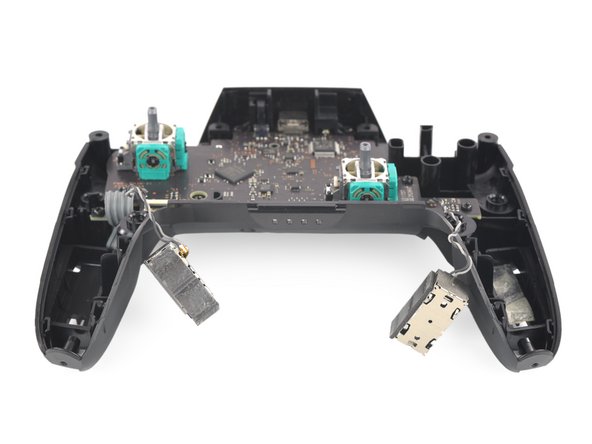
如同翻书一样小心缓慢地拆开控制器的塑料外壳。
Didn't realize there is adhesive holding the front cover onto the unit. It's located inside of the handles. Just a bit of force there helped, just be careful of the cable.
-
-
-
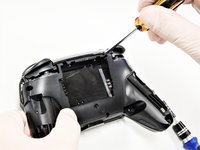
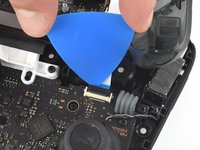
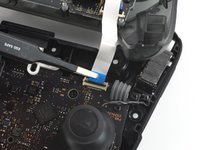
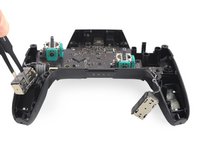
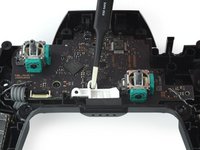
用撬片小心地向上撬开排线插口上的黑色卡扣。
Having just completed this repair, I noted that this ribbon cable can disconnect on either side. It is easier to disconnect and reconnect from the other side than what is shown in my experience.
@acestronautical is right! much easier to remove the ribbon cable from the button board, connect to the base board and then connect back to the button board. Thank you @acestronautical
-
-
在这个步骤中使用的工具:Tweezers$4.99
-
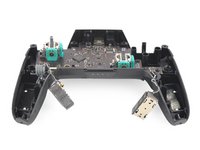
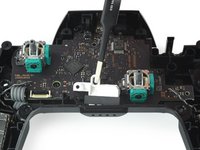
使用你的手指或者平头镊子从排线接口上拆下排线。
You don't need to disconnect this as long as you are fine with keeping it close by so as not to rip the ribbon cable.
Caden Helm - 回复
-
-
-
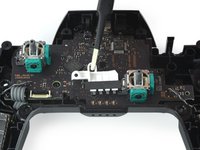
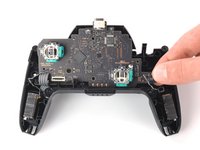
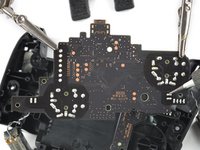
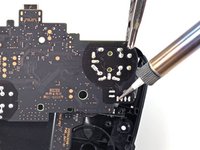
对图中方框所圈的焊点进行拆焊以移除主供电电缆。
-
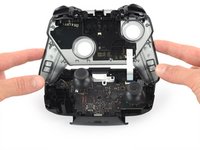
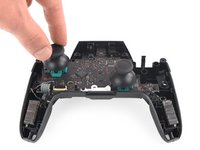
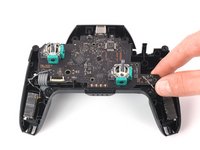
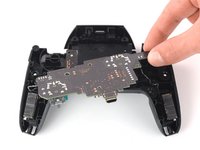
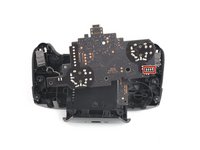
拆下主板。
-


若要重新组装设备,请倒序按照本指南操作。
若要重新组装设备,请倒序按照本指南操作。
4等其他人完成本指南。


团队

The Citadel Military College of South Carolina, Team S2-G9, Eggleston Fall 2020 The Citadel Military College of South Carolina, Team S2-G9, Eggleston Fall 2020 的会员
CMCSC-EGGLESTON-F20S2G9
3 名成员
创作了18篇指南
Be carefull, these screws are super easy to strip even with the right tools.
Lukas Eberharter - 回复
I tried editing these instructions after I had trouble with stripping screws, but it doesn't seem to take. The issue is that these are JIS and not Phillips screws. They are VERY similar looking but a Phillips head screwdriver will strip the screws.
Isaac Webb - 回复
I tried using a Philips #00 screwdriver but it didn’t work
vincent ingrassia - 回复
Don't even think about trying Phillips. There are some other guides online that say you'll be fine, but they're wrong. Even one attempt with Phillips WILL strip these, and you will never, ever get this controller open once that happens. Even with JIS they're really hard to get out and really easy to strip.
Luke T. Allen - 回复