简介
本指南介绍如何拆卸和更换 Samsung Galaxy S10 + 的电池。
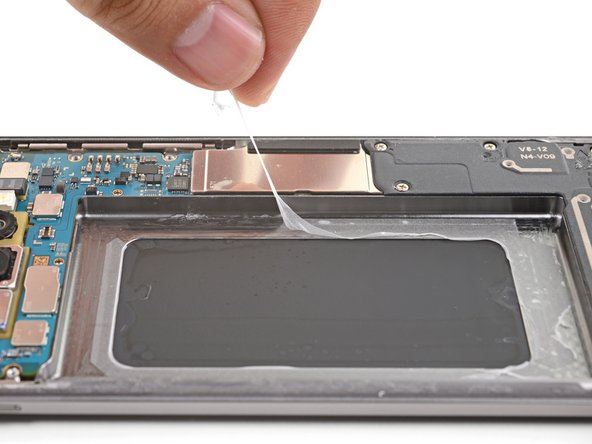
使用强力胶将电池固定到位。高浓度(超过90%)的异丙醇将使电池去除过程更加容易。
如果你的电池膨胀,采取适当的预防措施 并且不要加热手机。
为了你的安全,请在拆卸手机前将电池放电至25%以下。如果电池在维修过程中意外损坏,可降低发生危险热事件的风险。
你所需要的
视频概述
-
-
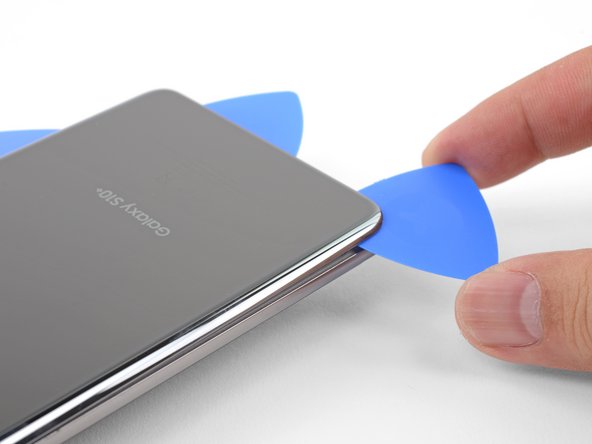
在手机背面使用一个吸盘,尽可能靠近右边缘的中心(粘合剂最窄的地方)。
-
用强力,稳定的力拉动吸盘,在后盖和框架之间形成间隙。
-
将开口三角撬片的尖端插入间隙。
-
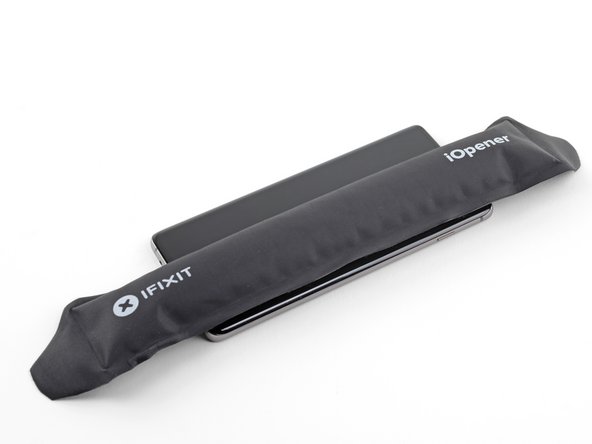
如果你在撬开时遇到困难,最好的办法是向边缘施加更多热量并再次尝试上一步。
-
您可以尝试在接缝中涂几滴高浓度(超过90%)的异丙醇,以帮助软化粘合剂。
-
-


要重组设备,请按逆序执行先前的步骤。
为了获得最佳性能,完成此指南后请访问校准新安装的电池 。
将你的电子垃圾带到R2或e-Stewards认证的回收商。
修理没有按计划进行?查看我们的论坛以获取故障排除帮助。
要重组设备,请按逆序执行先前的步骤。
为了获得最佳性能,完成此指南后请访问校准新安装的电池 。
将你的电子垃圾带到R2或e-Stewards认证的回收商。
修理没有按计划进行?查看我们的论坛以获取故障排除帮助。
45等其他人完成本指南。


15条评论
Worked great to replace my swollen battery, and thanks to it being swollen I could actually skip the steps to pry open the back cover. Anyway, from my experience everything is correct, the only downside is that I used a little more than a few drops to loosen the battery and after the whole annoyance of removing the glue and placing the new battery I turned on the phone to check everything was working and my back cameras were blurry.... yeah, too much alcohol, had to clean them up very well.... but the sad part is that some of the alcohol made it's way to the front cameras... now they are both blurry.
I agree with isely - the toughest part was removing all the left over adhesive. Removing the battery was a bit of a pain as well, even with isopropyl alcohol. I recommend using heat to remove the battery.
To get rid of the excess adhesive, I recommend using a heat gun and peeling it up with your thumb. As long as it's malleable, you can slowly peel it up to create a ball of adhesive and hopefully get most of it off at once. I was trying Q-Tips with isopropyl alcohol and that mostly just spread around the adhesive and got fluff from the Q-Tip over the phone.
Finally, I recommend buying a precut adhesive card to glue it back in place. It took me quite a while to cut a bunch of strips with my 2mm double sided tape.
And my phone is ruined because, presumably, the alcohol leaked somehow and destroyed the lens. Gonna have to get a new phone now anyway. Please add proper precautions to the instructions to avoid wrecking the lens. I didn't make any careless splashes or drips.