跳转到主内容
加入维修社区 - 创建账户

iRobot Roomba 891 Extractor Assembly Replacement

你所需要的

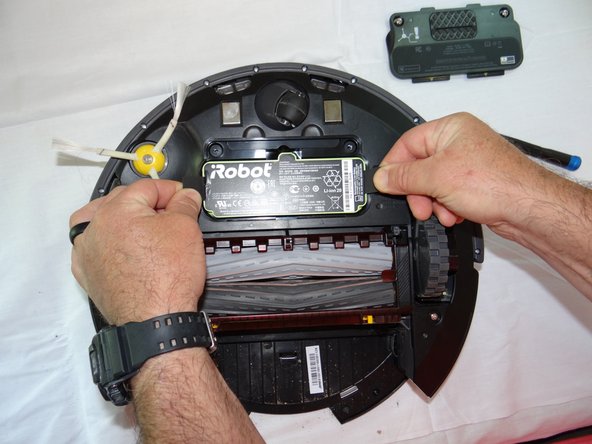
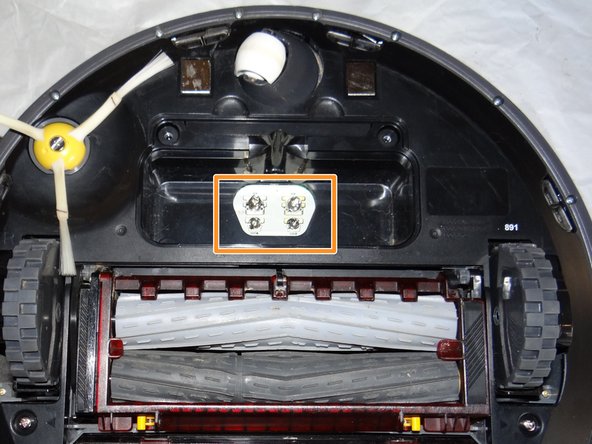
    1. iRobot Roomba 891 Extractor Assembly Replacement, Battery: 步骤 1 中的图像 1,2 iRobot Roomba 891 Extractor Assembly Replacement, Battery: 步骤 1 中的图像 2,2
      • Start by flipping your Roomba onto its back on a flat surface.

      • Be sure not to close the side brush bristles in the battery door during reassembly as shown by the handy warning in the second photo.

      询问修复机器人

      添加评论

    2. iRobot Roomba 891 Extractor Assembly Replacement: 步骤 2 中的图像 1,1
      • Unscrew both the 11mm Phillips #2 screws from the battery cover and remove cover from the Roomba.

      • These captive screws are not intended to be removed from the cover.

      询问修复机器人

      添加评论

    3. iRobot Roomba 891 Extractor Assembly Replacement: 步骤 3 中的图像 1,3 iRobot Roomba 891 Extractor Assembly Replacement: 步骤 3 中的图像 2,3 iRobot Roomba 891 Extractor Assembly Replacement: 步骤 3 中的图像 3,3
      • Grasp the tabs on either side of the battery.

      • Remove the battery by pulling up on the tabs.

      • While you're here, check the battery contacts for corrosion or debris.

      询问修复机器人

      添加评论

    1. iRobot Roomba 891 Extractor Assembly Replacement, Side Brush: 步骤 4 中的图像 1,2 iRobot Roomba 891 Extractor Assembly Replacement, Side Brush: 步骤 4 中的图像 2,2
      • Remove the 7.5mm flat head #4 screw from center of the side brush.

      询问修复机器人

      添加评论

    2. iRobot Roomba 891 Extractor Assembly Replacement: 步骤 5 中的图像 1,1
      • Gently pull the side brush off of the motor hub.

      询问修复机器人

      添加评论

    1. iRobot Roomba 891 Extractor Assembly Replacement, Extractor Assembly: 步骤 6 中的图像 1,1
      • Remove the dustbin assembly from the Roomba.

      询问修复机器人

      添加评论

    2. iRobot Roomba 891 Extractor Assembly Replacement: 步骤 7 中的图像 1,3 iRobot Roomba 891 Extractor Assembly Replacement: 步骤 7 中的图像 2,3 iRobot Roomba 891 Extractor Assembly Replacement: 步骤 7 中的图像 3,3
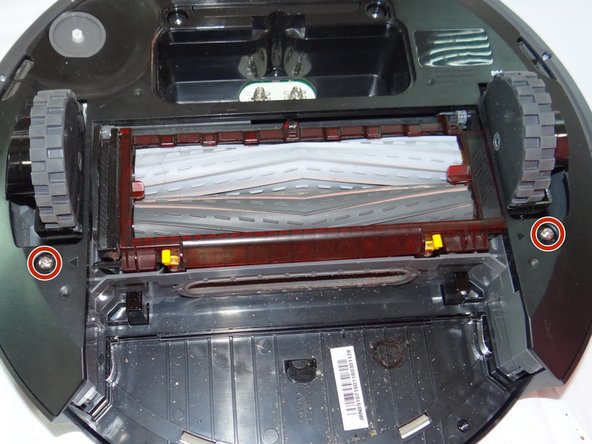
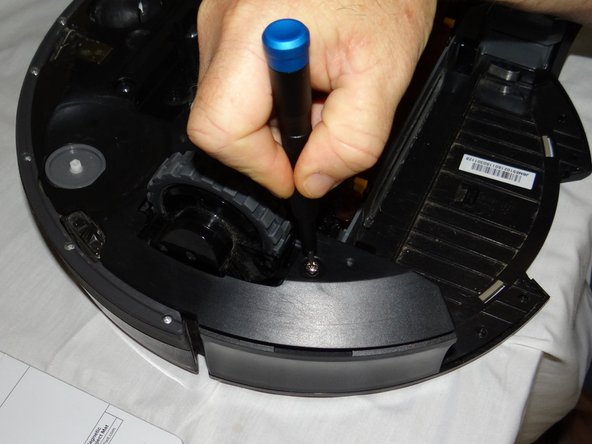
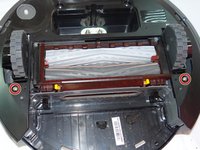
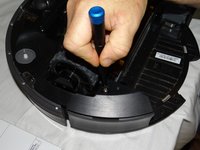
      • Unscrew the 2 phillips #2 11mm screws from roomba.

      • These captive screws will remain in the bottom cover after being loosened.

      询问修复机器人

      添加评论

    3. iRobot Roomba 891 Extractor Assembly Replacement: 步骤 8 中的图像 1,2 iRobot Roomba 891 Extractor Assembly Replacement: 步骤 8 中的图像 2,2
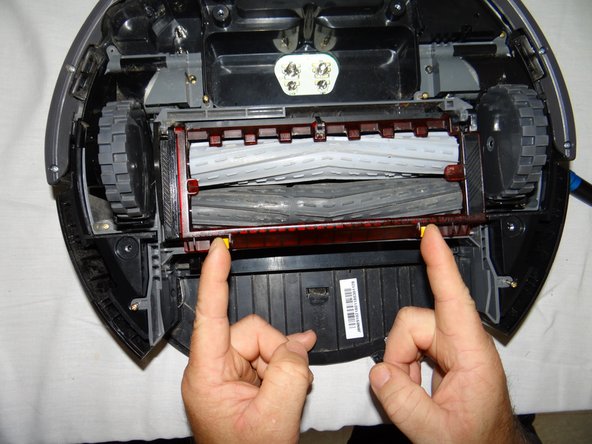
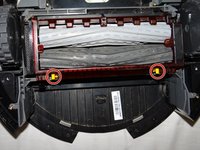
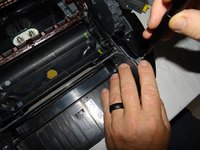
      • Lift the yellow tabs and lift the red cover from the extractor assembly.

      询问修复机器人

      添加评论

    4. iRobot Roomba 891 Extractor Assembly Replacement: 步骤 9 中的图像 1,1
      • Remove the rollers from the assembly by lifting it out from right side.

      询问修复机器人

      添加评论

    5. iRobot Roomba 891 Extractor Assembly Replacement: 步骤 10 中的图像 1,2 iRobot Roomba 891 Extractor Assembly Replacement: 步骤 10 中的图像 2,2
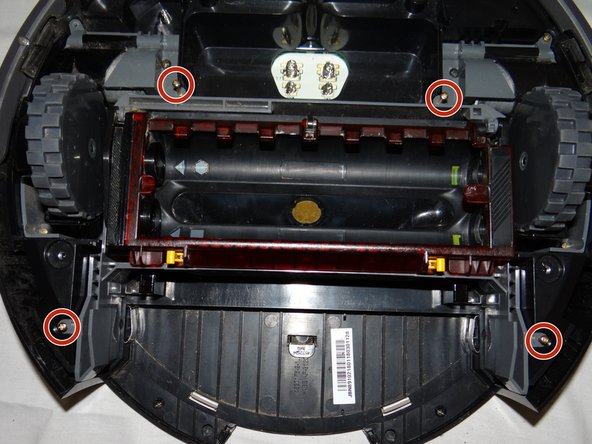
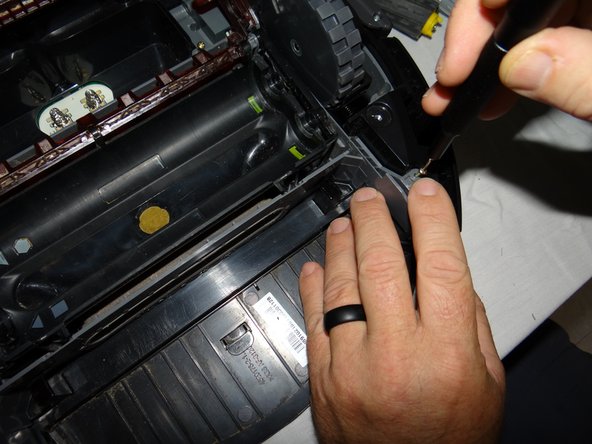
      • Close the cover and remove the four 11mm Phillips #00 screws from the assembly.

      询问修复机器人

      添加评论

    6. iRobot Roomba 891 Extractor Assembly Replacement: 步骤 11 中的图像 1,1
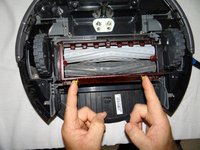
      • Grasp the center of the assembly and remove from the roomba.

      询问修复机器人

      添加评论

结论

To reassemble your device, follow these instructions in reverse order.

取消:我没有完成这个指南。

0指南评论

添加评论

浏览统计数据:

过去 24 小时: 1

过去 7 天: 2

过去 30 天: 15

总计 874