简介
若你必须要用扩音才有办法正常拨打电话, 你也许就该更换你的内置听筒。 此指南会教导你如何更换你的 iPhone 6s 内置听筒。
你所需要的
-
-
-
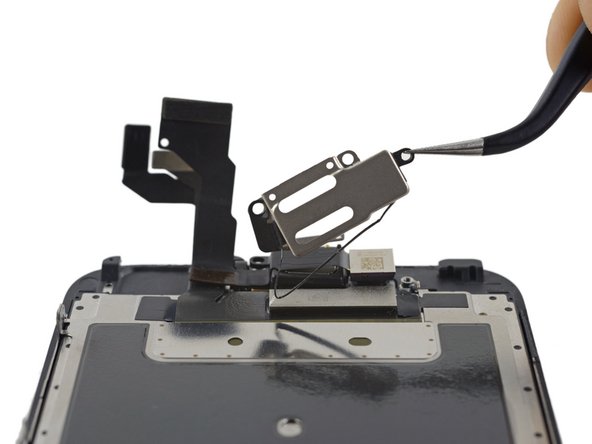
卸下电池排线固定架上的2颗十字 #00 螺丝。
-
1颗2.9 mm螺丝
-
1颗2.2 mm螺丝
-


如要组装的话, 请按逆序操作一下步骤。
如要组装的话, 请按逆序操作一下步骤。
139等其他人完成本指南。

9条评论
Very rarely do you have to replace these guys. If your earphone piece ever seems to go quiet on you then most likely it is just dirt that is clogging the grill between the ear piece and your ear. To fix this you need to remove the ear piece and clean out the grill from the ear piece side with a toothbrush and alcohol. Dont attempt this while the screen is on because you can either destroy the ear piece or also just clog it.
i broke the bracket gasket when trying to wrap it back around when putting it back together, is it necessary for the overall function of the phone?
I did the same thing last night and I am also wondering if it is vital to keep intact?
Nice work. Thank you very much.