简介
使用本指南对iPhone 6 Plus lightning接口和耳机插孔排线进行更换
你所需要的
-
-
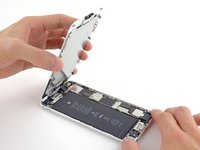
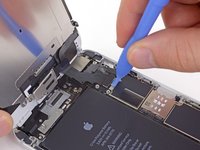
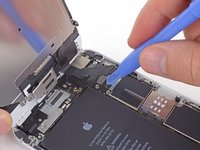
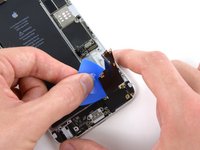
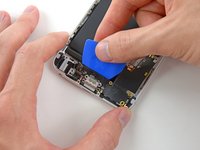
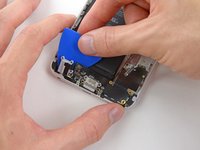
将蓝色手柄拉向铰链以解锁反向钳的手臂。
-
将反向钳手臂滑过 iPhone 的左边缘或右边缘。
-
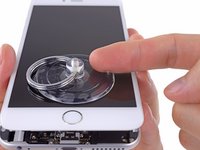
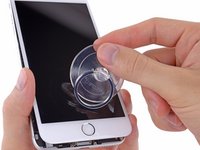
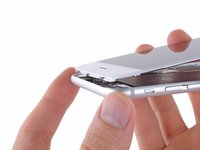
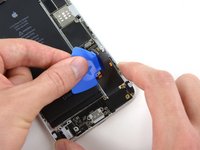
将吸盘放在靠近 iPhone 底部边缘的位置——一个在正面,一个在背面。
-
向下推吸盘以将吸力施加到所需区域。
-
-


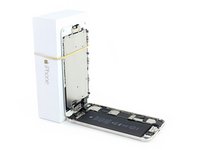


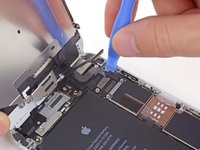


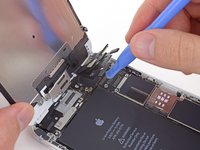


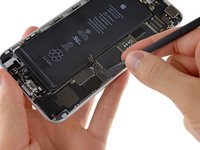
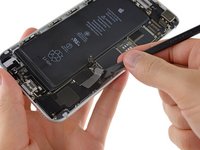


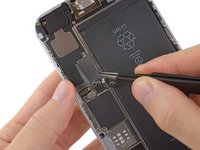


请倒序重组你的设备。
149等其他人完成本指南。


25指南评论
I did this tonight, took about 45 min. I used my iFixit tool kit to all the work.
When putting it back together I had an issue with my screen going all "white lines", turns out it was just a loose connection on the digitizer cable, I lifted it and placed it again and all is good with the world.
I had to replace the assembly because I was getting feedback when making calls with headphones and no voice at all with headphones if the phone was plugged into power. Now I can do both.
Thanks so much iFixit for making this possible.
rianrachel - 回复
After fixing my headset jack successfully, people could not hear me clearly on the mic. I took it apart again today. The clip that holds the mic in place, next to the jack, had been put down too tight to the mic, which kept it from moving enough to pick sound up clearly -- everything was muddied. I only had to pull the case open a little, unscrew the mic assembly to loosen it, wiggle it back a bit, move the mic a little to align it better with the hole, and then tighten it back down. It works beautifully now and everyone says I sound better than ever. A really easy fix, but it could have been avoided if there were instructions on putting everything back together or at least tips for little things like this.
My iphone stuck into headphone,what can i do to fix it?please help me as soon as possible
Hi @Tannaz pourian
If you are stuck on headphone mode first thing you can do is a quick fix if it works for you. You first turn off your iphone and with a gentle hand you can pull out any dirt or particals inside your headphone jack with a pin then clean it with a cotton bud with a little acitone or alcohol ( Don’t use too much of alcohol only little would be fine otherwise it could damage you display if it gets into your phone). Then after completing this process let it dry for a while and turn on your phone. I hope it works for you:) orthewise you have to replace your whole cc flex pannel. Good luck
I recently replaced the headphone jack but when I tried it out after successfully replacing it, the headphones still gave a crackling sound. Less than before but still very noticeable. Anyone have any suggestions to fix this issue?