简介
使用本指南将更换iPhone 3GS的前面板和数字转换器。
你所需要的
视频概述


将您的设备,遵循这些指示,以相反的顺序。
541等其他人完成本指南。

8指南评论
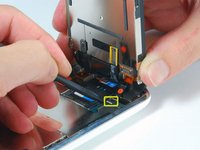
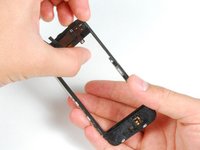
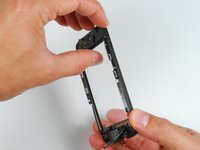
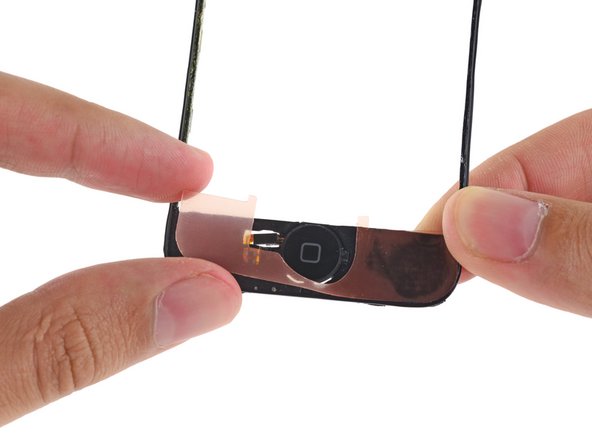
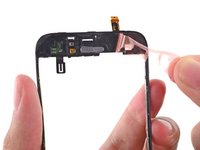
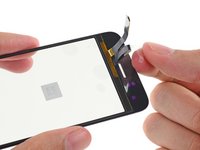
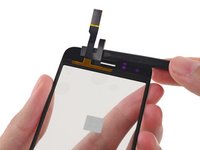
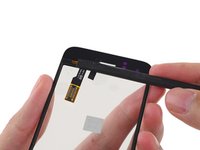
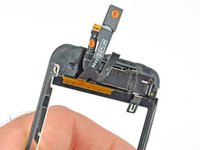
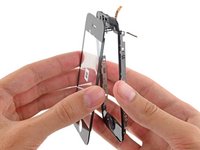
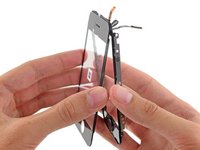
Step 15:
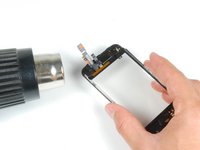
the screen sort of sits in the plastic because of the band of material running around the perimeter of the assembly being more firmly attached to the plastic than the screen. I found this step much easier to complete the second time around because i knew to dig my nail in between the screen and the material running around the perimeter of the assembly in a front to back motion. Then i pivoted my nail up 90 degrees so it was between the plastic and the screen and was able to gently pry them apart while heating.
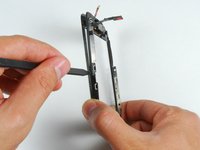
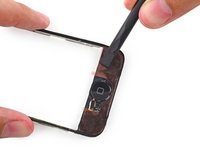
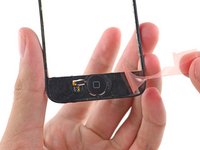
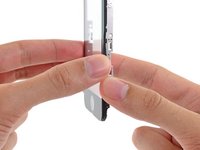
i second that, it should really be another bulletpoint because its really hard to see if you are not looking for it. Something like:
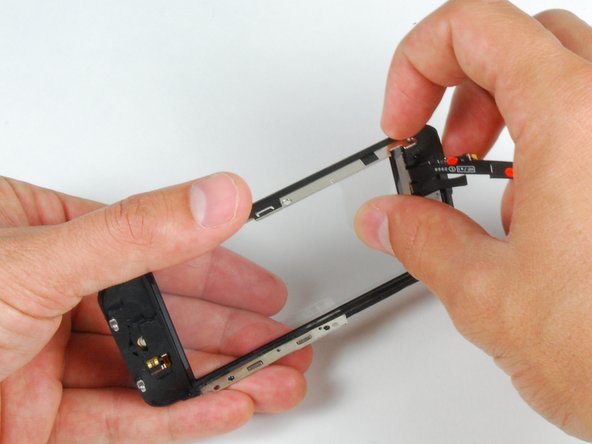
Push gently on the thin plastic bezel surrounding the frontpanel, do not try to push into the side of the assembly. It can look like there is a seam but there is not!
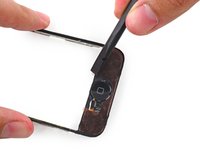
Its really the only way to get it done without ripping off any parts of the plastic bezel... it does not show when reassembled but its creating a wide portal for dust particles.
NOTE: Just completed the installation and was supremely frustrated when the screen didn't turn back on. My first inclination was that the 3rd connector wasn't seated properly...so I opened up and re-attached 3 times. With girlfriend peering over my 'soon to be a failure of a bf' shoulder, I asked her to google up a 'hard reset'. Eureka. Hold down the black nav button and the top power button at the same time until the silver apple reappears. Crisis averted, great tutorial otherwise!
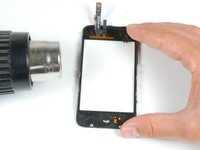
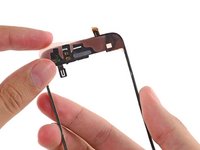
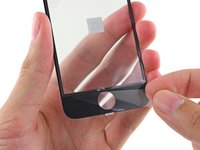
When removing the broken glass, be sure to remove adhesive from the side rails of the iPhone front panel assembly, otherwise your front panel won't fit as snugly as it should.
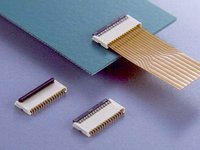
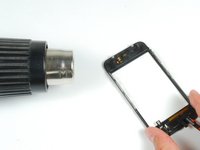
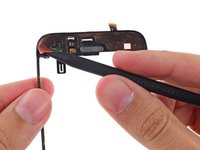
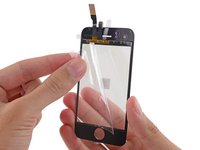
When reassembling, take care to properly insert ribbon cable 3, as it is much easier to remove it than it is to install it. Having an extra set of hands was invaluable for this repair.
I wish the instructions warned me to make sure a sim card is in the socket before reassembling, and/or they gave detailed reassembly instructions, and/or had higher quality pictures (I zoomed in on the pictures multiple times while reassembling, and could not see exactly how things were supposed to fit back together). My replacement went well, and all was working perfectly, but a piece of the cable was apparently sticking down into the sim card socket, and when my 21 yr old son forced the sim card it, it destroyed the cable that is attached to the plastic speaker assembly. Now I get to buy the more expensive repair kit that includes that part, and try again. D amn, I'm frustrated. -Bill