跳转到主内容
加入维修社区 - 创建账户

你所需要的

本篇指南是分解流程而非维修指南。 如果您要维修您的iPad ClamCase,应参考我们的维修指南

    1. iPad ClamCase, iPad ClamCase: 步骤 1 中的图像 1,2 iPad ClamCase, iPad ClamCase: 步骤 1 中的图像 2,2
      • You can skip the first 2 steps if you don't want to detach the upper and keyboard covers from each other.

      • Open the case and unpeel the 2 black stickers in the top corners of the keyboard.

      • This will reveal the 6 screws that attach the upper cover to the keyboard cover.

      询问修复机器人

      添加评论

    2. iPad ClamCase: 步骤 2 中的图像 1,2 iPad ClamCase: 步骤 2 中的图像 2,2
      • Use the T9 Torx screwdriver to unscrew the 2 bigger screws in the middle of each side.

      • Use the T6 Torx screwdriver to unscrew the remaining 4 screws.

      询问修复机器人

      添加评论

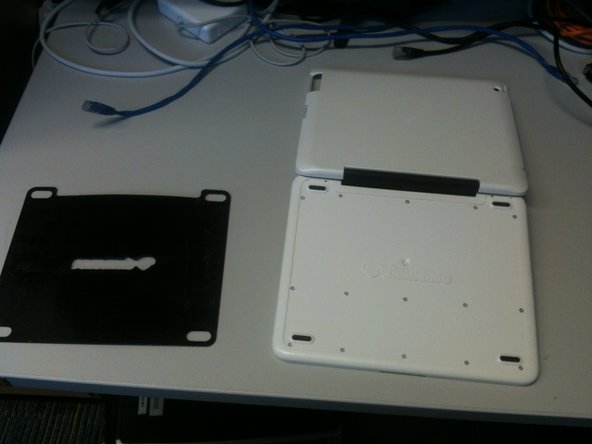
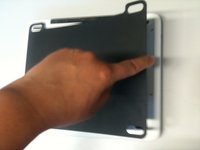
    3. iPad ClamCase: 步骤 3 中的图像 1,2 iPad ClamCase: 步骤 3 中的图像 2,2
      • Turn the keyboard cover over so the bottom is facing up. Manually remove the thin black covering that is attached to the bottom.

      • Be patient, the thin black covering might be really stuck to the bottom.

      询问修复机器人

      添加评论

    4. iPad ClamCase: 步骤 4 中的图像 1,1
      • Once the thin black covering is removed, you will see 15 screws.

      • Use the T6 Torx screwdriver to remove the screws.

      询问修复机器人

      添加评论

    5. iPad ClamCase: 步骤 5 中的图像 1,1
      • Once the screws are removed, lift off the bottom panel to access the keyboard and battery.

      询问修复机器人

      添加评论

    6. iPad ClamCase: 步骤 6 中的图像 1,1
      • You are done.

      询问修复机器人

      添加评论

2指南评论

Awesome! I used this guide to disassemble my clam case and repair some nonfunctional keys. Thanks!

justin duff - 回复 分享

Thanks for the dis-assembly guide. Justin, what did you have to do to fix the keys that were not working. I have on with a few keys not working, not even intermittently.

dick haynes - 回复 分享

添加评论

浏览统计数据:

过去 24 小时: 0

过去 7 天: 8

过去 30 天: 43

总计 8,256