跳转到主内容
加入维修社区 - 创建账户

你所需要的

本篇指南是分解流程而非维修指南。 如果您要维修您的iPad ClamCase,应参考我们的维修指南

    1. iPad ClamCase, iPad ClamCase: 步骤 1 中的图像 1,2 iPad ClamCase, iPad ClamCase: 步骤 1 中的图像 2,2
      • 如果你不想将顶盖和键盘盖板分离开,可以跳过前 2 个步骤。

      • 打开外壳,揭开键盘顶角处的 2 张黑色贴纸。

      • 这样就可以看到将顶盖固定在键盘盖板上的 6 颗螺丝了。

      询问修复机器人

      添加评论

    2. iPad ClamCase: 步骤 2 中的图像 1,2 iPad ClamCase: 步骤 2 中的图像 2,2
      • 使用 T9 Torx 螺丝刀拧下两侧中间的 2 颗大螺丝。

      • 使用 T6 Torx 螺丝刀拧下其余 4 颗螺丝。

      询问修复机器人

      添加评论

    3. iPad ClamCase: 步骤 3 中的图像 1,2 iPad ClamCase: 步骤 3 中的图像 2,2
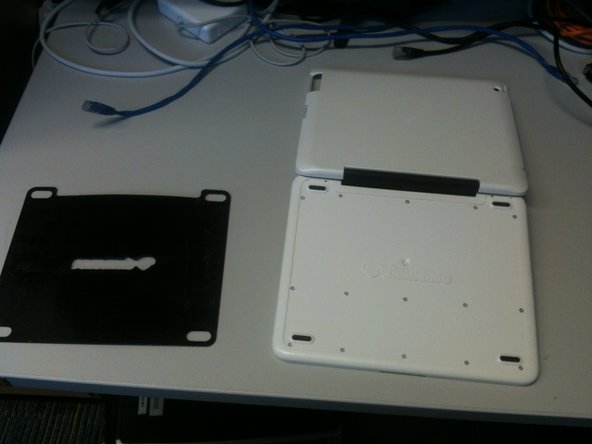
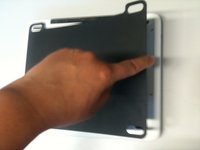
      • 将键盘盖板翻过来,使底部朝上。手动揭下粘贴在底部的黑色薄盖板。

      • 请耐心一点,黑色薄盖板可能会非常牢固地粘在底部。

      询问修复机器人

      添加评论

    4. iPad ClamCase: 步骤 4 中的图像 1,1
      • 拆下黑色薄盖板后,你将看到 15 颗螺丝。

      • 用 T6 Torx 螺丝刀拧下这些螺丝。

      询问修复机器人

      添加评论

    5. iPad ClamCase: 步骤 5 中的图像 1,1
      • 螺丝拧下后,将底板提起,即可接触到键盘和电池。

      询问修复机器人

      添加评论

    6. iPad ClamCase: 步骤 6 中的图像 1,1
      • 你已经完成了。

      询问修复机器人

      添加评论

2指南评论

Awesome! I used this guide to disassemble my clam case and repair some nonfunctional keys. Thanks!

justin duff - 回复 分享

Thanks for the dis-assembly guide. Justin, what did you have to do to fix the keys that were not working. I have on with a few keys not working, not even intermittently.

dick haynes - 回复 分享

添加评论

浏览统计数据:

过去 24 小时: 0

过去 7 天: 7

过去 30 天: 42

总计 8,261