The glass panel is fixed onto the front bezel with fourteen magnets around its perimeter.
Stick two suction cups to opposing corners of the glass panel.
To attach the suction cups we sell, first position the suction cup with the movable handle parallel to the face of the glass panel. While lightly holding the suction cup against the glass, raise the movable handle until it is parallel with the other handle.
If your suction cups refuse to stick, try cleaning both the glass panel and the suction cup with a mild solvent such as Windex.
Gently pull the glass panel straight up off the iMac.
The glass panel has several positioning pins around its perimeter. To avoid shearing these pins off the glass panel, be sure to only pull straight up during removal.
Be meticulous about cleaning the LCD and the inside face of the glass panel before reinstallation, as any fingerprints or dust trapped inside will be annoyingly visible when the display is on.
Pressing the top of the hard drive bracket down to release it from the rear case requires a substantial amount of force. We recommend laying your iMac stand-side down on a table to avoid knocking it over.
Press the hard drive bracket down toward the bottom edge of your iMac to free it from the rear case, then rotate the top of the drive toward yourself.
Rotate the hard drive toward yourself, then lift it up off its mounting pins.
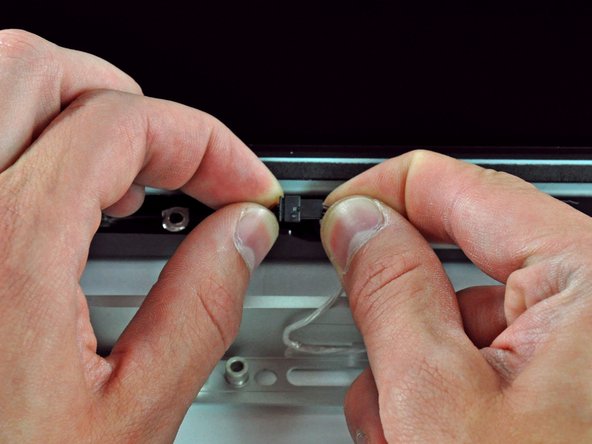
The hard drive is still connected via the SATA cables.
When reinstalling your hard drive, be careful not to push the rubber grommets through the openings in the chassis with the lower hard drive pins as retrieving them may require logic board removal.
Use the flat end of a spudger to pry the thermal sensor bracket off the face of the hard drive.
If you're replacing your hard drive, transfer this bracket and the thermal sensor to your new hard drive. If the adhesive refuses to stick during reinstallation, apply double-sided tape to the underside of the two flat ears of the thermal sensor bracket.
Thank you Brittany for putting together an awesome guide! I was able to swap in a leftover MBA SSD into my 2007 iMac before gifting it to my father-in-law. This iMac was showing its age with Lion installed, mostly due to 2 GB of RAM and a so-so magnetic drive. I was hesitant to gift a hand-me-down with little usable life. Not anymore! I have no doubt that the 5GB of RAM and a super fast SSD breathed another 5+ years of enjoyment into this iMac. Reuse beats recycling! Thank you!
FYI - The iFixit store links for the Torx screwdriver incorrectly displays the security Torx drivers. I had my own set of regular Torx drivers and competed this successfully. I did not find the security (center post) variant of the Torx screwhead anywhere in my iMac.
Excellent guide. The entire process took less than 90 minutes and I was not in a hurry. Everybody told me that the iMacs were designed to be "user-proof" and had to be worked on by qualified technicians. What do they know? Now my computer is back up and running with a 1TB drive and it cost less than $150 - even with shipping costs factored in. Great job guys!!!