跳转到主内容
加入维修社区 - 创建账户

iHome iPL8 Buttons Replacement

你所需要的

    1. iHome iPL8  Buttons Replacement, Battery: 步骤 1 中的图像 1,1
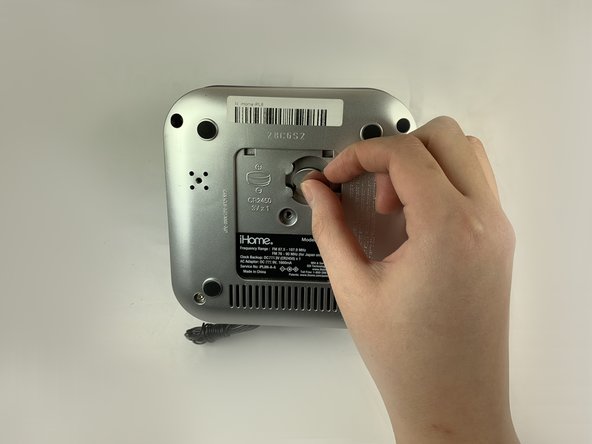
      • Turn the device over to access the bottom panel.

      • Locate the 6mm Phillips #2 screw under the label "unscrew to open door."

      询问修复机器人

      添加评论

    2. iHome iPL8  Buttons Replacement: 步骤 2 中的图像 1,1
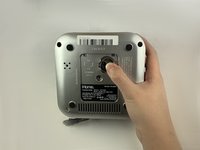
      • Using a Phillips #2 screwdriver, unscrew the captive screw.

      • Keep turning until the screw and the door are loose.

      询问修复机器人

      添加评论

    3. iHome iPL8  Buttons Replacement: 步骤 3 中的图像 1,1
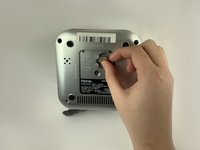
      • Lift and remove the battery access panel.

      • The captive screw will remain attached to the panel.

      询问修复机器人

      添加评论

    4. iHome iPL8  Buttons Replacement: 步骤 4 中的图像 1,2 iHome iPL8  Buttons Replacement: 步骤 4 中的图像 2,2
      • Gently press on the rim of the 3V battery.

      • Remove the 3V battery.

      询问修复机器人

      添加评论

    1. iHome iPL8  Buttons Replacement, Lightning Connector: 步骤 5 中的图像 1,1
      • Keeping your device upside-down, locate the four 6mm Phillips #2 screws near each corner.

      • Remove the four 6mm Phillips #2 screws.

      询问修复机器人

      添加评论

    2. iHome iPL8  Buttons Replacement: 步骤 6 中的图像 1,1
      • Remove the four round pads from the bottom of the device.

      • There are two additional 6mm Phillips #2 screws under the pads.

      • Using a Phillips #2 screwdriver, remove the two remaining screws.

      • Put your hand on the silver bottom case and gently pull it outward.

      询问修复机器人

      添加评论

    3. iHome iPL8  Buttons Replacement: 步骤 7 中的图像 1,2 iHome iPL8  Buttons Replacement: 步骤 7 中的图像 2,2
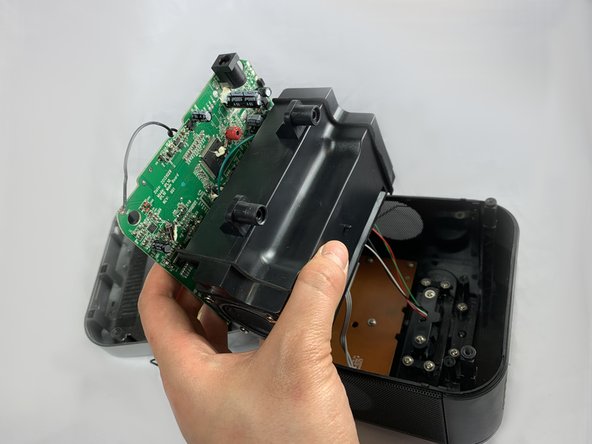
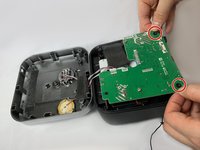
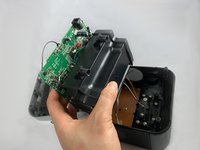
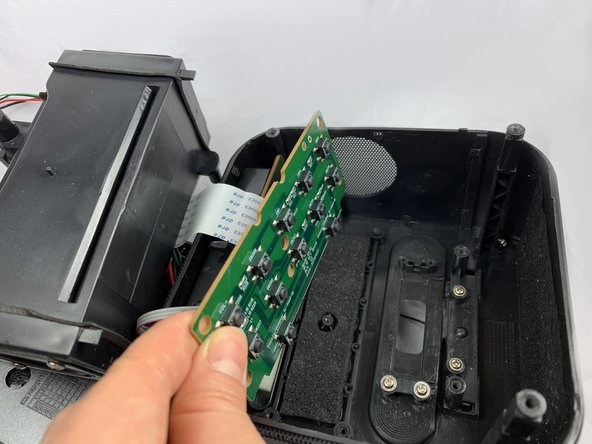
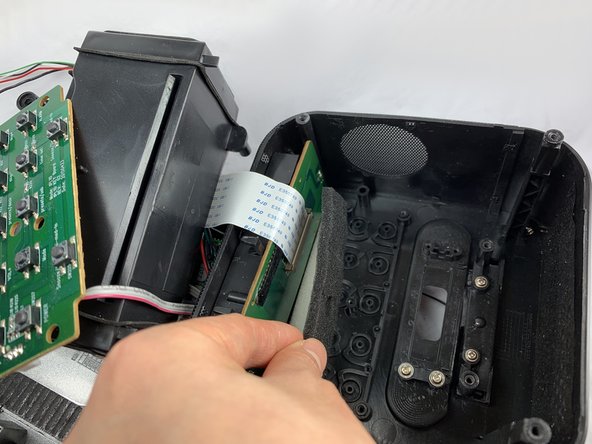
      • Locate the green circuit board. This panel is clipped onto two black, circular-shaped columns at two corners.

      • Pull out the green circuit board on the two corners.

      • The green circuit board is attached to a black box at the bottom. Flip the panel and the black box together to open the device.

      询问修复机器人

      添加评论

    4. iHome iPL8  Buttons Replacement: 步骤 8 中的图像 1,2 iHome iPL8  Buttons Replacement: 步骤 8 中的图像 2,2
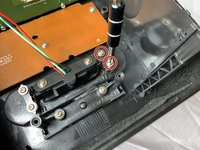
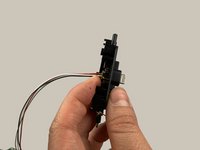
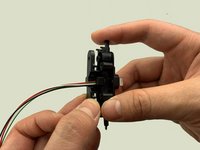
      • Remove the two 2.5 mm Phillips #1 screws securing the lightning dock assembly to the device.

      • Remove the two screws and the black cover.

      • Gently remove the lightning dock assembly.

      • The lightning dock assembly is connected to wires.

      询问修复机器人

      添加评论

    5. iHome iPL8  Buttons Replacement: 步骤 9 中的图像 1,3 iHome iPL8  Buttons Replacement: 步骤 9 中的图像 2,3 iHome iPL8  Buttons Replacement: 步骤 9 中的图像 3,3
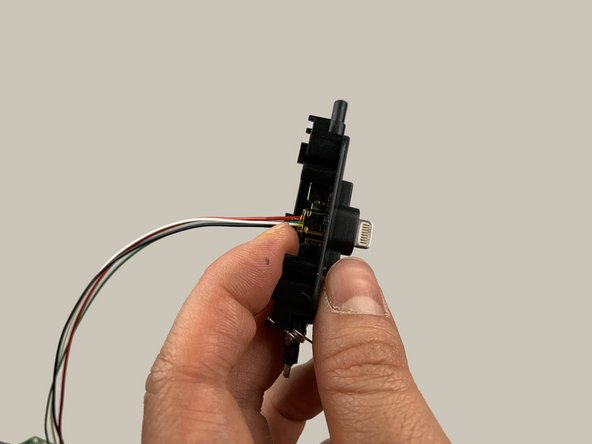
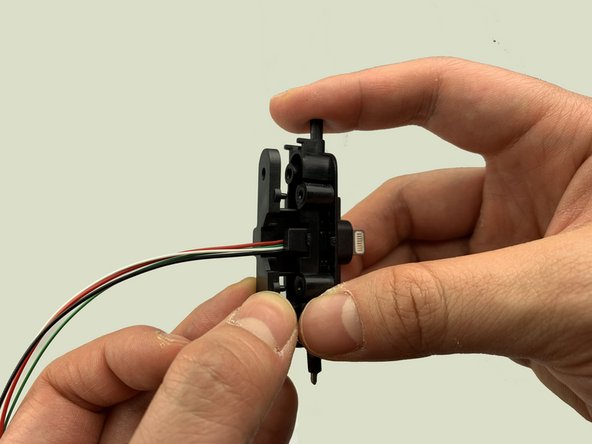
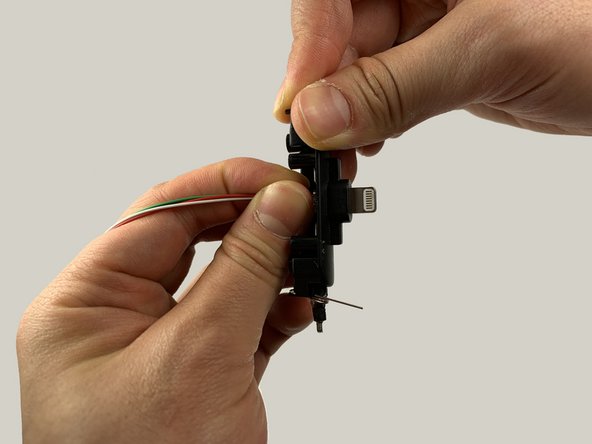
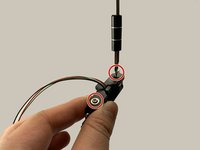
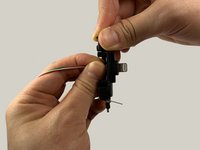
      • Remove the two 2.5mm screws using a Phillips #1 screwdriver.

      • Remove the back cover.

      • Use your fingers to reposition the lightning connector.

      • Make sure ALL of the lightning connector is exposed.

      询问修复机器人

      添加评论

    1. iHome iPL8  Buttons Replacement, Buttons: 步骤 10 中的图像 1,3 iHome iPL8  Buttons Replacement, Buttons: 步骤 10 中的图像 2,3 iHome iPL8  Buttons Replacement, Buttons: 步骤 10 中的图像 3,3
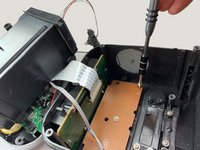
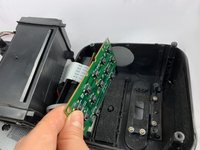
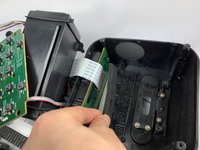
      • Locate the light brown, rectangular button board. Remove the five 2.5 mm Phillips #1 screws, four along the perimeter and one in the center.

      • Remove the brown button board.

      • There is a foam sheet underneath the button board. Use your hand to take it off and put it aside.

      询问修复机器人

      添加评论

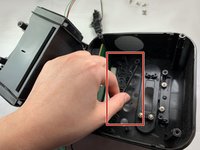
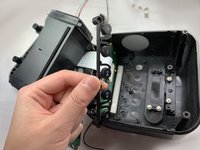
    2. iHome iPL8  Buttons Replacement: 步骤 11 中的图像 1,2 iHome iPL8  Buttons Replacement: 步骤 11 中的图像 2,2
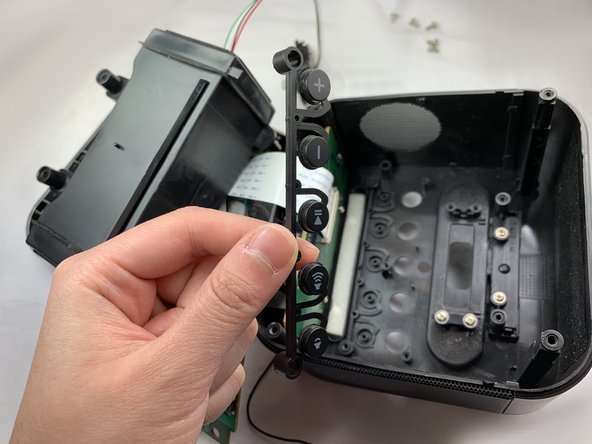
      • There are two rows of buttons clipped on to the small, circular, black columns.

      • Gently unclip the two rows of buttons and remove them.

      询问修复机器人

      添加评论

结论

To reassemble your device, follow these instructions in reverse order.

取消:我没有完成这个指南。

另外一个人完成了本指南。

Chen Zhong

于02/05/19注册

569 声望

创作了4篇指南

团队

UC Davis, Team S18-G5, Lore Winter 2019 UC Davis, Team S18-G5, Lore Winter 2019 的会员

UCD-LORE-W19S18G5

3 名成员

创作了8篇指南

0指南评论

添加评论

浏览统计数据:

过去 24 小时: 0

过去 7 天: 1

过去 30 天: 13

总计 520