跳转到主内容

iFixit Precision Bit Driver Reassembly

你所需要的

  1. iFixit Precision Bit Driver Reassembly, How to reinstall the bearing cap: 步骤 1 中的图像 1,3 iFixit Precision Bit Driver Reassembly, How to reinstall the bearing cap: 步骤 1 中的图像 2,3 iFixit Precision Bit Driver Reassembly, How to reinstall the bearing cap: 步骤 1 中的图像 3,3
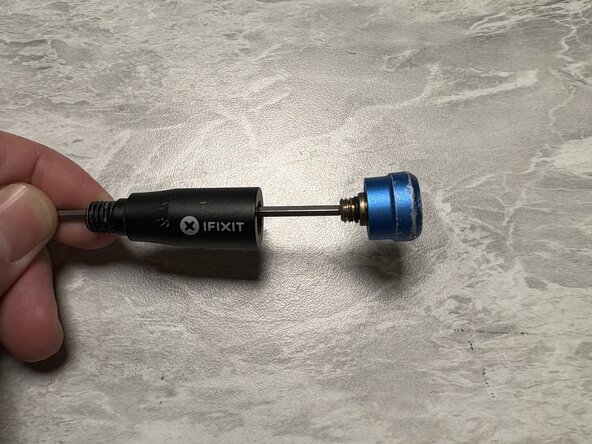
    • Unscrew the center of the barrel

    • Note: Assembly utilizes threat locker. You may need tools to unscrew. Use a small piece of duct tape on the smooth part to protect the aluminum.

    • Use pliers on the duct tape, and an adjustable wrench on the flat of the knurled part near the bottom of the screw driver to create leverage to unscrew the barrel.

  2. iFixit Precision Bit Driver Reassembly: 步骤 2 中的图像 1,3 iFixit Precision Bit Driver Reassembly: 步骤 2 中的图像 2,3 iFixit Precision Bit Driver Reassembly: 步骤 2 中的图像 3,3
    • Next use a 2.5mm hex key with a long shaft such that it fits all the way through the top half of the screw driver.

    • Insert the bearing/top assembly onto the hex key, and begin tightening the bearing assembly into the screwdriver.

    • Note: threadlocker should not be necessary here as there is an O ring that is responsible for maintaining the thread loading

  3. iFixit Precision Bit Driver Reassembly: 步骤 3 中的图像 1,1
    • Screw the two halves of the barrel back together.

    • While not necessary, some thread locker can be applied to the threads on the upper half of the barrel to prevent the two halves from separating. Be sure to use non-permanent thread locker in case you need to do this again in the future!

  4. iFixit Precision Bit Driver Reassembly: 步骤 4 中的图像 1,1
    • Voila, enjoy your screw driver.

结论

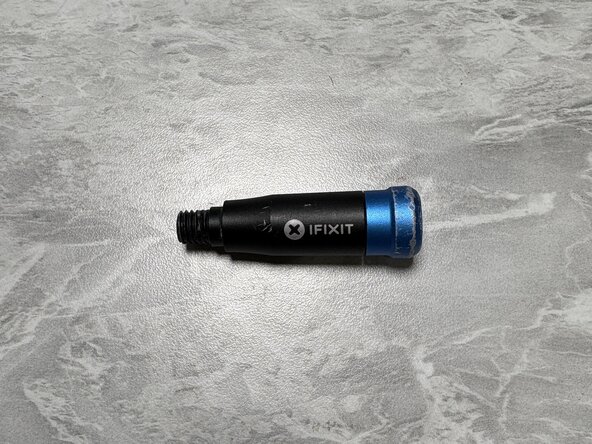
There are other ways to do this, such as the floss trick. But if you have the tools lying around here's the proper way to reassemble your iFixit Precision screwdriver!

另外一个人完成了本指南。

Ricky H

于04/13/12注册

149 声望

撰写一个指南

0指南评论

添加评论

浏览统计数据:

过去 24 小时: 1

过去 7 天: 16

过去 30 天: 71

总计 1,022