跳转到主内容
加入维修社区 - 创建账户

ZTE Whirl 2 Back Panel Replacement

你所需要的

    1. ZTE Whirl 2 Back Panel Replacement, Battery: 步骤 1 中的图像 1,3 ZTE Whirl 2 Back Panel Replacement, Battery: 步骤 1 中的图像 2,3 ZTE Whirl 2 Back Panel Replacement, Battery: 步骤 1 中的图像 3,3
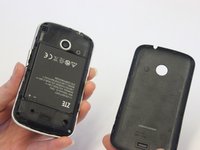
      • Power off your phone before removing the battery.

      • Pry the cover off the back of the phone using your fingers.

      询问修复机器人

      添加评论

    2. ZTE Whirl 2 Back Panel Replacement: 步骤 2 中的图像 1,3 ZTE Whirl 2 Back Panel Replacement: 步骤 2 中的图像 2,3 ZTE Whirl 2 Back Panel Replacement: 步骤 2 中的图像 3,3
      • Pry the battery from the phone using your fingers.

      询问修复机器人

      添加评论

    1. ZTE Whirl 2 Back Panel Replacement, Back Panel: 步骤 3 中的图像 1,3 ZTE Whirl 2 Back Panel Replacement, Back Panel: 步骤 3 中的图像 2,3 ZTE Whirl 2 Back Panel Replacement, Back Panel: 步骤 3 中的图像 3,3
      在这个步骤中使用的工具:
      Tweezers
      $4.99
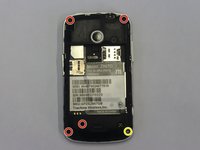
      • Remove four 4 mm screws using a Phillips #00 screwdriver.

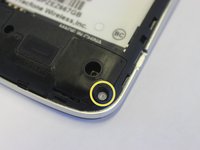
      • Use a tweezers to remove the lock sticker from the bottom right screw. Remove the 4 mm screw using a Phillips #00 screwdriver.

      询问修复机器人

      添加评论

    2. ZTE Whirl 2 Back Panel Replacement: 步骤 4 中的图像 1,3 ZTE Whirl 2 Back Panel Replacement: 步骤 4 中的图像 2,3 ZTE Whirl 2 Back Panel Replacement: 步骤 4 中的图像 3,3
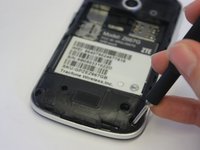
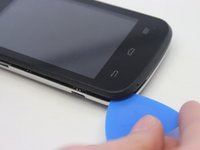
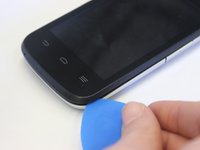
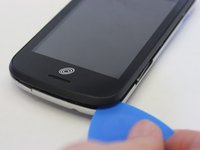
      • Insert an opening pick between the midframe and the digitizer.

      • Move the pick around the midframe to detach the midframe from the digitizer.

      • The lock button and volume buttons may fall out during this process.

      询问修复机器人

      添加评论

    3. ZTE Whirl 2 Back Panel Replacement: 步骤 5 中的图像 1,1
      • Remove the midframe from the digitizer.

      询问修复机器人

      添加评论

结论

To reassemble your device, follow these instructions in reverse order.

取消:我没有完成这个指南。

Alana

于02/04/20注册

461 声望

创作了4篇指南

团队

UW Stout, Team S1-G1, Schneider-Bateman Spring 2020 UW Stout, Team S1-G1, Schneider-Bateman Spring 2020 的会员

UWSTOUT-SCHNEIDER-BATEMAN-S20S1G1

3 名成员

创作了25篇指南

0指南评论

添加评论

浏览统计数据:

过去 24 小时: 4

过去 7 天: 8

过去 30 天: 25

总计 357