跳转到主内容

YCCTEAM YCC-SW4001 Joystick Replacement

你所需要的

  1. YCCTEAM YCC-SW4001 Joystick Replacement, Front Case: 步骤 1 中的图像 1,1
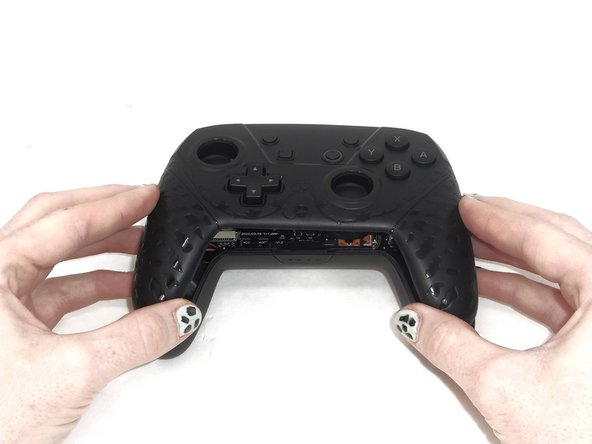
    • Use a Phillips #1 screwdriver to remove the eight 9.15 mm screws that secure the back case.

  2. YCCTEAM YCC-SW4001 Joystick Replacement: 步骤 2 中的图像 1,3 YCCTEAM YCC-SW4001 Joystick Replacement: 步骤 2 中的图像 2,3 YCCTEAM YCC-SW4001 Joystick Replacement: 步骤 2 中的图像 3,3
    • Use an opening pick to pry the back cover off of the controller.

    • This exposes the battery’s housing.

  3. YCCTEAM YCC-SW4001 Joystick Replacement: 步骤 3 中的图像 1,1
    • Use a Phillips #1 screwdriver to remove the three 9.15 mm screws from the back of the controller.

  4. YCCTEAM YCC-SW4001 Joystick Replacement: 步骤 4 中的图像 1,3 YCCTEAM YCC-SW4001 Joystick Replacement: 步骤 4 中的图像 2,3 YCCTEAM YCC-SW4001 Joystick Replacement: 步骤 4 中的图像 3,3
    • Delicately lift the front case slightly by pulling it away from the back case.

    • Do not remove the front cover completely; it is still attached to the motherboard by a white ribbon cable.

  5. YCCTEAM YCC-SW4001 Joystick Replacement: 步骤 5 中的图像 1,3 YCCTEAM YCC-SW4001 Joystick Replacement: 步骤 5 中的图像 2,3 YCCTEAM YCC-SW4001 Joystick Replacement: 步骤 5 中的图像 3,3
    • Use the tip of the opening pick to flip up the black locking flap of the ZIF connector.

    • The black flap holds the white ribbon cable in place.

  6. YCCTEAM YCC-SW4001 Joystick Replacement: 步骤 6 中的图像 1,2 YCCTEAM YCC-SW4001 Joystick Replacement: 步骤 6 中的图像 2,2
    • Use tweezers to disconnect the white ribbon cable from the ZIF connector.

  7. YCCTEAM YCC-SW4001 Joystick Replacement: 步骤 7 中的图像 1,1
    • Remove the front case.

  8. YCCTEAM YCC-SW4001 Joystick Replacement, Joystick: 步骤 8 中的图像 1,3 YCCTEAM YCC-SW4001 Joystick Replacement, Joystick: 步骤 8 中的图像 2,3 YCCTEAM YCC-SW4001 Joystick Replacement, Joystick: 步骤 8 中的图像 3,3
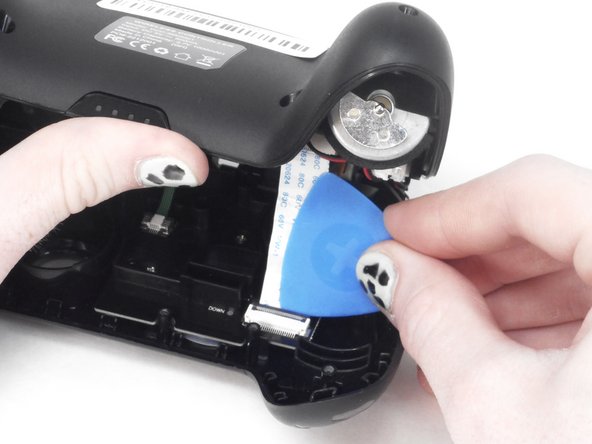
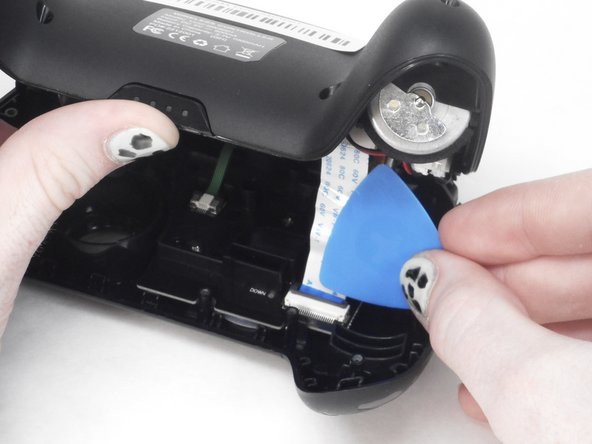
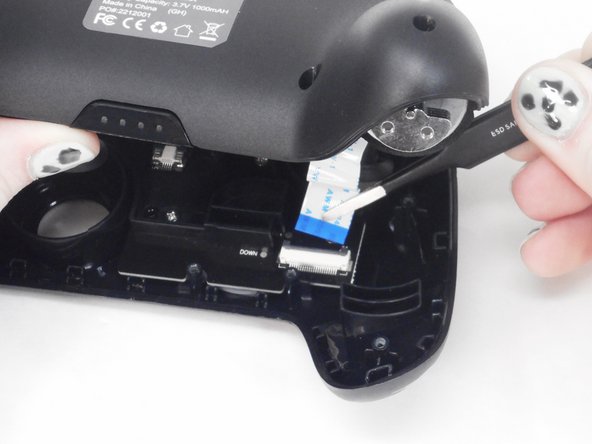
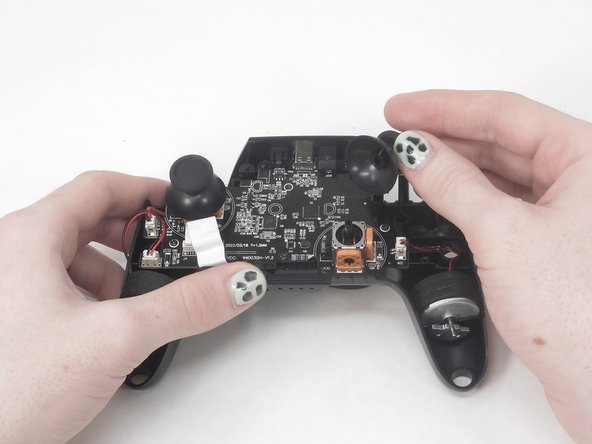
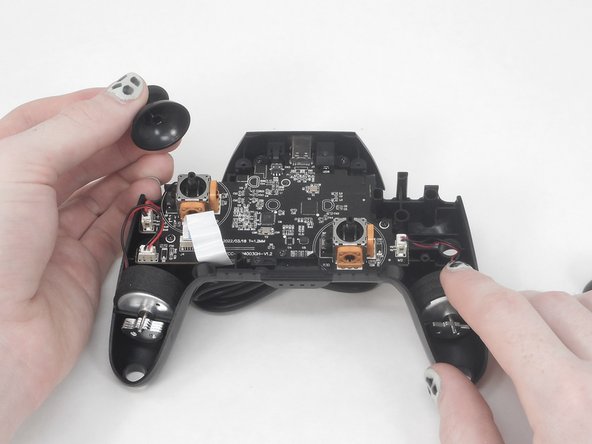
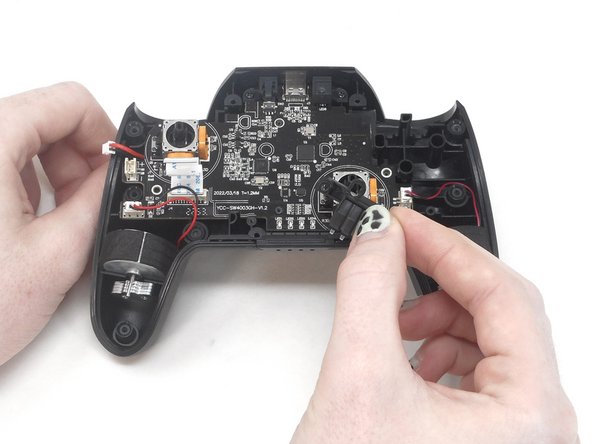
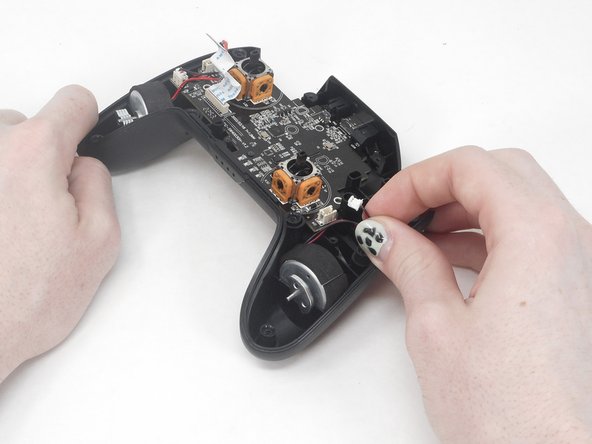
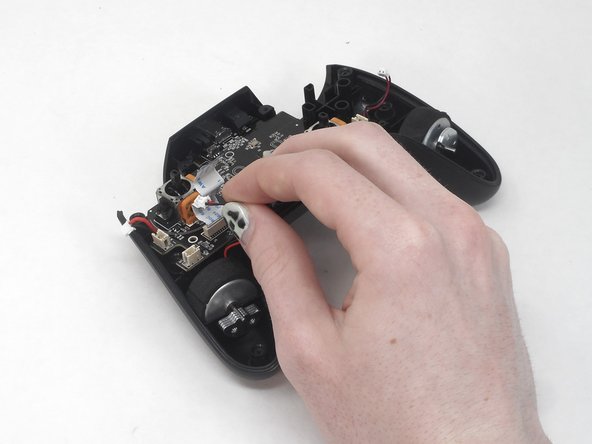
    • Remove the two joystick caps from the circuit board by gripping them and pulling them straight upward with moderate force.

  9. YCCTEAM YCC-SW4001 Joystick Replacement: 步骤 9 中的图像 1,3 YCCTEAM YCC-SW4001 Joystick Replacement: 步骤 9 中的图像 2,3 YCCTEAM YCC-SW4001 Joystick Replacement: 步骤 9 中的图像 3,3
    • Use tweezers to lift the battery connector directly up and out of its motherboard port.

  10. YCCTEAM YCC-SW4001 Joystick Replacement: 步骤 10 中的图像 1,3 YCCTEAM YCC-SW4001 Joystick Replacement: 步骤 10 中的图像 2,3 YCCTEAM YCC-SW4001 Joystick Replacement: 步骤 10 中的图像 3,3
    • Use a Phillips #0 screwdriver to remove the three 7.5 mm screws that secure the motherboard.

    • Remove the player LEDs.

  11. YCCTEAM YCC-SW4001 Joystick Replacement: 步骤 11 中的图像 1,3 YCCTEAM YCC-SW4001 Joystick Replacement: 步骤 11 中的图像 2,3 YCCTEAM YCC-SW4001 Joystick Replacement: 步骤 11 中的图像 3,3
    • Grip the white rumble motor motherboard connections and pull them directly out of their ports.

    • When replacing the rumble motors, press each plug down into its socket until it snaps into place.

  12. YCCTEAM YCC-SW4001 Joystick Replacement: 步骤 12 中的图像 1,2 YCCTEAM YCC-SW4001 Joystick Replacement: 步骤 12 中的图像 2,2
    • Lift the motherboard out of the controller.

  13. YCCTEAM YCC-SW4001 Joystick Replacement: 步骤 13 中的图像 1,1
    • To remove each joystick module, desolder the marked connections using a soldering iron and solder wick.

    • Check out this guide to learn the soldering basics.

结论

To reassemble your device, follow these instructions in reverse order.

0条评论

添加评论

浏览统计数据:

过去 24 小时: 0

过去 7 天: 1

过去 30 天: 8

总计 56