跳转到主内容
加入维修社区 - 创建账户

此翻译由机器生成,尚未经过人工审核。 会说这种语言吗? 查看评论

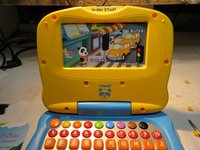
Vtech Emil the Panda

你所需要的

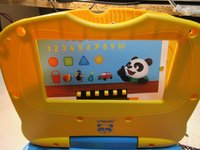
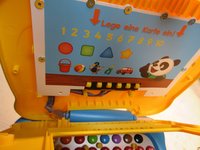
    1. Vtech Emil the Panda, Vtech Emil the Panda: 步骤 1 中的图像 1,3 Vtech Emil the Panda, Vtech Emil the Panda: 步骤 1 中的图像 2,3 Vtech Emil the Panda, Vtech Emil the Panda: 步骤 1 中的图像 3,3
      • 首先,你必须拆下覆盖在螺丝上的圆形黄色盖板。

      • “显示屏”周围有 6 颗短螺丝

      • ...以及该“显示屏”下方的两颗长螺丝

      询问修复机器人

      添加评论

    2. Vtech Emil the Panda: 步骤 2 中的图像 1,1
      • 此处是这些螺丝的特写

      询问修复机器人

      添加评论

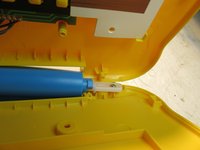
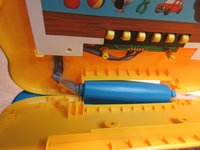
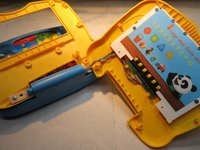
    3. Vtech Emil the Panda: 步骤 3 中的图像 1,3 Vtech Emil the Panda: 步骤 3 中的图像 2,3 Vtech Emil the Panda: 步骤 3 中的图像 3,3
      • 现在直接将其拉开即可。

      • 下方有一个弹簧和一个塑料部件,请查看图片

      询问修复机器人

      添加评论

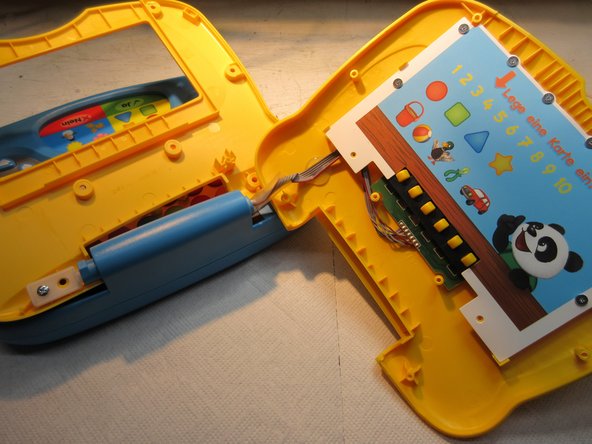
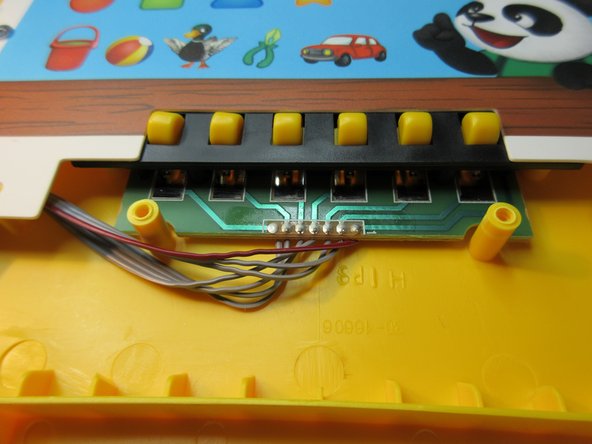
    4. Vtech Emil the Panda: 步骤 4 中的图像 1,3 Vtech Emil the Panda: 步骤 4 中的图像 2,3 Vtech Emil the Panda: 步骤 4 中的图像 3,3
      • 这就是触点弹片。

      询问修复机器人

      添加评论

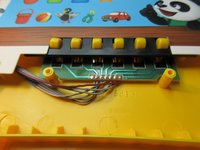
    5. Vtech Emil the Panda: 步骤 5 中的图像 1,2 Vtech Emil the Panda: 步骤 5 中的图像 2,2
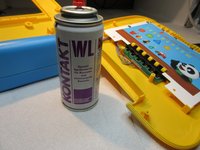
      • 使用电子清洗喷雾对弹簧进行去氧化处理。

      • 重新组装后,Emil 现在熟悉了每一张卡片,并且能够说话和唱歌了。

      • 完成。 :)

      询问修复机器人

      添加评论

结论

要重新组装设备,请按相反顺序执行这些说明。

取消:我没有完成这个指南。

另外一个人完成了本指南。

Schwarzstein

于07/15/13注册

2,972 声望

创作了13篇指南

0指南评论

添加评论

浏览统计数据:

过去 24 小时: 0

过去 7 天: 6

过去 30 天: 40

总计 1,297