跳转到主内容
加入维修社区 - 创建账户

VTech Baby's Learning Laptop Buttons Replacement

你所需要的

    1. VTech Baby's Learning Laptop Buttons Replacement, Battery and Rear Panel: 步骤 1 中的图像 1,1
      • To remove the battery door, loosen the screw shown using a Phillips #2 screwdriver.

      • A coin can also be used to loosen the screw.

      询问修复机器人

      添加评论

    2. VTech Baby's Learning Laptop Buttons Replacement: 步骤 2 中的图像 1,1
      • Remove the battery door.

      • Take out the batteries.

      询问修复机器人

      添加评论

    3. VTech Baby's Learning Laptop Buttons Replacement: 步骤 3 中的图像 1,1
      • Remove the rear panel screws using a Phillips #2 screwdriver.

      • Two 21.6mm (Long)

      • One 9.8mm (Short)

      • Five 13.8mm (Medium)

      询问修复机器人

      添加评论

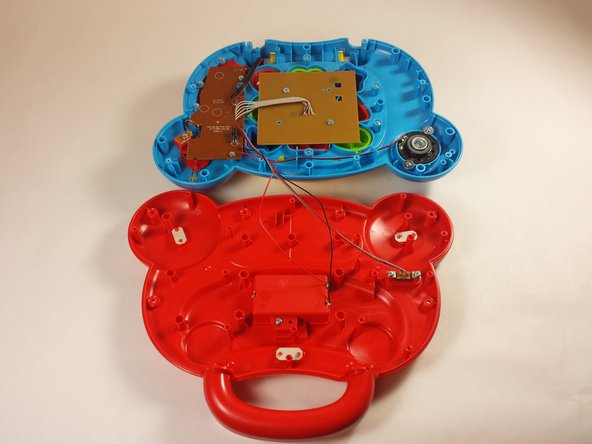
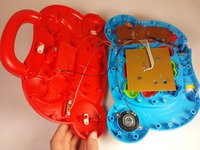
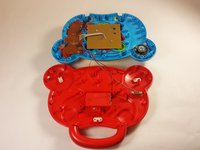
    4. VTech Baby's Learning Laptop Buttons Replacement: 步骤 4 中的图像 1,2 VTech Baby's Learning Laptop Buttons Replacement: 步骤 4 中的图像 2,2
      • Gently pull up on the rear panel.

      • Be careful not to pull on the wire connections.

      • Rest the laptop open on the table.

      添加评论

    1. VTech Baby's Learning Laptop Buttons Replacement, Buttons: 步骤 5 中的图像 1,1
      • Using a Phillips #0 screwdriver remove the two 6.0mm screws.

      询问修复机器人

      添加评论

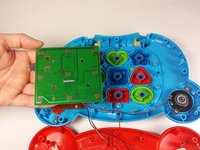
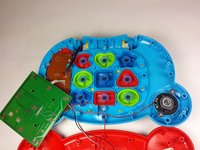
    2. VTech Baby's Learning Laptop Buttons Replacement: 步骤 6 中的图像 1,2 VTech Baby's Learning Laptop Buttons Replacement: 步骤 6 中的图像 2,2
      • Lift up on the board and set it aside.

      • Movement of the board will be limited. Be careful not to damage the connection to the motherboard.

      询问修复机器人

      添加评论

    3. VTech Baby's Learning Laptop Buttons Replacement: 步骤 7 中的图像 1,1
      • Remove each button and button contact.

      询问修复机器人

      添加评论

结论

To reassemble your device, follow these instructions in reverse order.

取消:我没有完成这个指南。

2等其他人完成本指南。

团队

USF Tampa, Team 12-2, Blackwell Fall 2015 USF Tampa, Team 12-2, Blackwell Fall 2015 的会员

USFT-BLACKWELL-F15S12G2

4 名成员

创作了35篇指南

0指南评论

添加评论

浏览统计数据:

过去 24 小时: 1

过去 7 天: 4

过去 30 天: 24

总计 1,318