跳转到主内容
加入维修社区 - 创建账户

VENSTAR Taco Microphone Replacement Replacement

你所需要的

    1. VENSTAR Taco Microphone Replacement Replacement, VENSTAR Taco Disassembly: 步骤 1 中的图像 1,3 VENSTAR Taco Microphone Replacement Replacement, VENSTAR Taco Disassembly: 步骤 1 中的图像 2,3 VENSTAR Taco Microphone Replacement Replacement, VENSTAR Taco Disassembly: 步骤 1 中的图像 3,3
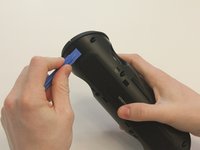
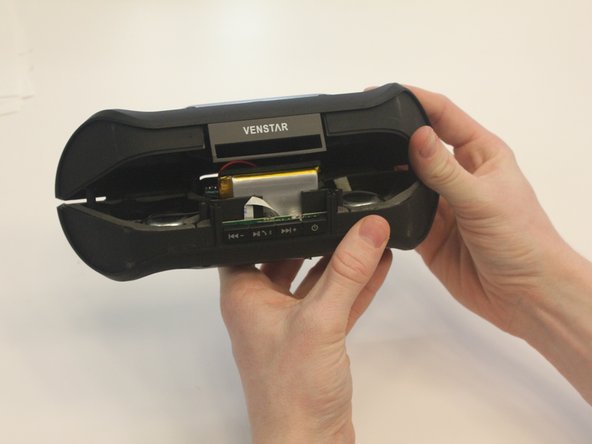
      • Starting with the Taco on its side, use the plastic opening tool to pop off the outer casing near the base.

      • The base labeled "VENSTAR TACO" is glued. Be careful separating the two sides of the device.

      询问修复机器人

      添加评论

    2. VENSTAR Taco Microphone Replacement Replacement: 步骤 2 中的图像 1,2 VENSTAR Taco Microphone Replacement Replacement: 步骤 2 中的图像 2,2
      • Repeat the previous step on the opposite side to remove the other outer casing.

      询问修复机器人

      添加评论

    3. VENSTAR Taco Microphone Replacement Replacement: 步骤 3 中的图像 1,2 VENSTAR Taco Microphone Replacement Replacement: 步骤 3 中的图像 2,2
      在这个步骤中使用的工具:
      Phillips #0 Screwdriver
      $5.49
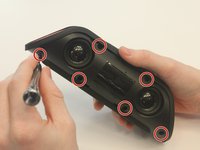
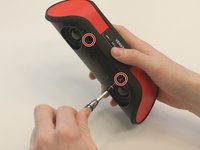
      • Using a Phillips PH0 3 mm-bit screwdriver, remove the six screws on the inner layer of the Taco.

      • The screws are small and can get stuck. Use tweezers to pull them out if you are having trouble.

      询问修复机器人

      添加评论

    4. VENSTAR Taco Microphone Replacement Replacement: 步骤 4 中的图像 1,2 VENSTAR Taco Microphone Replacement Replacement: 步骤 4 中的图像 2,2
      • From the same side you just unscrewed, use a plastic opening tool to unwedge the inner cover on both sides of the base.

      询问修复机器人

      添加评论

    5. VENSTAR Taco Microphone Replacement Replacement: 步骤 5 中的图像 1,2 VENSTAR Taco Microphone Replacement Replacement: 步骤 5 中的图像 2,2
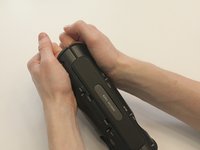
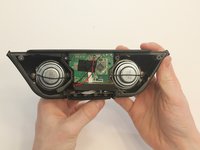
      • Slide off the inner cover. It pulls apart and is held on by a small amount of glue.

      询问修复机器人

      添加评论

    1. VENSTAR Taco Microphone Replacement Replacement, Logic Board Replacement: 步骤 6 中的图像 1,1
      • Remove the rubber covering from the buttons.

      询问修复机器人

      添加评论

    2. VENSTAR Taco Microphone Replacement Replacement: 步骤 7 中的图像 1,3 VENSTAR Taco Microphone Replacement Replacement: 步骤 7 中的图像 2,3 VENSTAR Taco Microphone Replacement Replacement: 步骤 7 中的图像 3,3
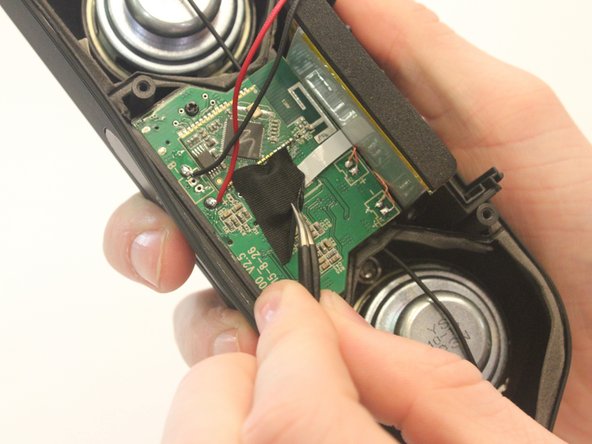
      • Remove the black fabric covering the logic board.

      询问修复机器人

      添加评论

    3. VENSTAR Taco Microphone Replacement Replacement: 步骤 8 中的图像 1,2 VENSTAR Taco Microphone Replacement Replacement: 步骤 8 中的图像 2,2
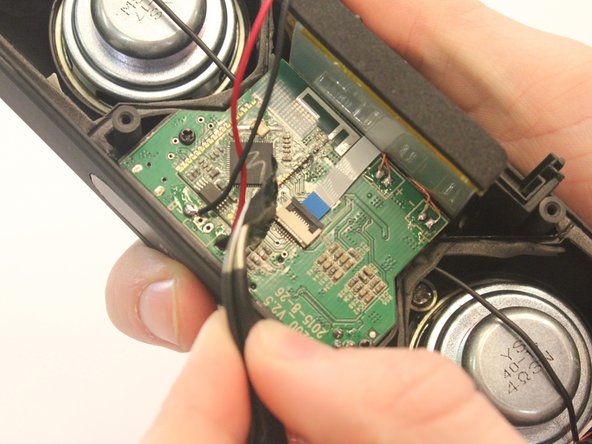
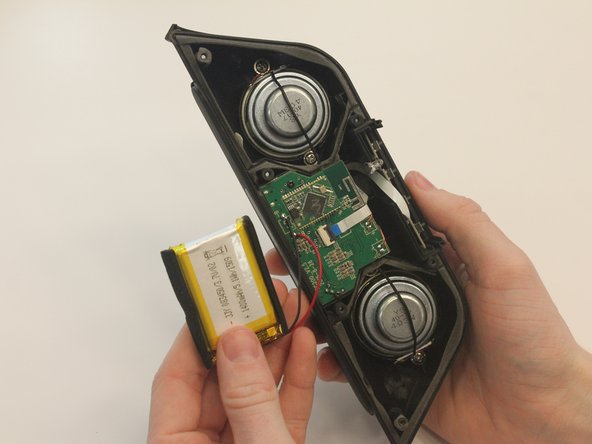
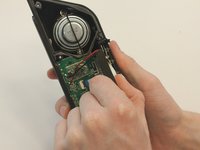
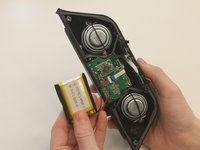
      • Move the battery out of the way of the connector.

      询问修复机器人

      添加评论

    4. VENSTAR Taco Microphone Replacement Replacement: 步骤 9 中的图像 1,2 VENSTAR Taco Microphone Replacement Replacement: 步骤 9 中的图像 2,2
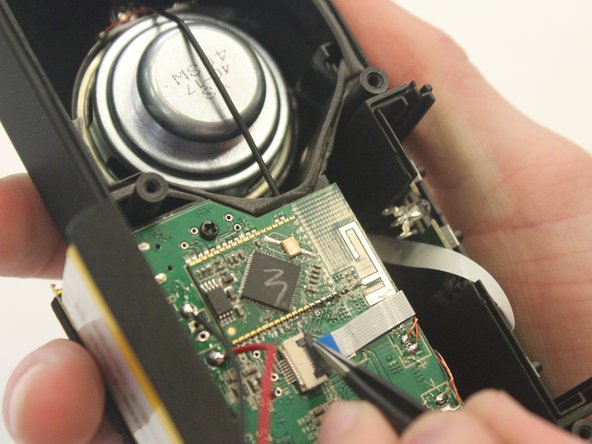
      • Undo the connector of the flat white ribbon between the switches and the logic board.

      询问修复机器人

      添加评论

    5. VENSTAR Taco Microphone Replacement Replacement: 步骤 10 中的图像 1,1
      • Undo the two black 3mm screws on the logic board using the PH0 screwdriver.

      询问修复机器人

      添加评论

    6. VENSTAR Taco Microphone Replacement Replacement: 步骤 11 中的图像 1,3 VENSTAR Taco Microphone Replacement Replacement: 步骤 11 中的图像 2,3 VENSTAR Taco Microphone Replacement Replacement: 步骤 11 中的图像 3,3
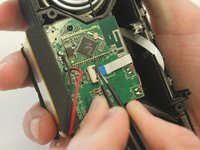
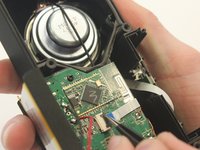
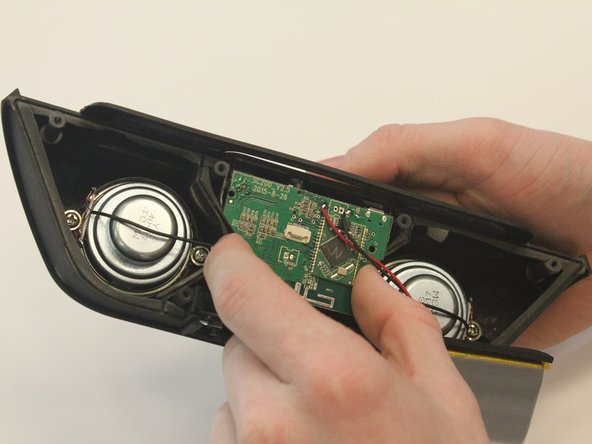
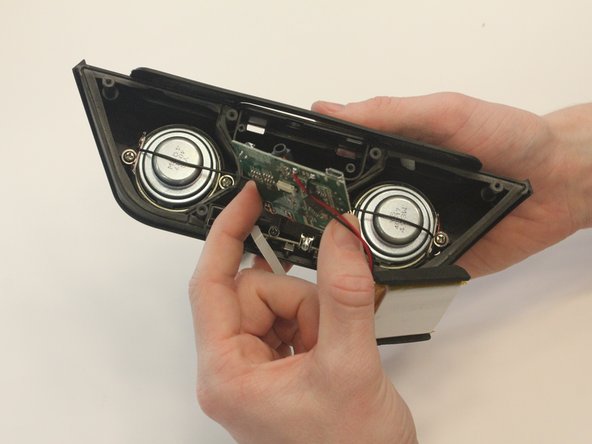
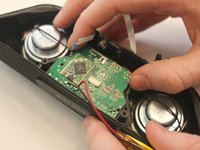
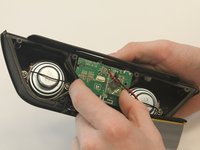
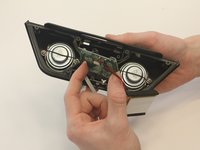
      • Gently pull out the logic board.

      • Note that the battery and the logic board are connected and must be removed together.

      询问修复机器人

      添加评论

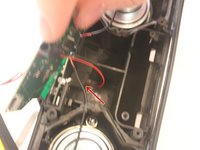
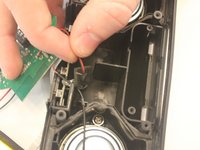
    1. VENSTAR Taco Microphone Replacement Replacement, Microphone Replacement: 步骤 12 中的图像 1,2 VENSTAR Taco Microphone Replacement Replacement, Microphone Replacement: 步骤 12 中的图像 2,2
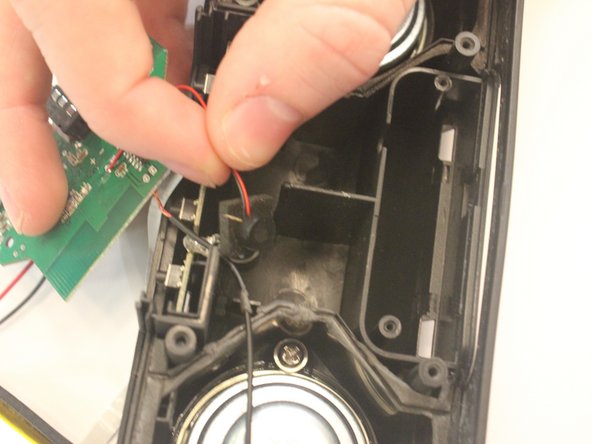
      • Below the logic board, the small black microphone is resting within the case.

      询问修复机器人

      添加评论

结论

To reassemble your device, follow these instructions in reverse order.

取消:我没有完成这个指南。

另外一个人完成了本指南。

0指南评论

添加评论

浏览统计数据:

过去 24 小时: 0

过去 7 天: 5

过去 30 天: 23

总计 472